Notice[]
All designs shown in the following guides are for tutorial purposes only and are not to be heavily referenced or traced. Doing so violates our Imagery rules, as many designs shown are likely to be of the artist's own characters, and you may receive a reminder or even a warning from an admin if caught doing so.
Thank you in advance!
Contents
To make this article easier to navigate, all tutorials have been listed below.
- Eyes; how to colour eyes, by Night The OC Cat.
- Tabby and White; how to colour a tabby and white cat, by CloudymoonTheCat.
- Solid; how to colour a solid-coloured cat, by Sandstone25.
- Lineart Colour; changing the colour of the linearts, by Sandstone25.
- Lineart Adjustment; adjusting the linearts to suit your character's description, by Sandstone25.
- Eye Colouring; colouring eyes, by Kezii.
- Siamese/Colorpoint; how to colour a Siamese cat, by tsukidove/Kortooney.
- Eyes; how to colour eyes, by Swirlfeather.
- Eyes; how to colour eyes, by LeaderlessCat.
- Chimera; how to colour a chimera/two-faced cat, by Theasexualdoodles.
- Eyes;Eyes by BLu
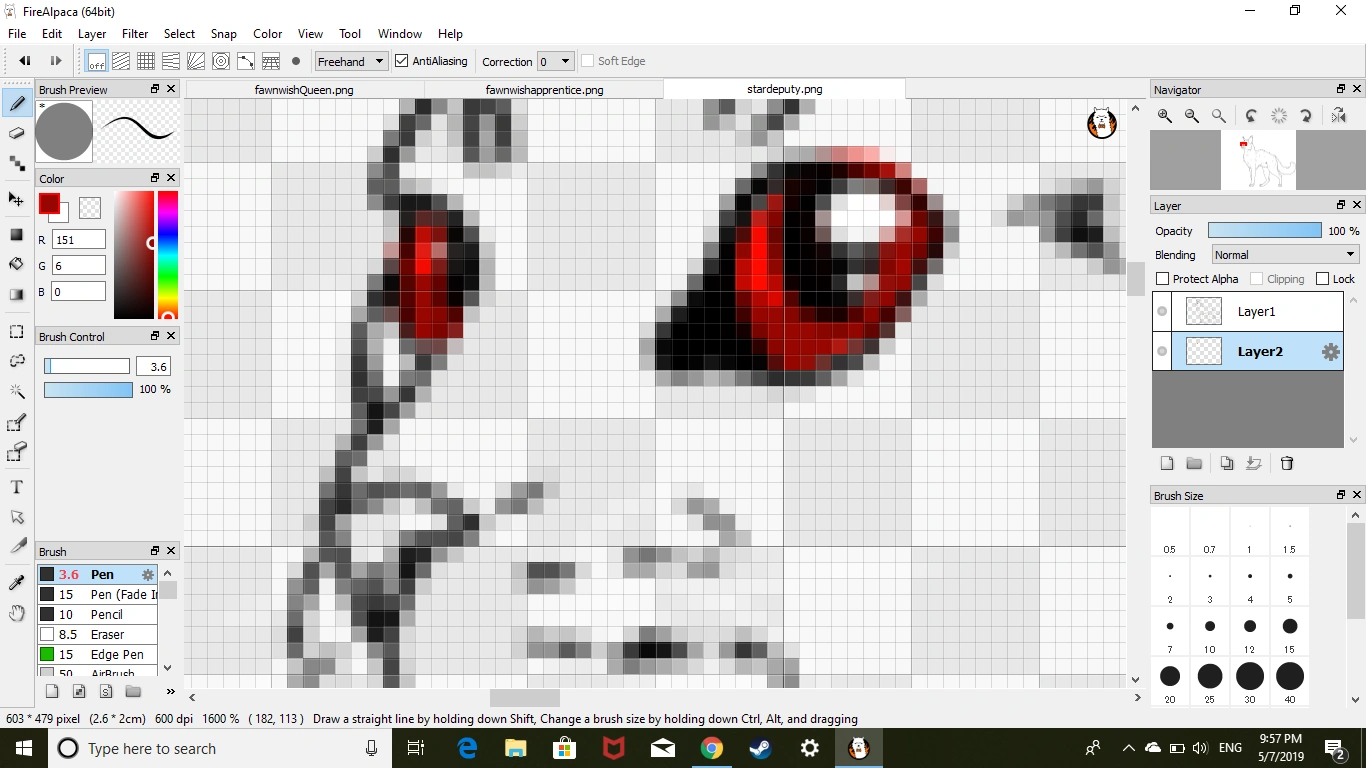
Eyes by Night The OC Cat[]
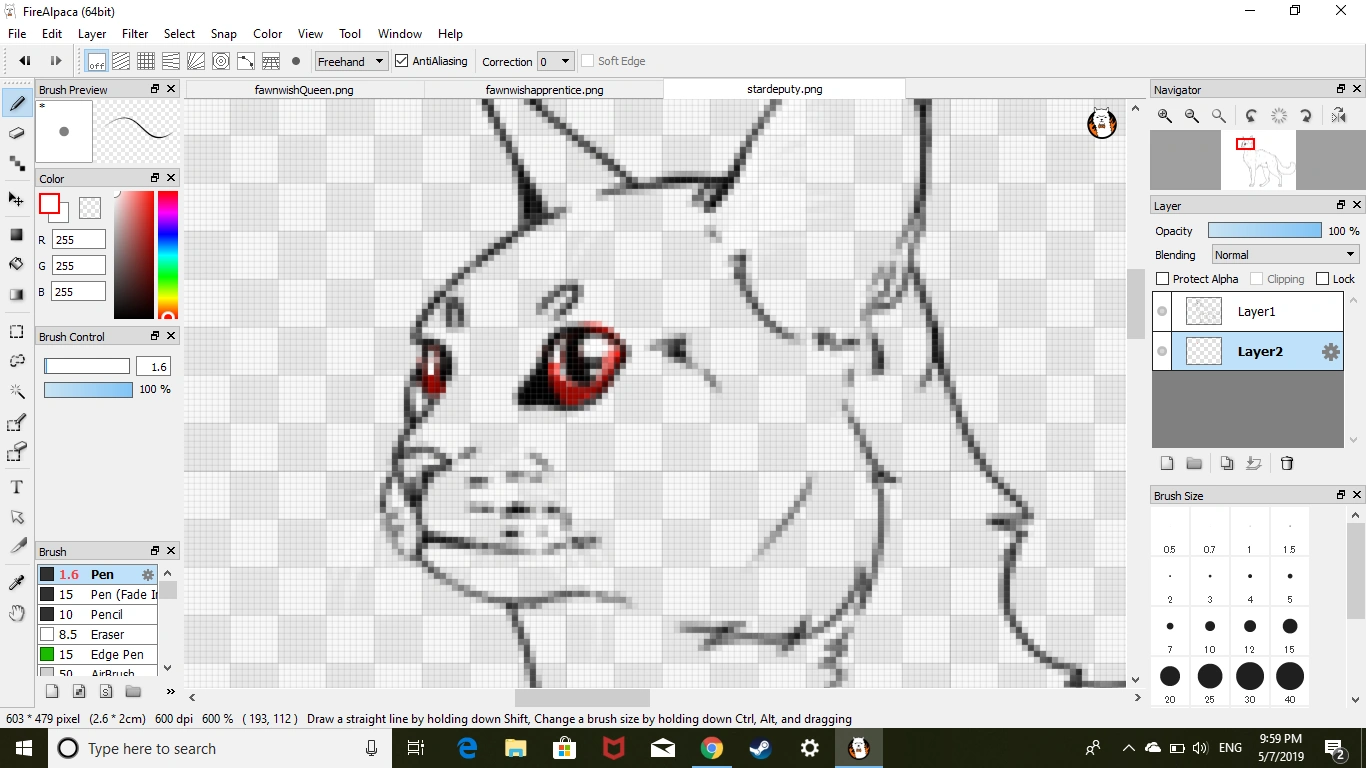
I came up with a new, cool way to do eyes! Let me show you. By the way, I'm using my short-furred design blank.
First, hide your other layers and, adding a new layer, color in your eyes.
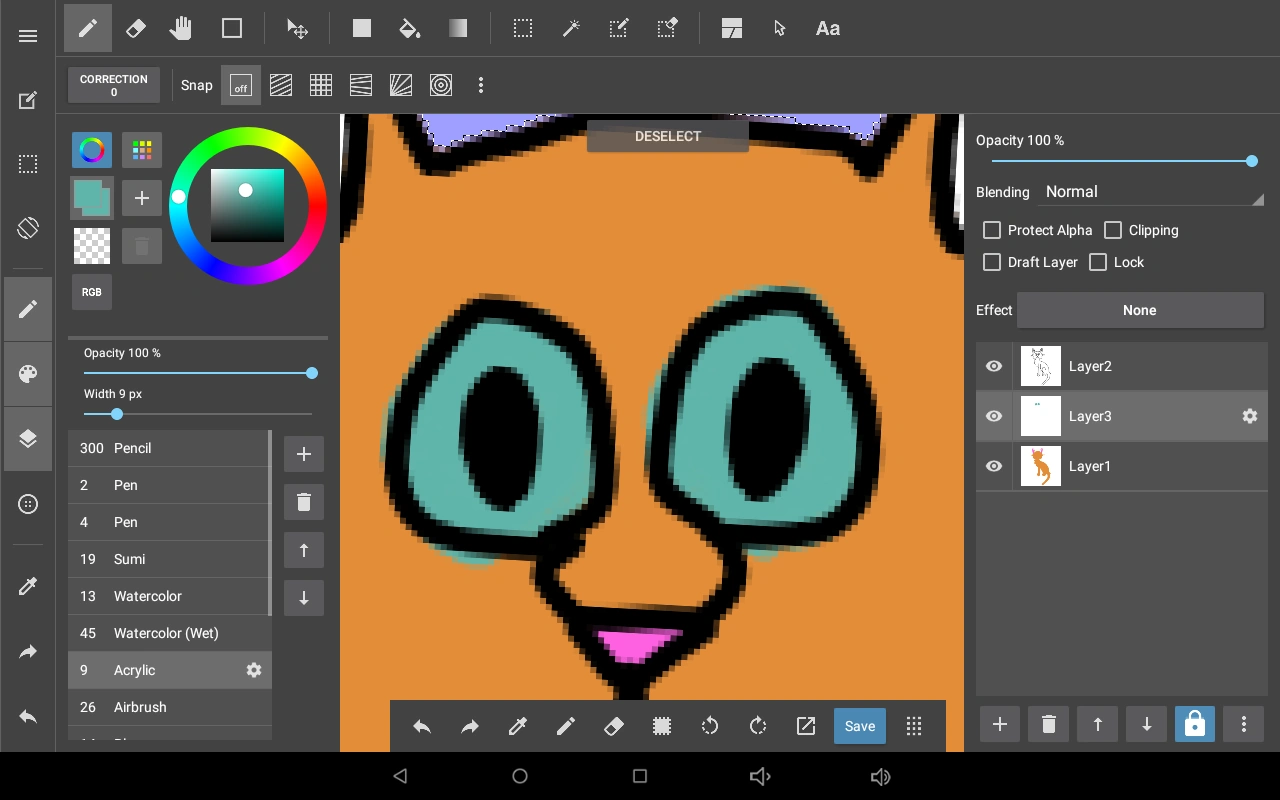
Next, add a darker strip of color to the top and a lighter strip to the bottom.
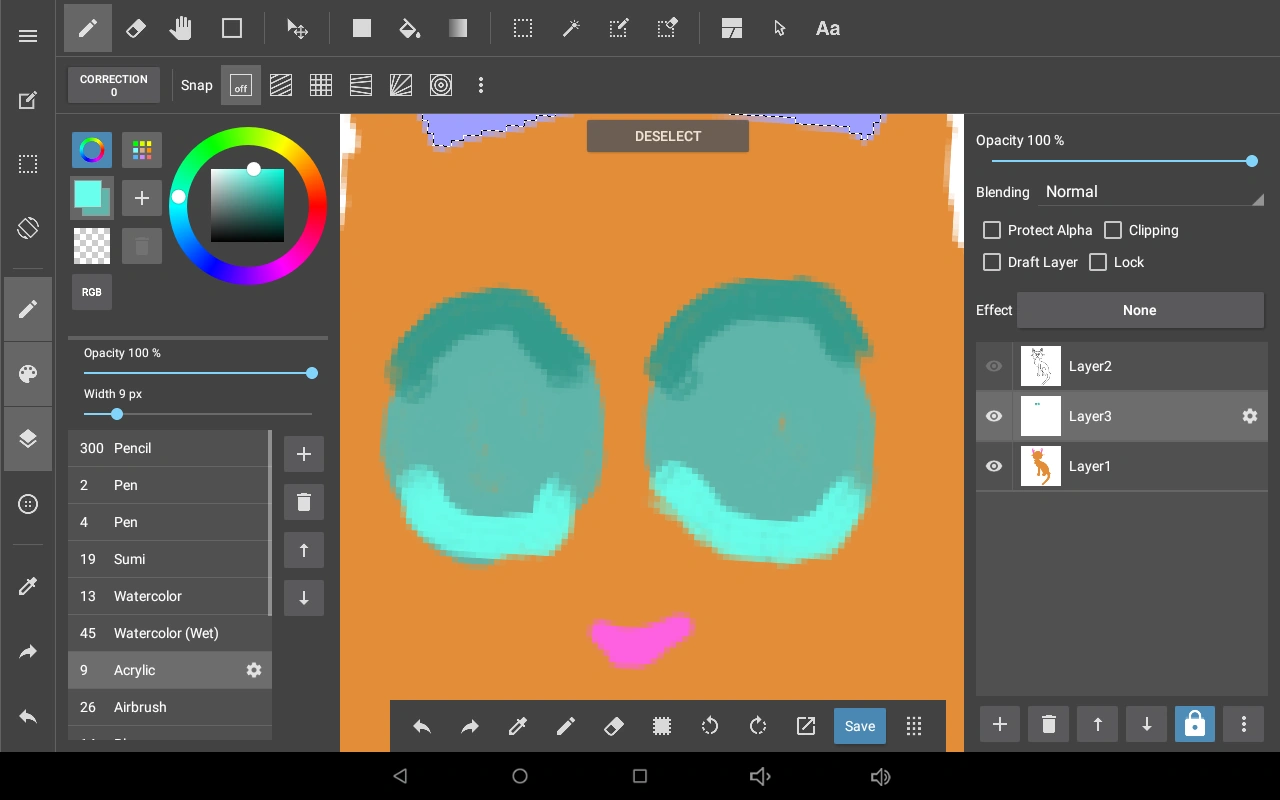
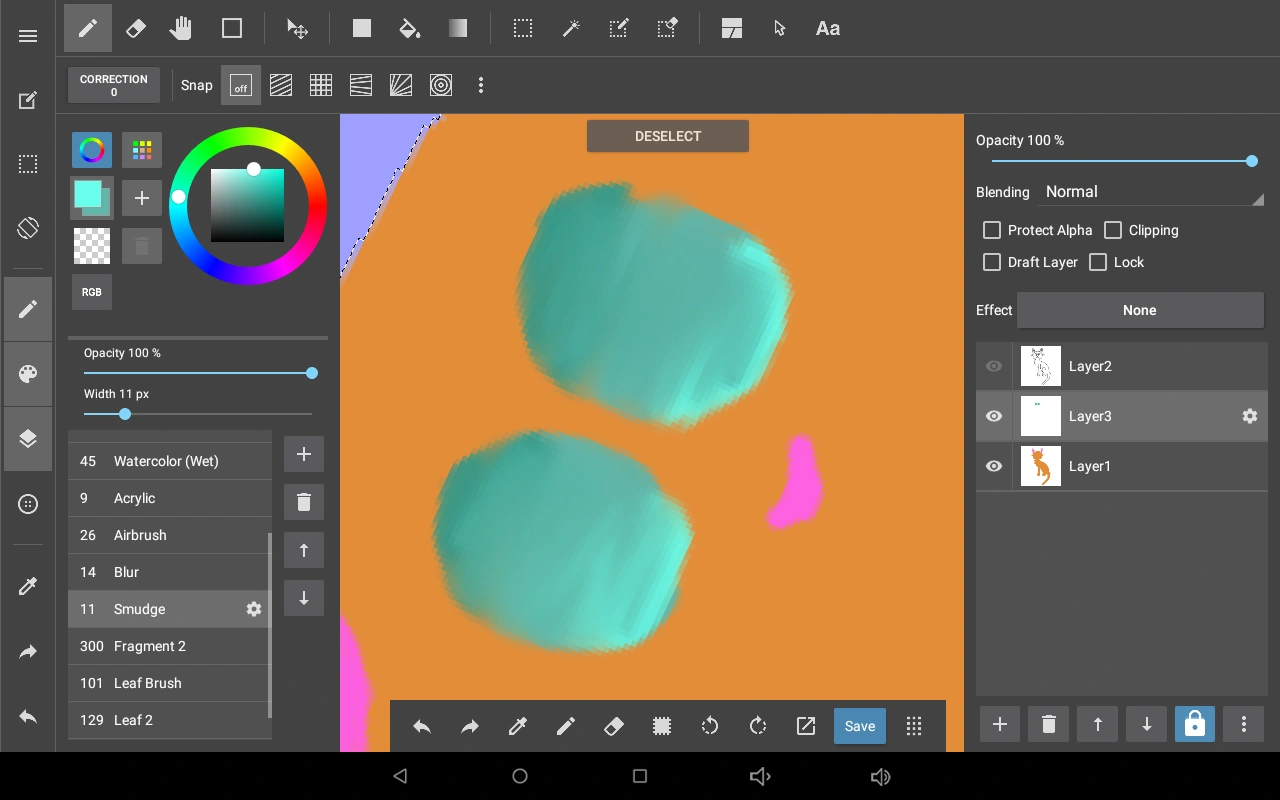
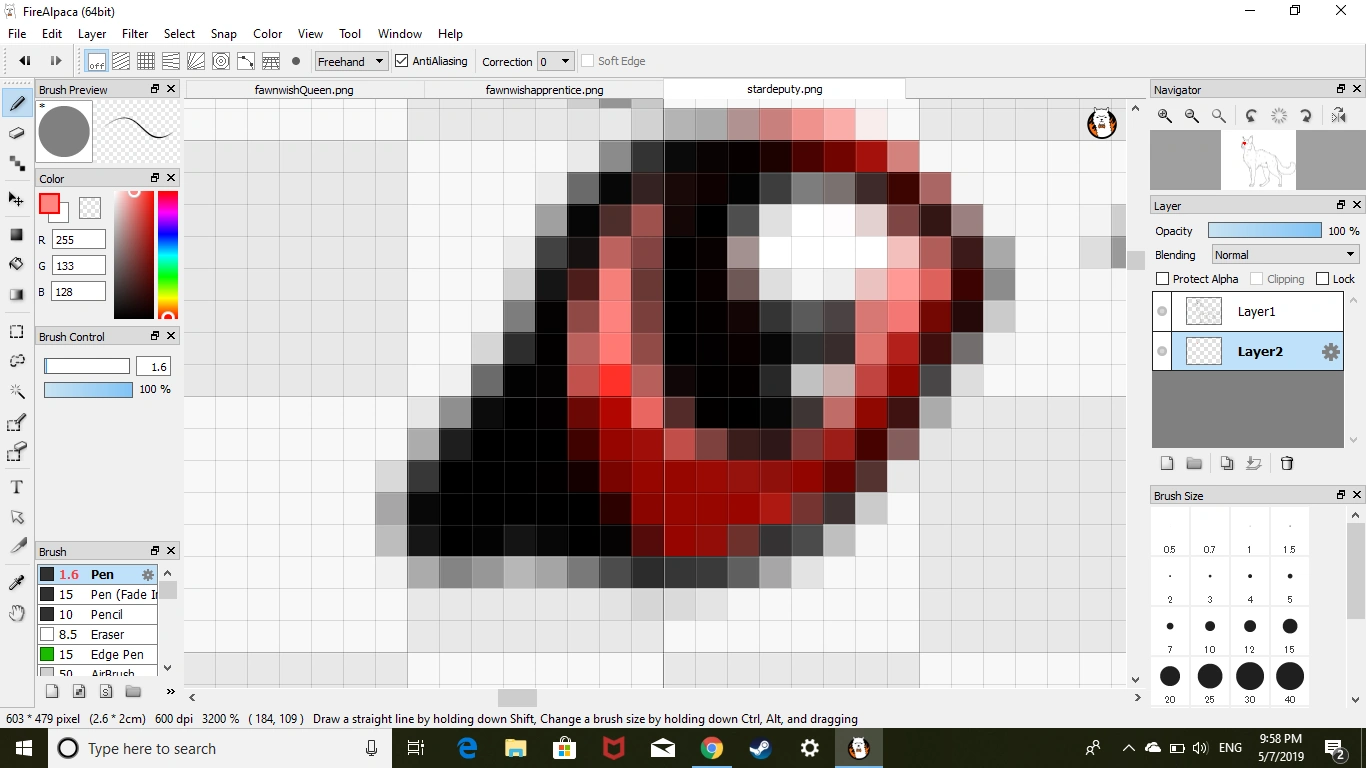
Get your smudge tool and and smudge the dark down twice.
Smudge the light up twice.
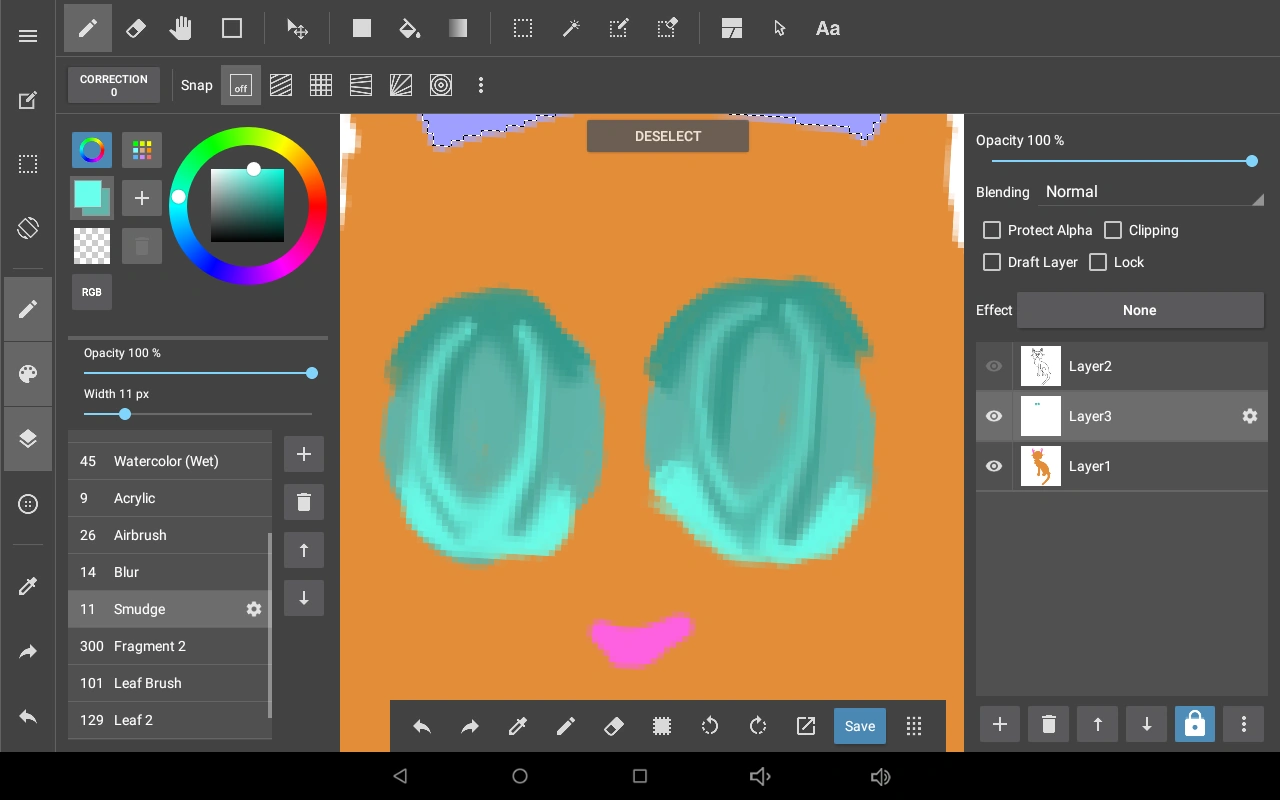
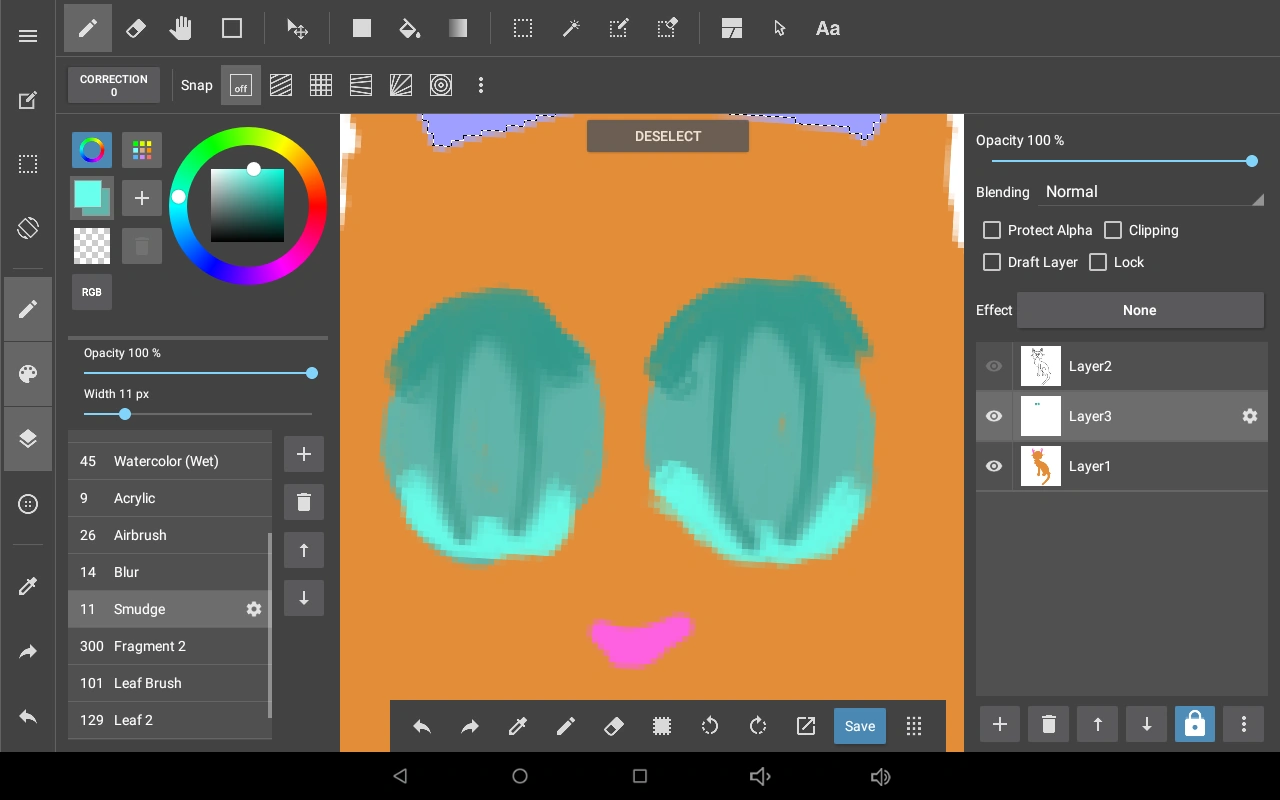
Smudge across down and then up.
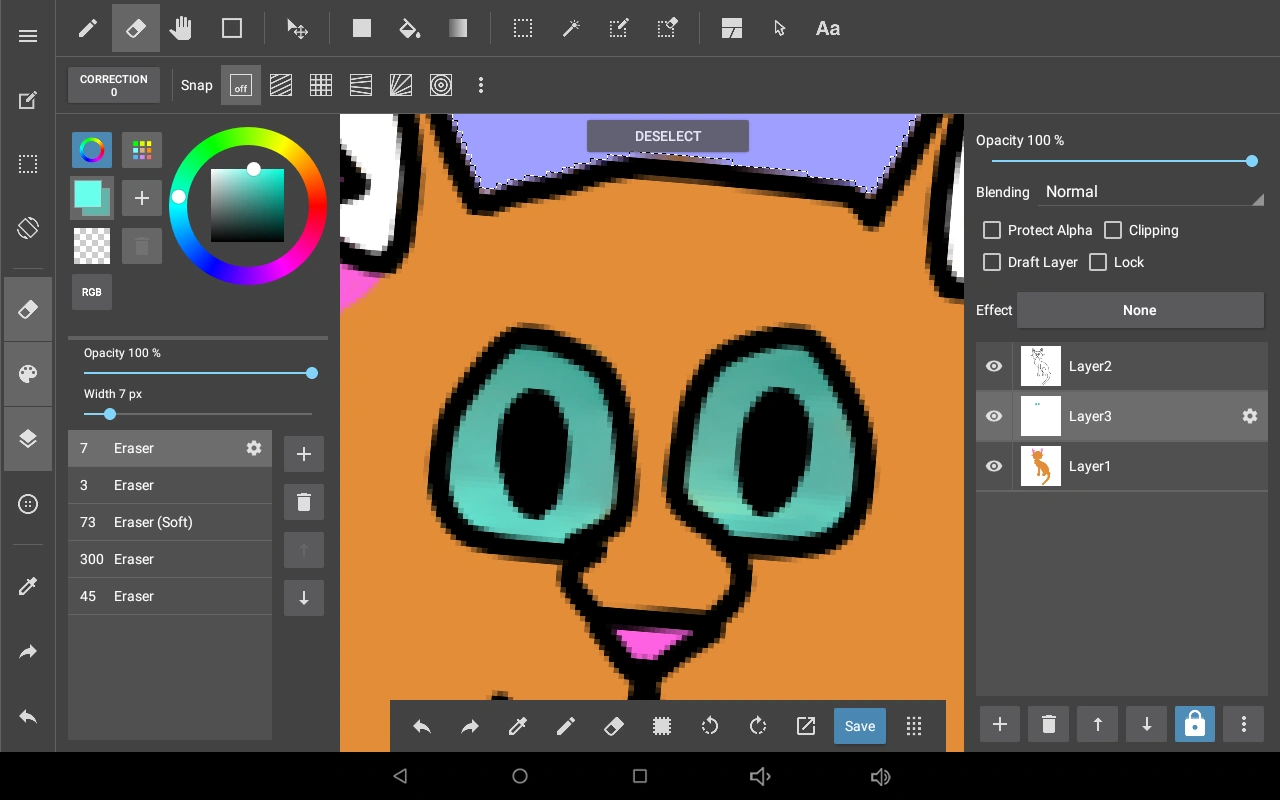
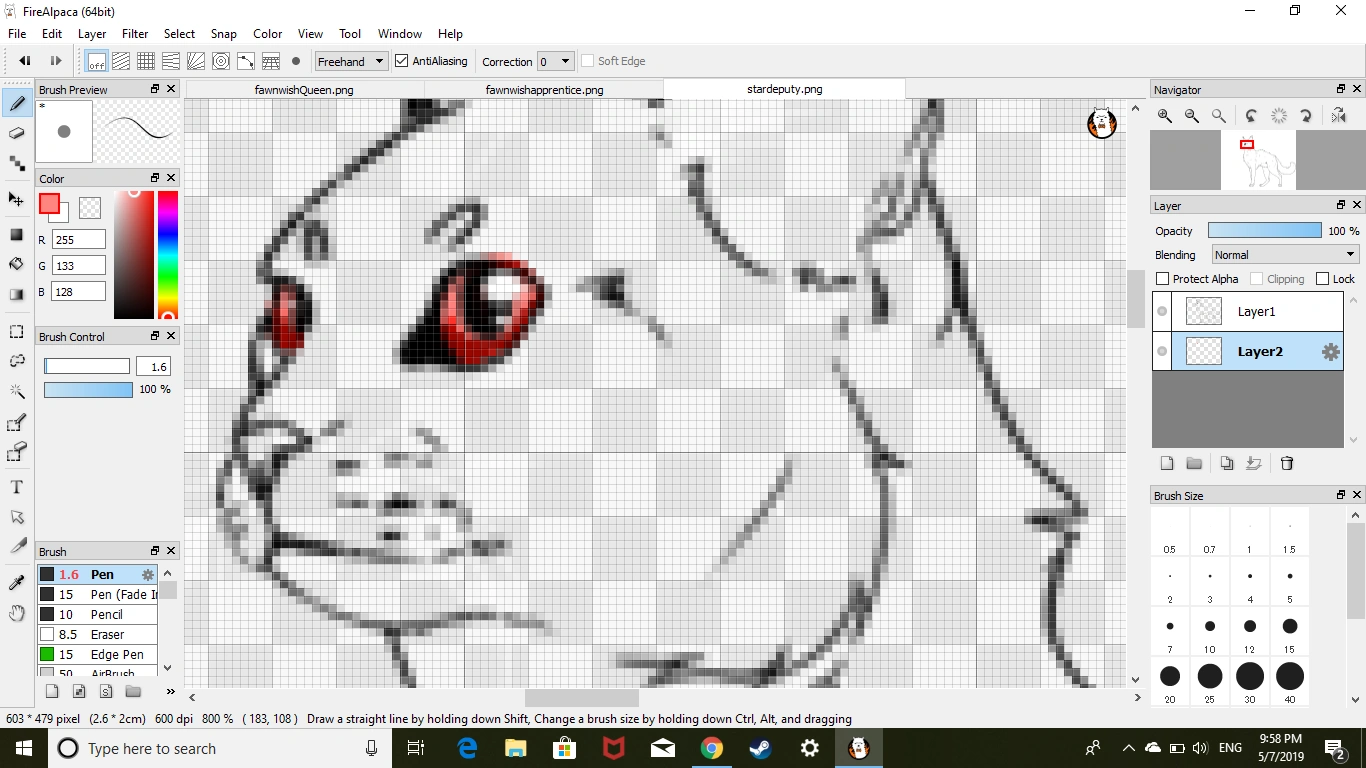
Unconceal the other layers and erase the extras around the eyes.
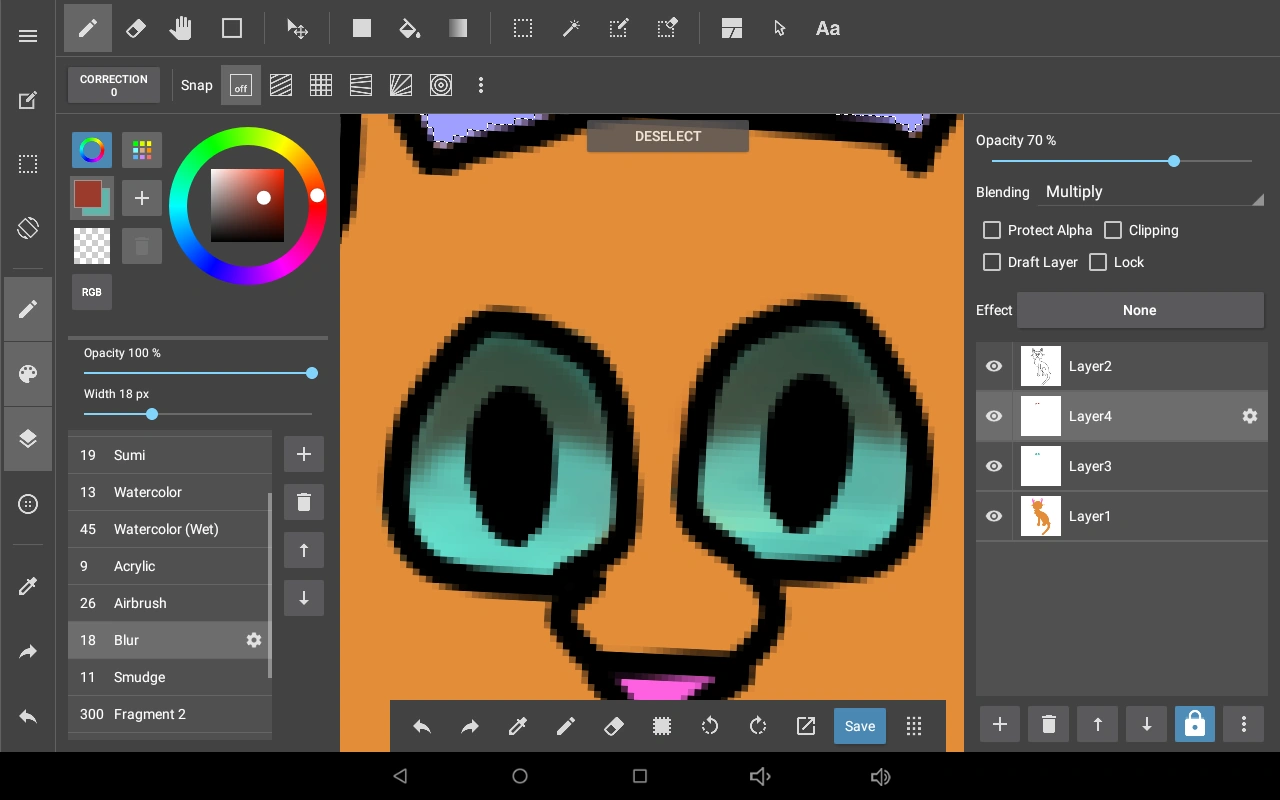
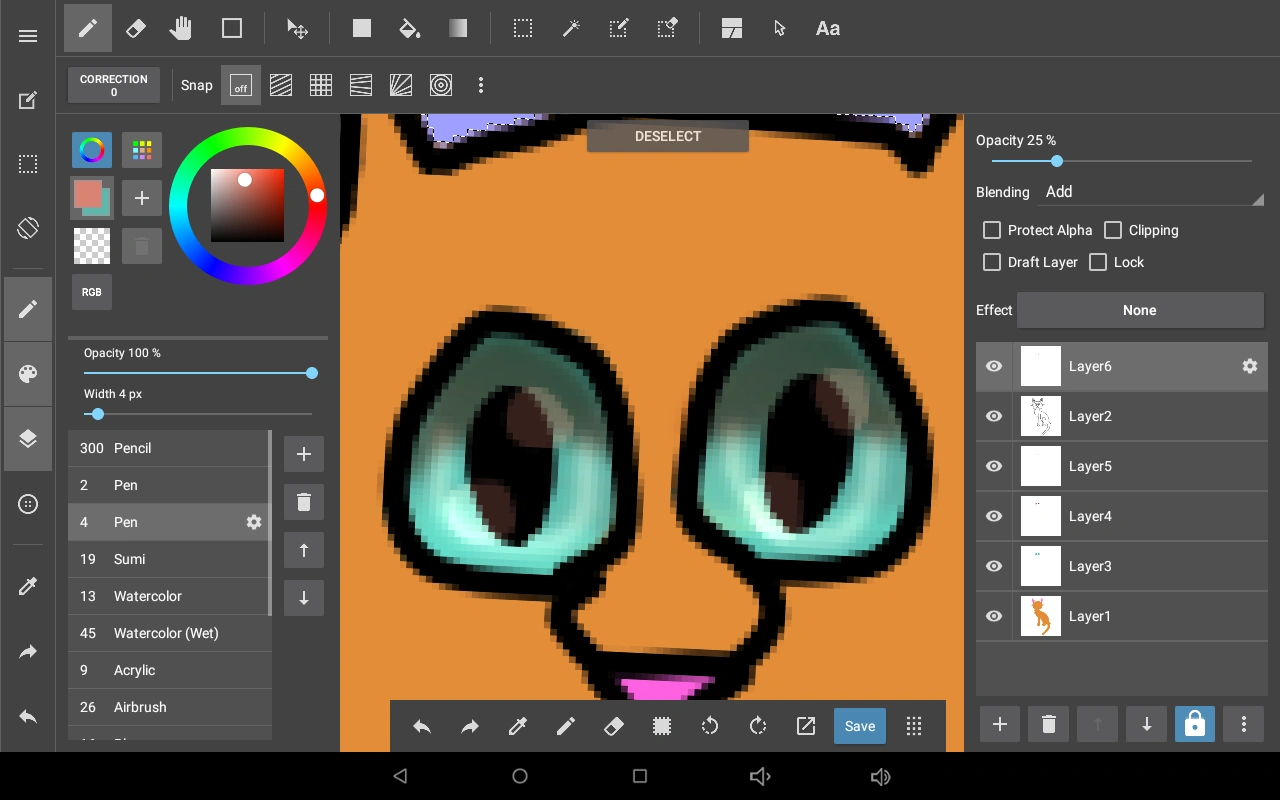
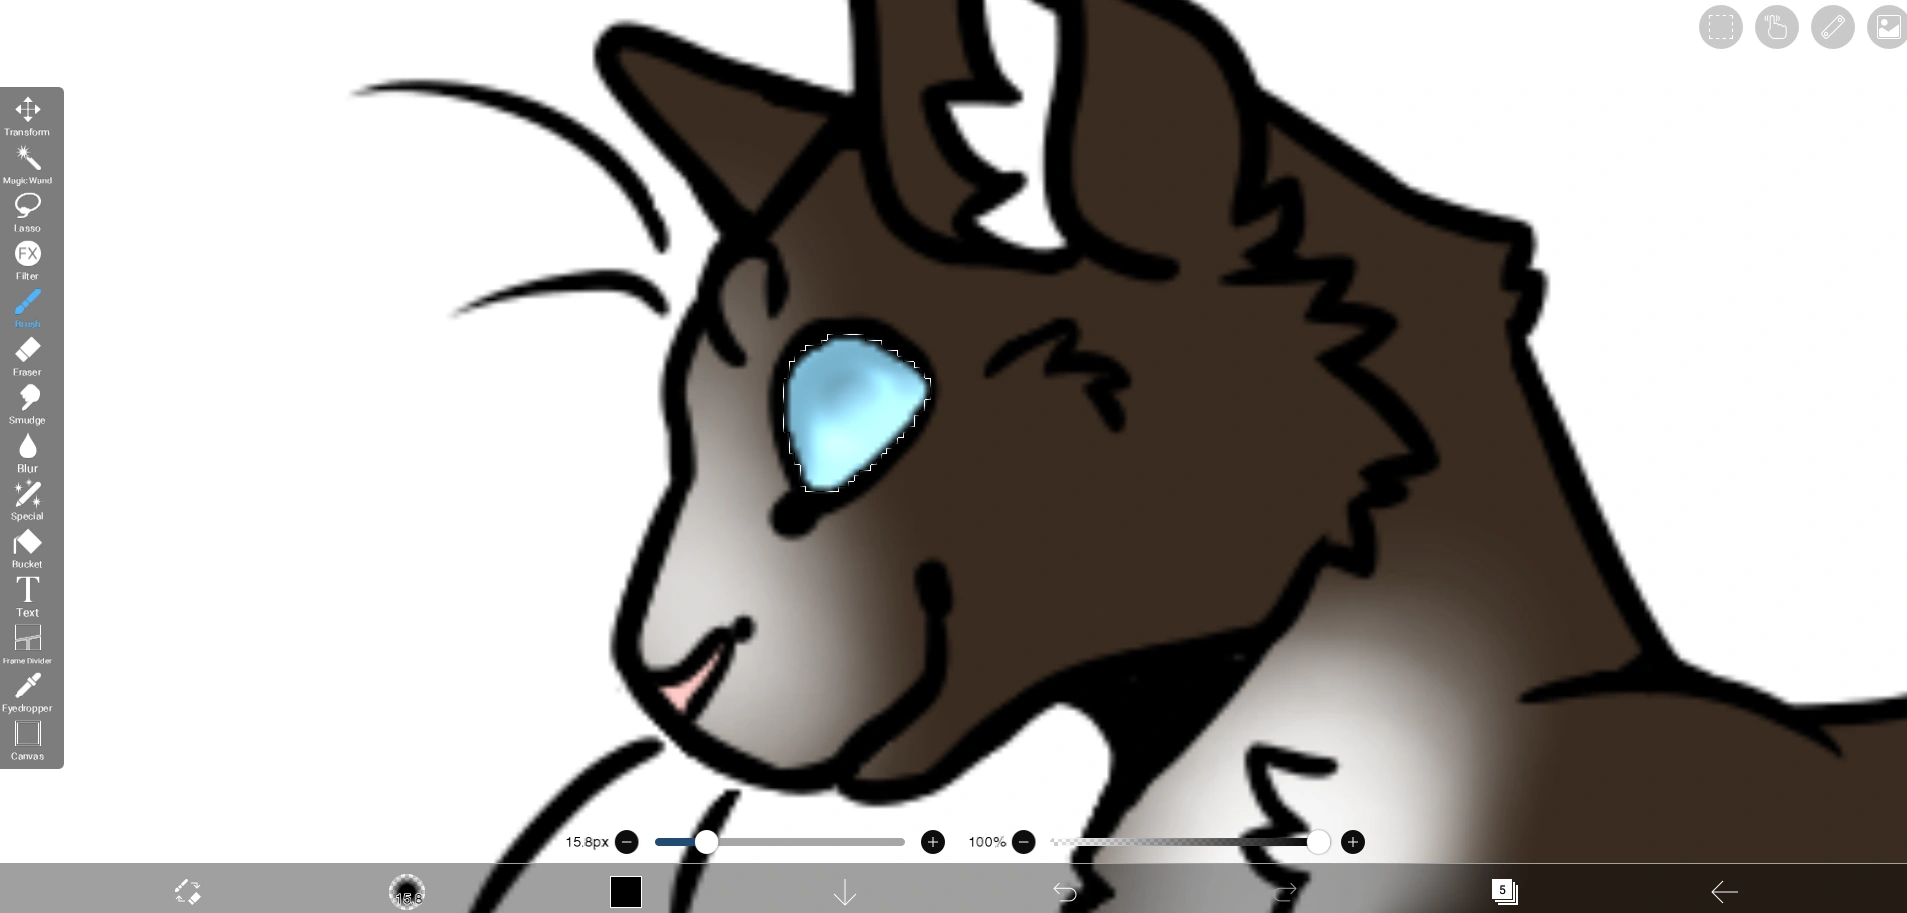
On a new layer, take your shading color and color the top half-ish of the eyes. Blur if you like.

Switch the blending to "multiply" and turn the opacity down (I went to 70%).
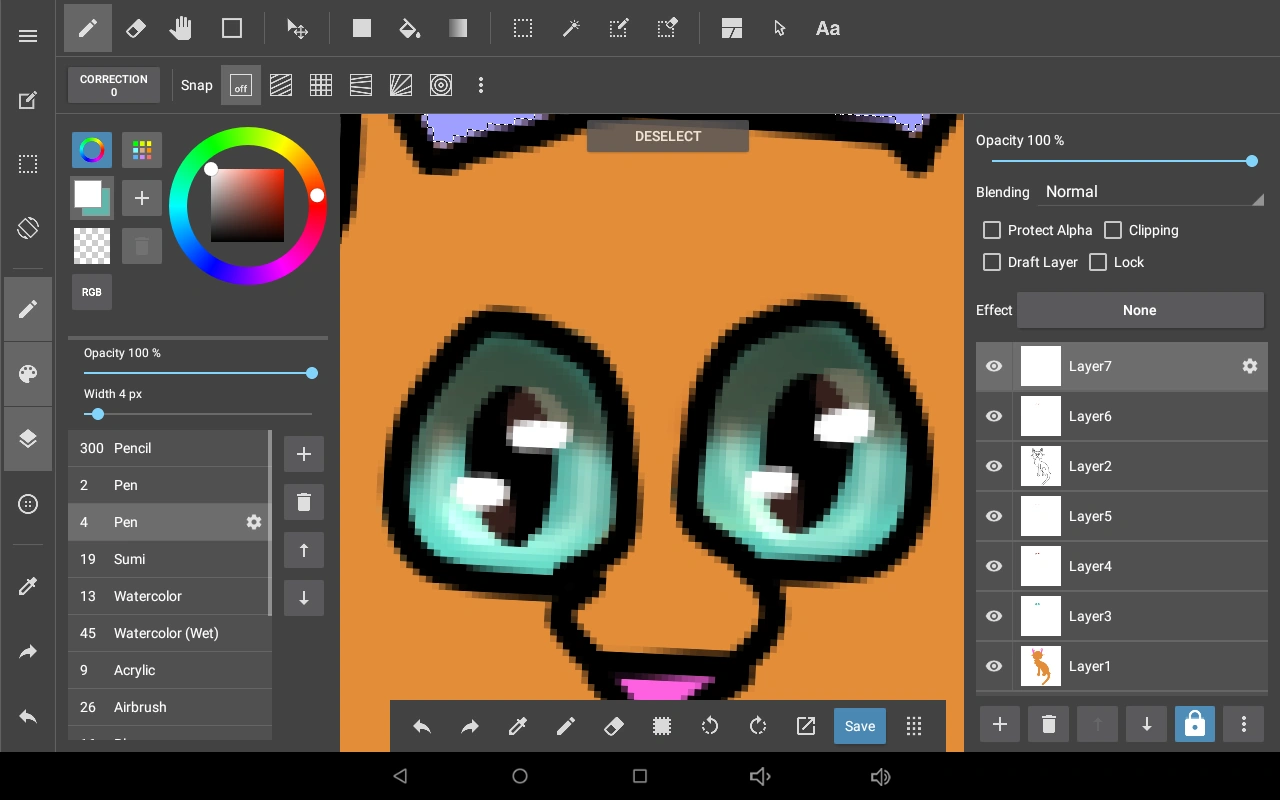
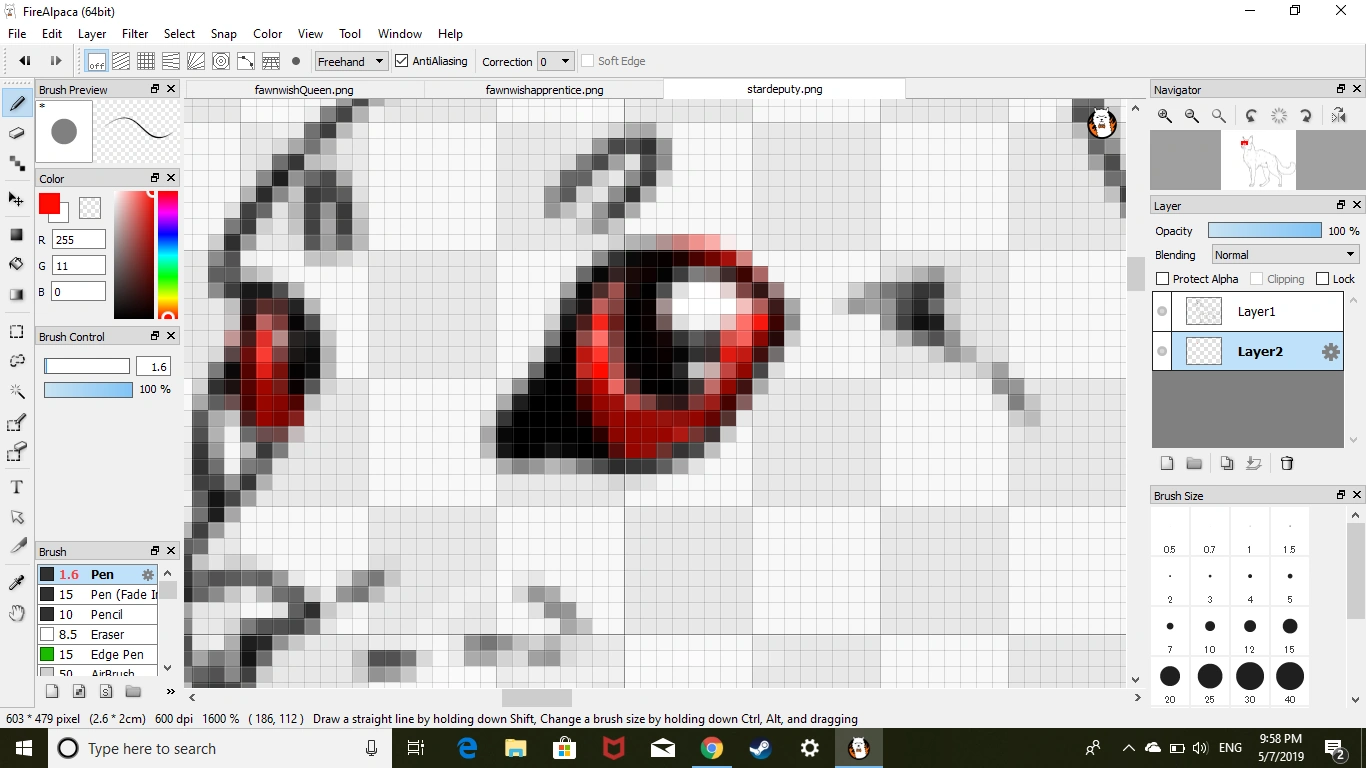
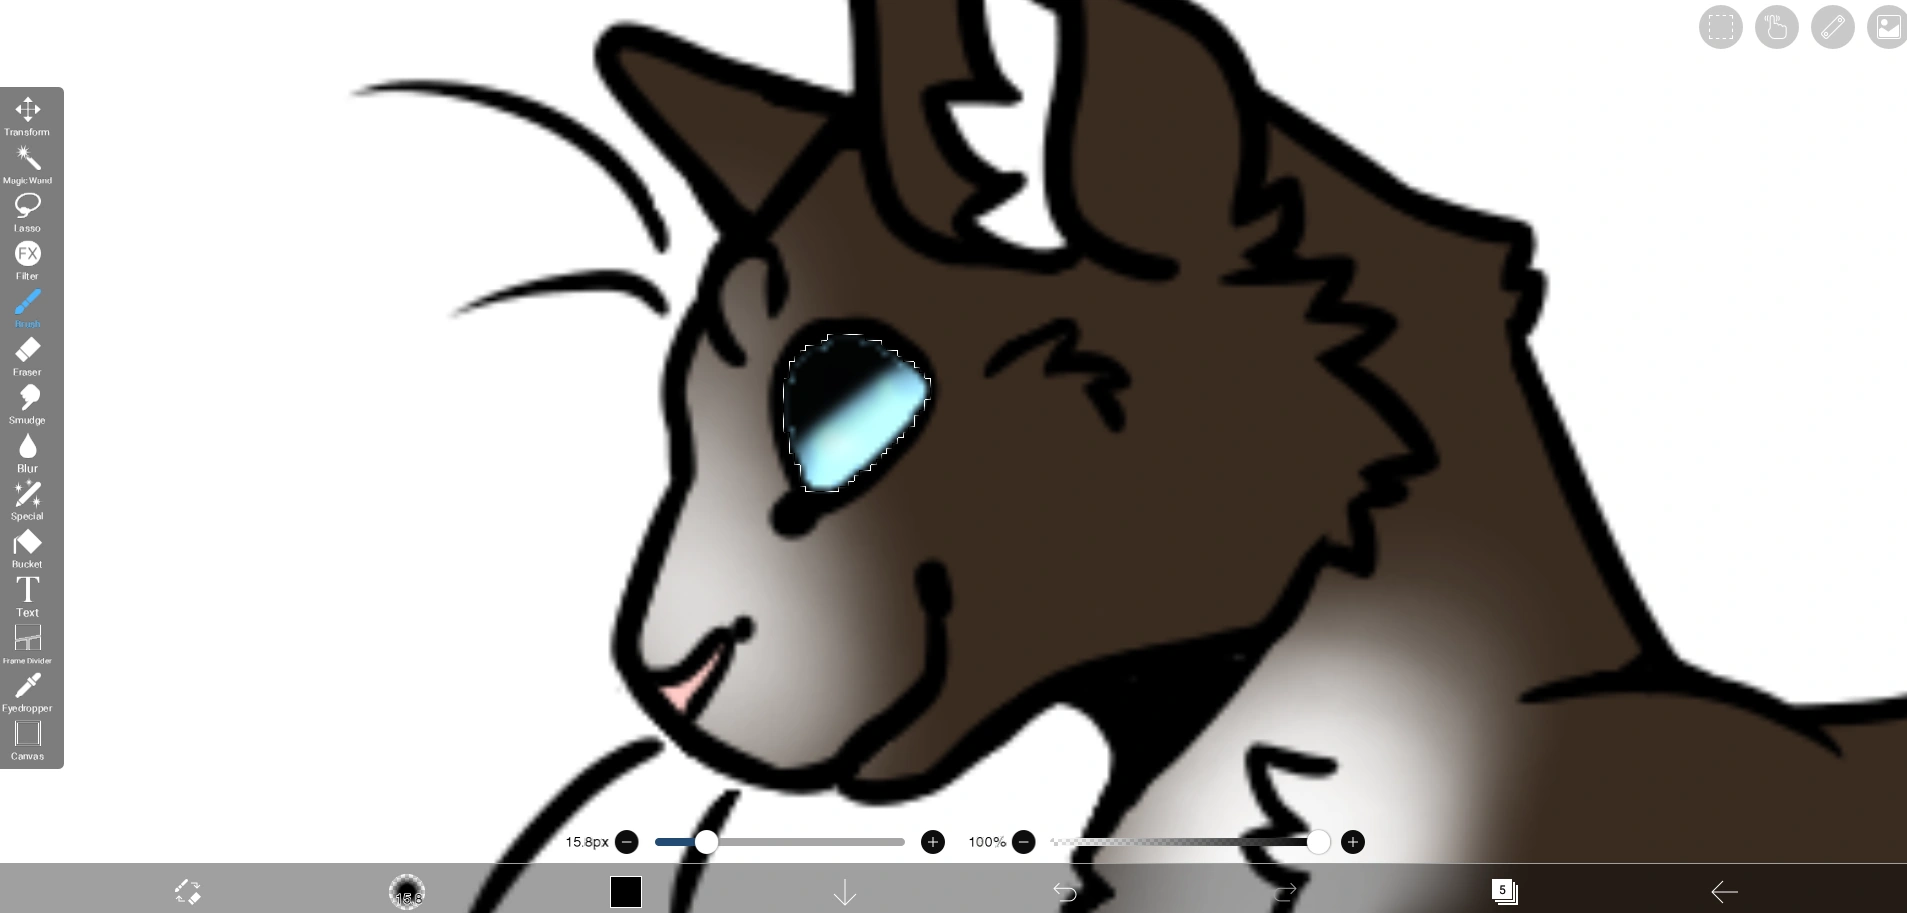
Make a new layer and, in a lighter color than your shading color, make lines like this around the pupils. Blur if you like.
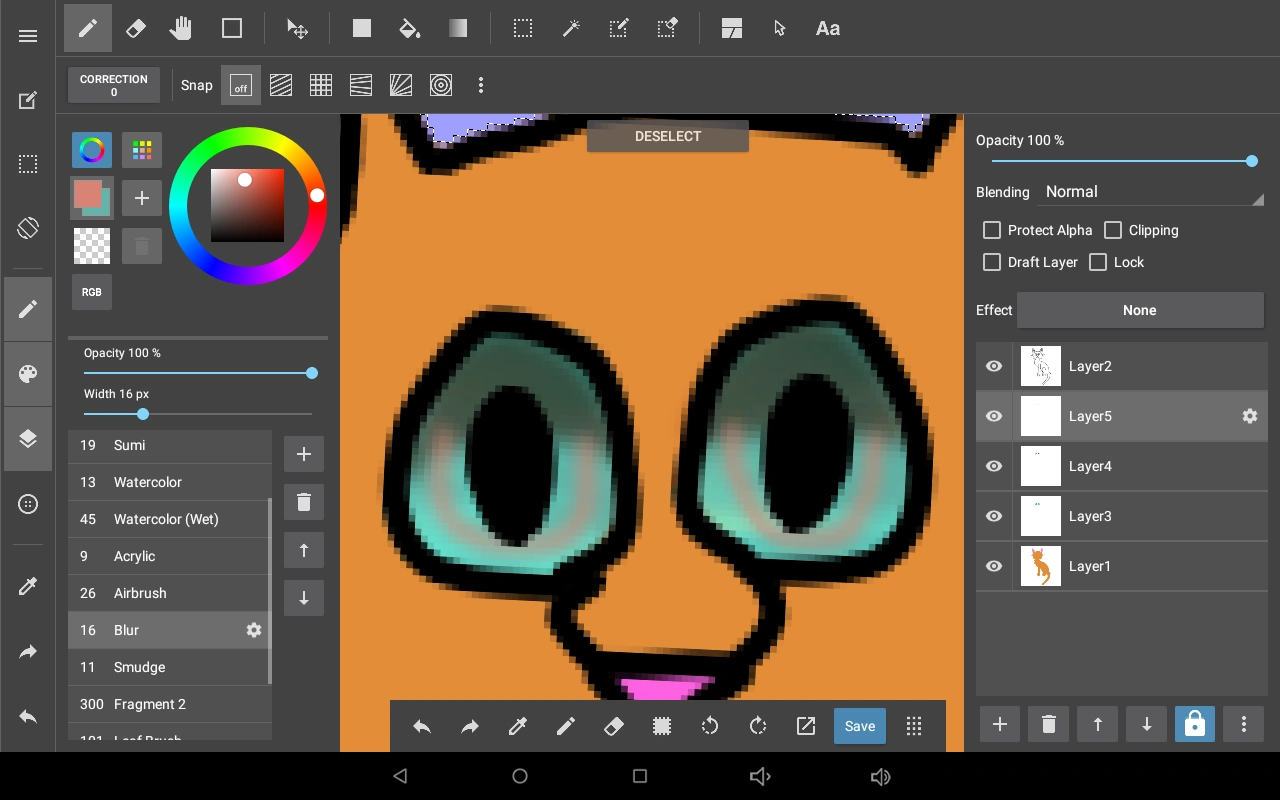
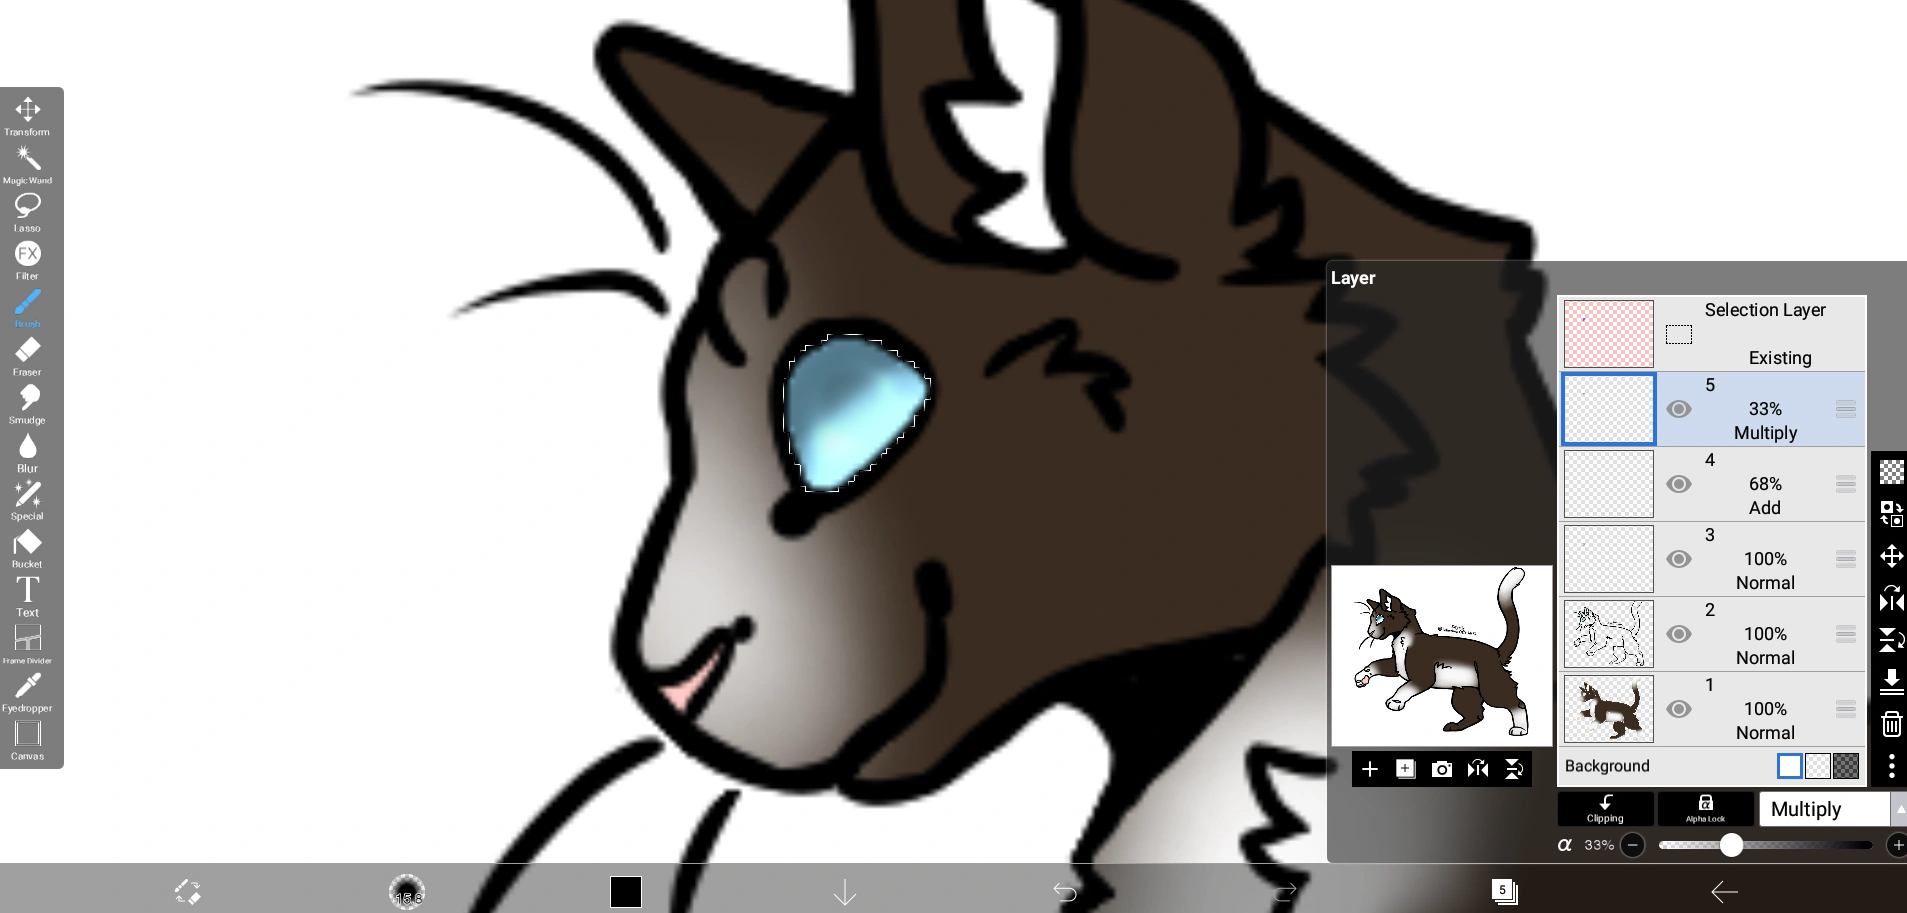
Switch the blending to "add" and turn the opacity down (I went to 50%). On a new layer above your lineart, make circles in the same color, switch to "add" blending, and turn the opacity down (I went to 25%).
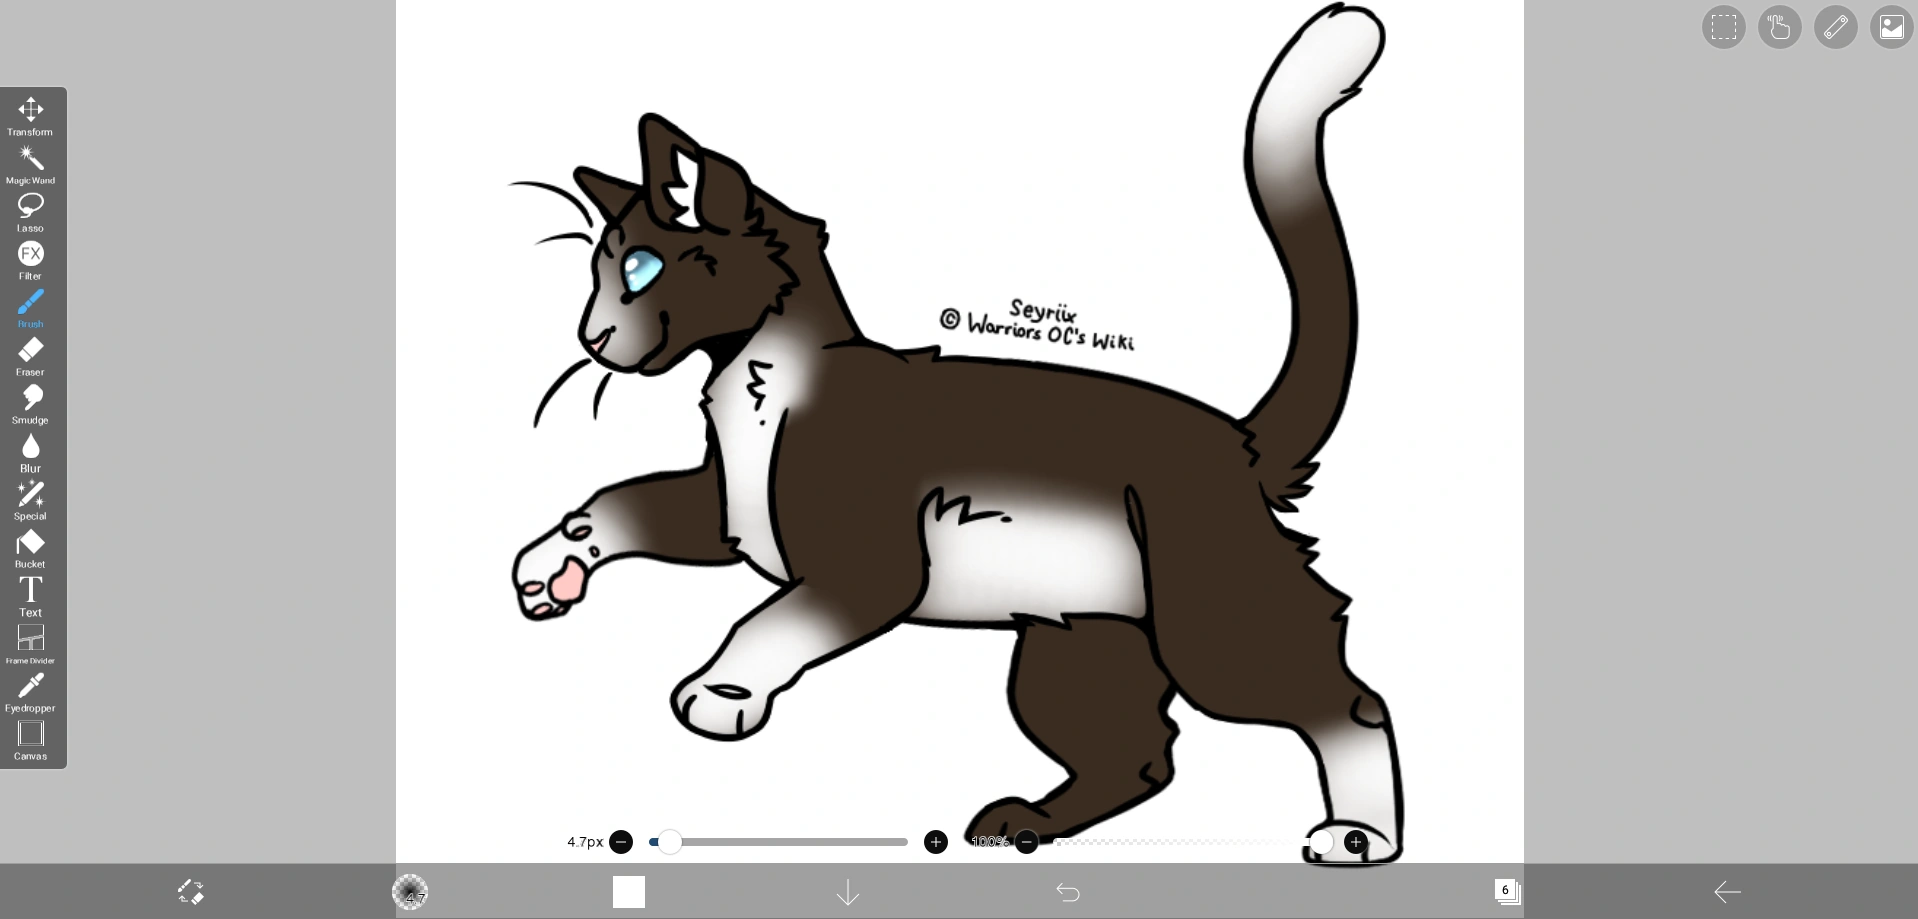
Finally, add the finishing touches, and the eyes are done!
Tabby and White by CloudymoonTheCat[]
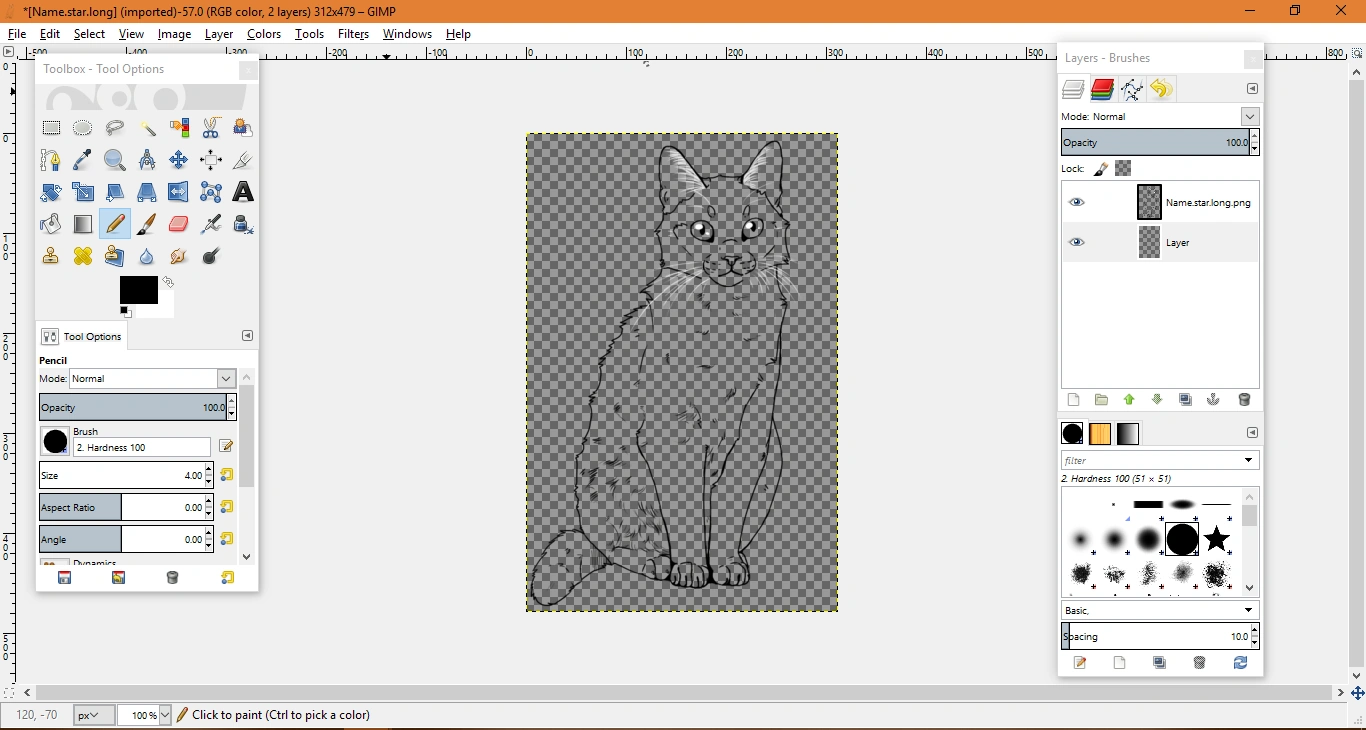
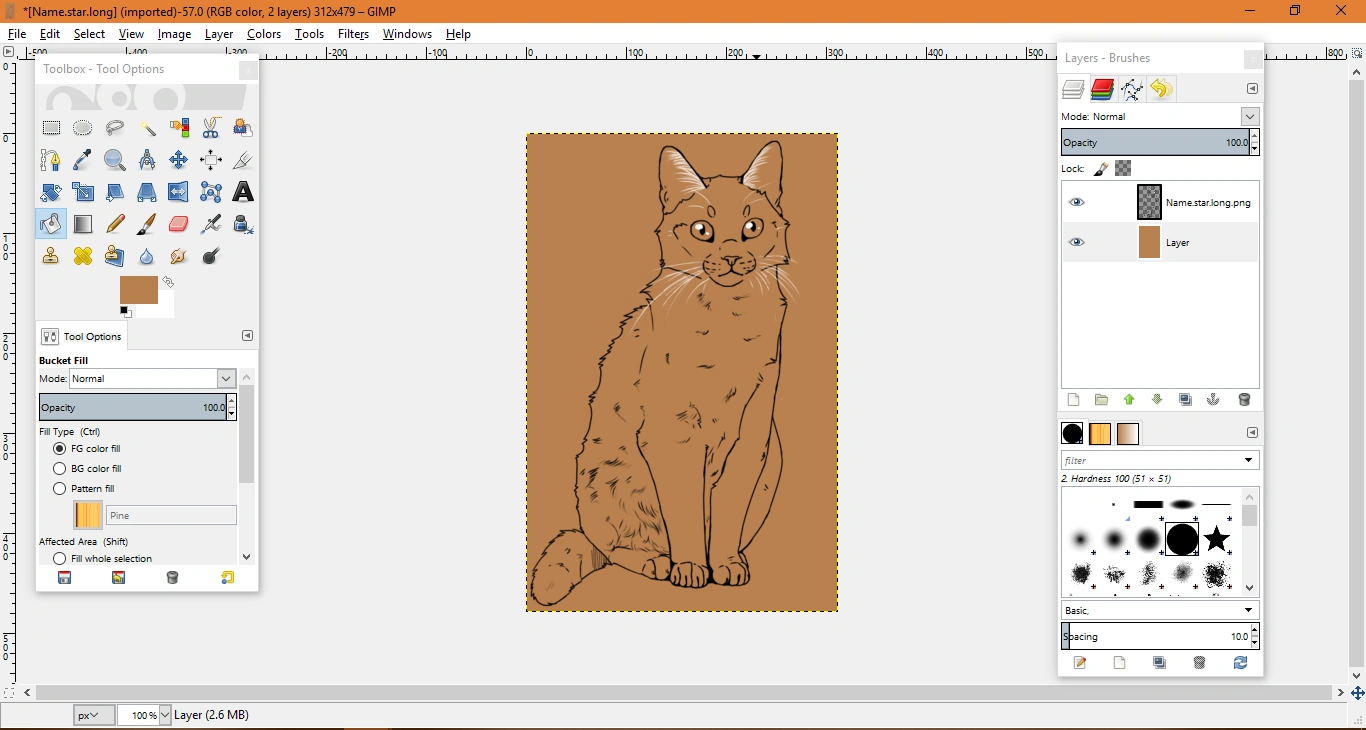
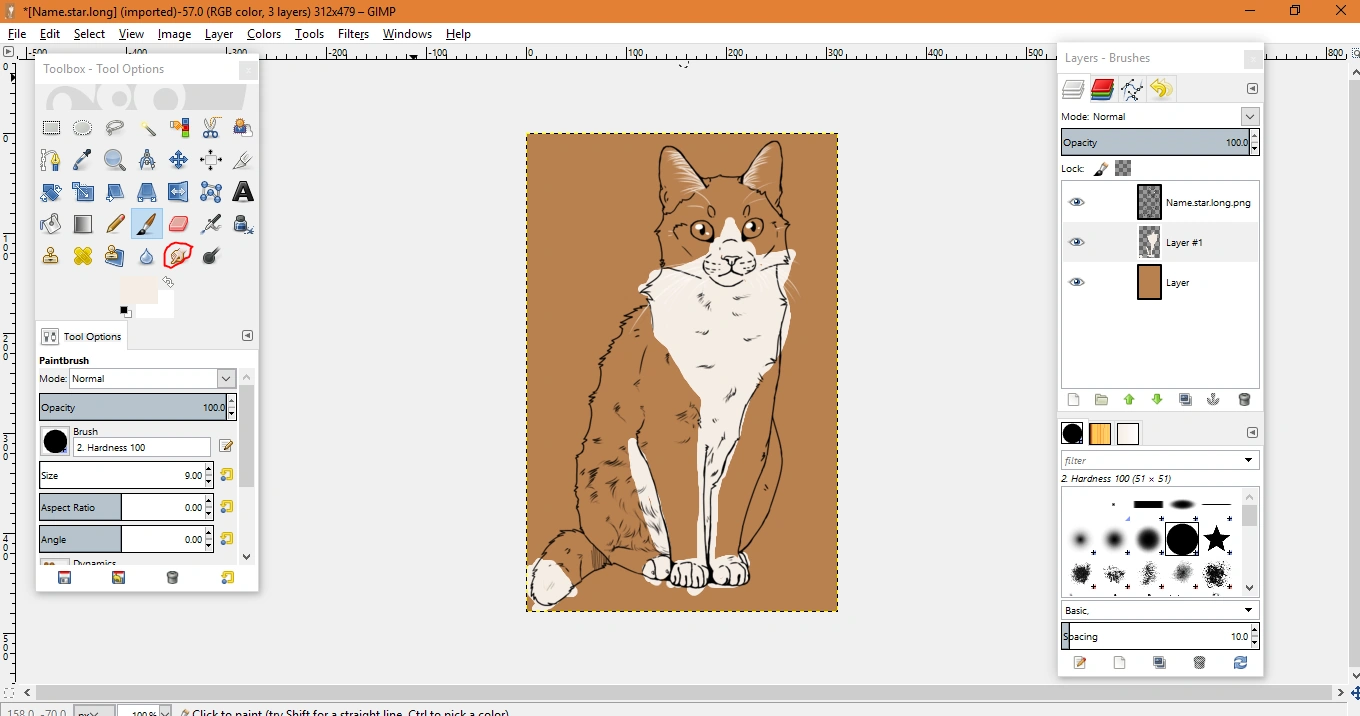
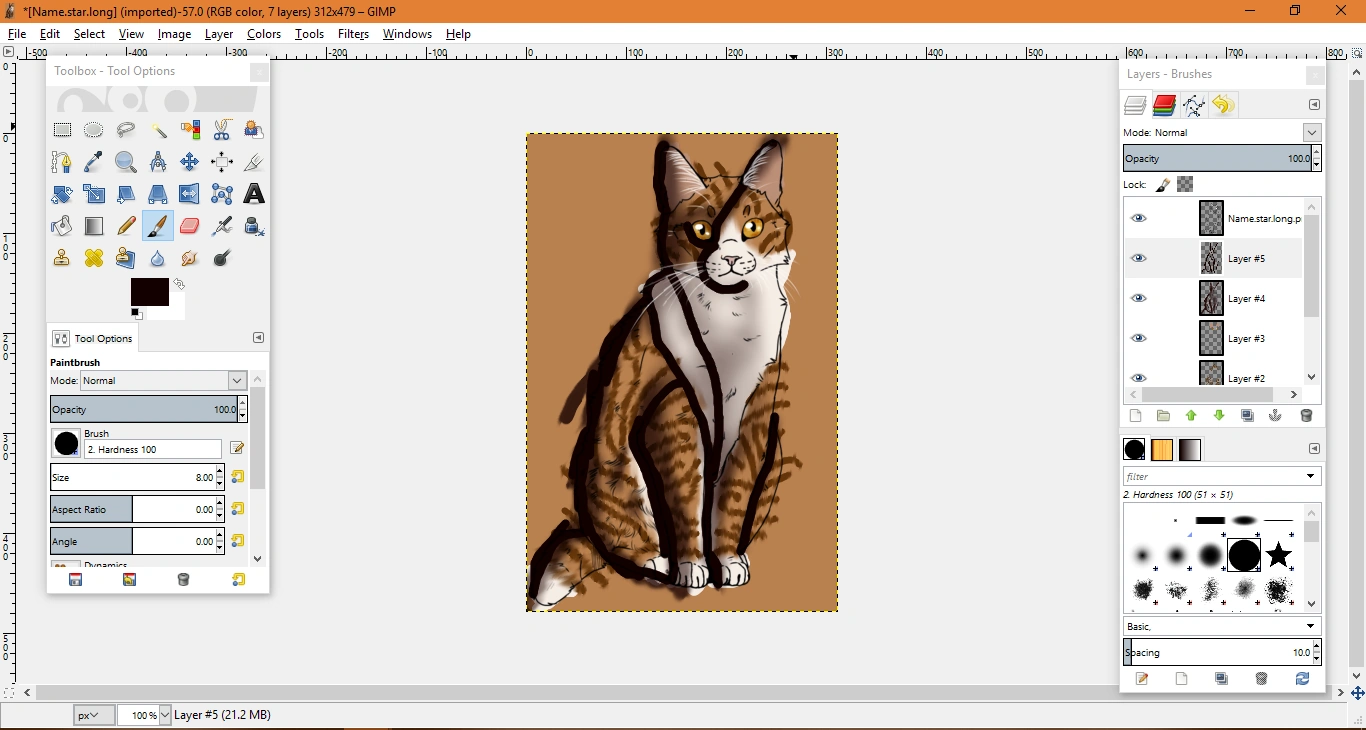
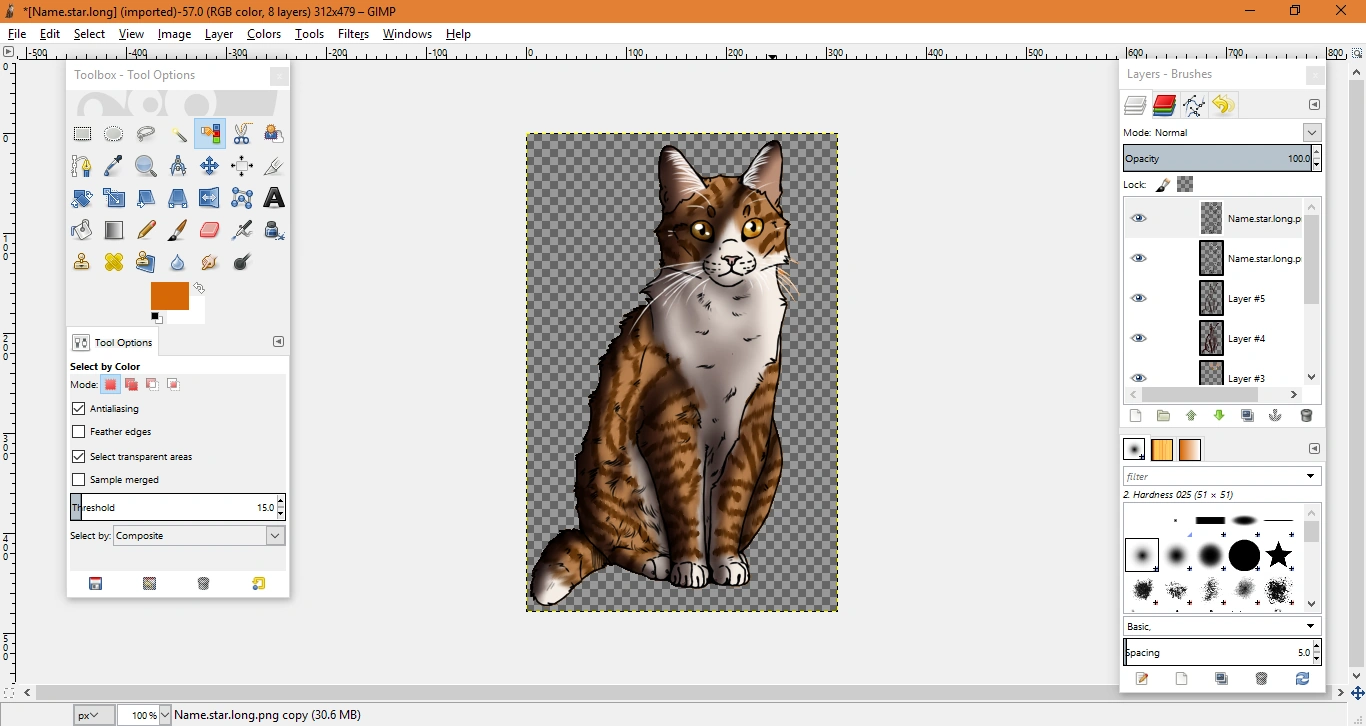
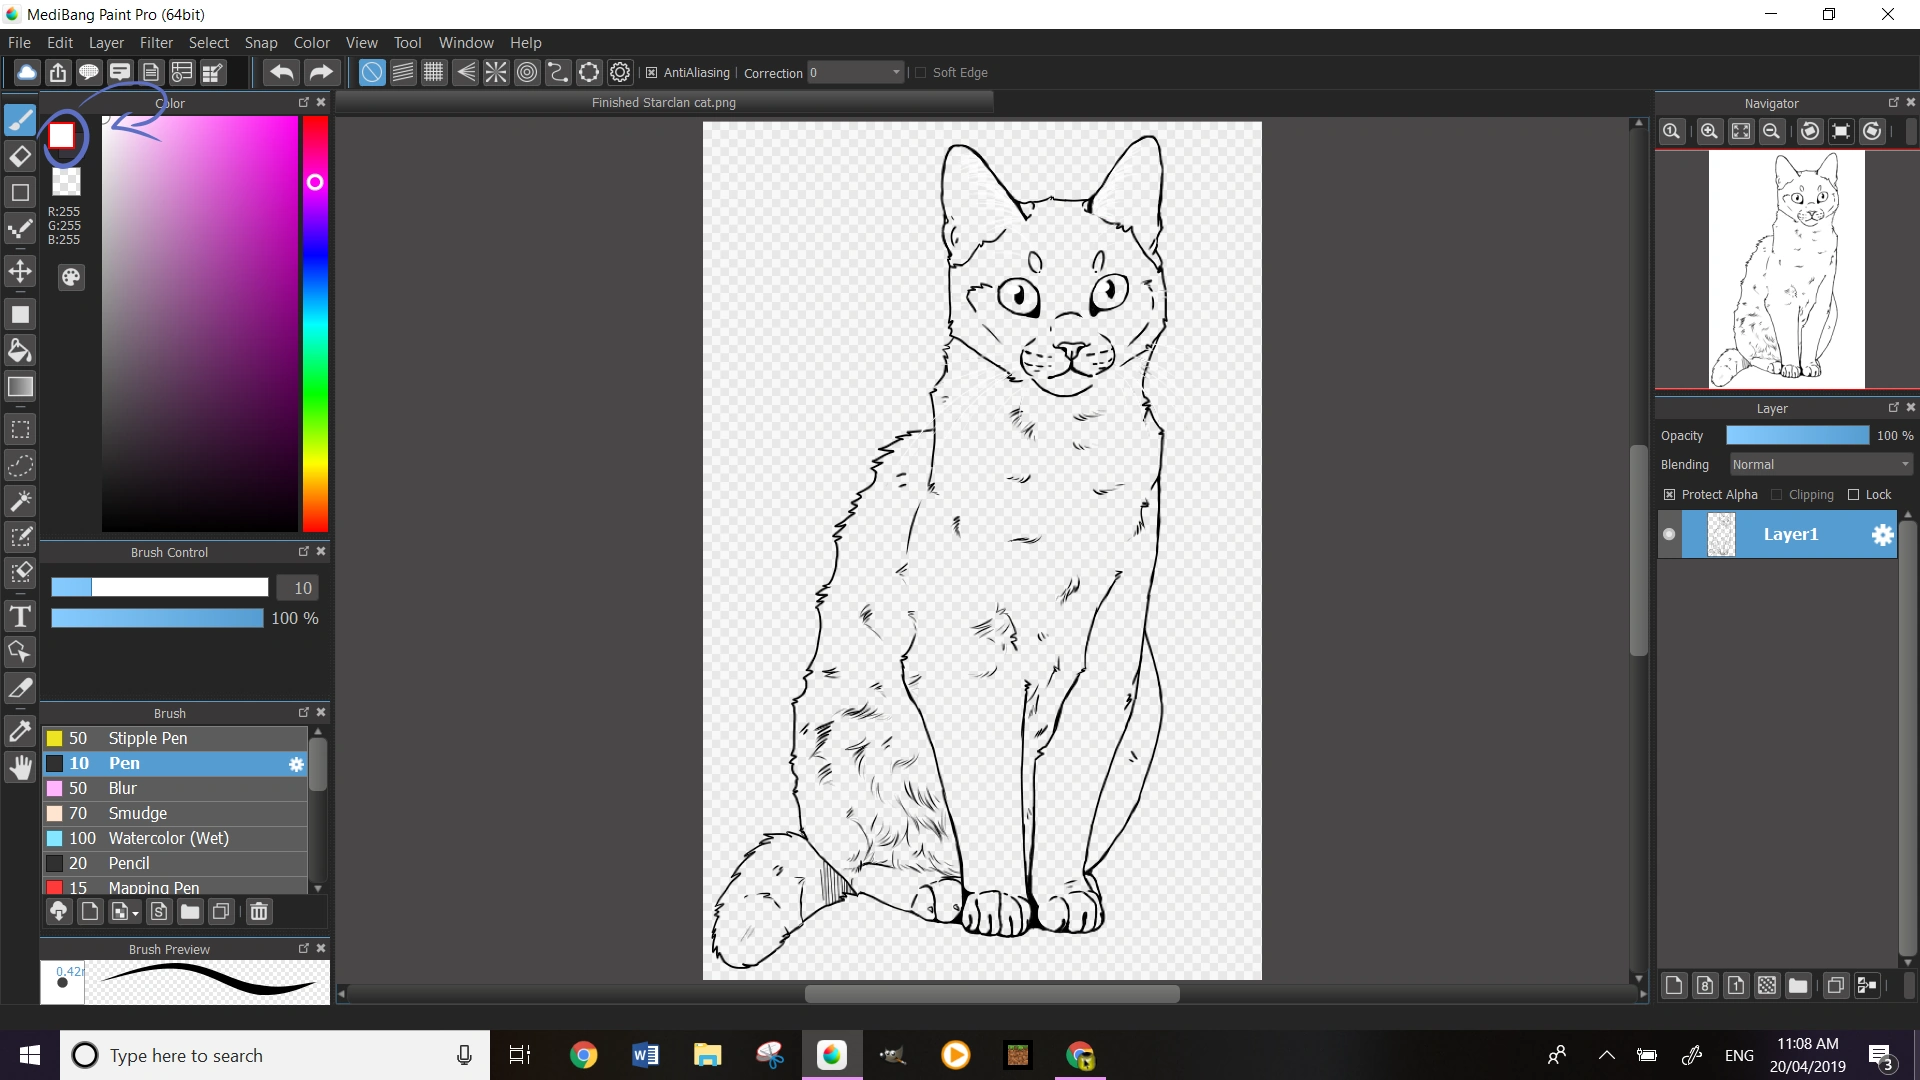
Ok, I'm here to teach you how to do a tabby and white cat! Let's start, huh? So the first step is to download the blank you're going to use, of course. I downloaded the StarClan blank. Now, go to your art program (mine is gimp, so things will be different on others) and click file (it should be at the top of your screen) / open / and then click on the blank you're going to click, and then open. A new tab will pop up, and in it, you'll see your line-art. It'll look something like that:
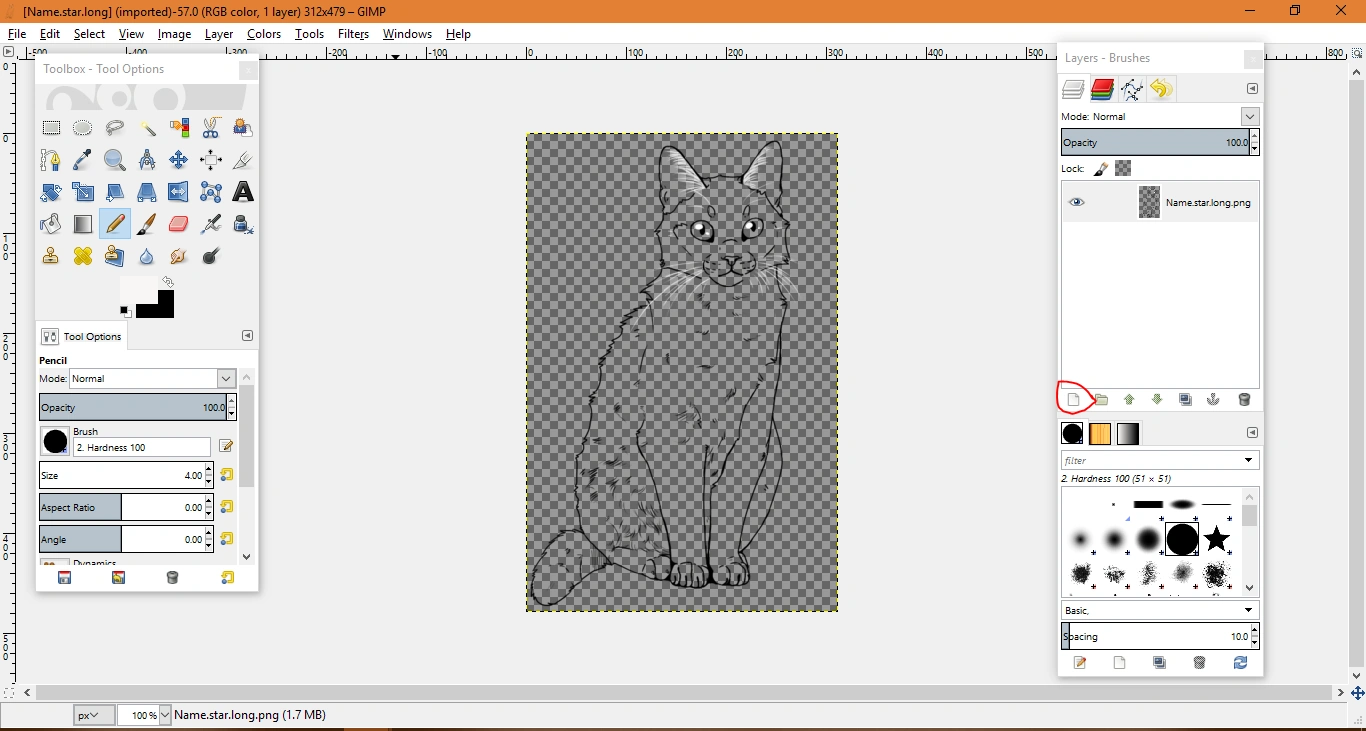
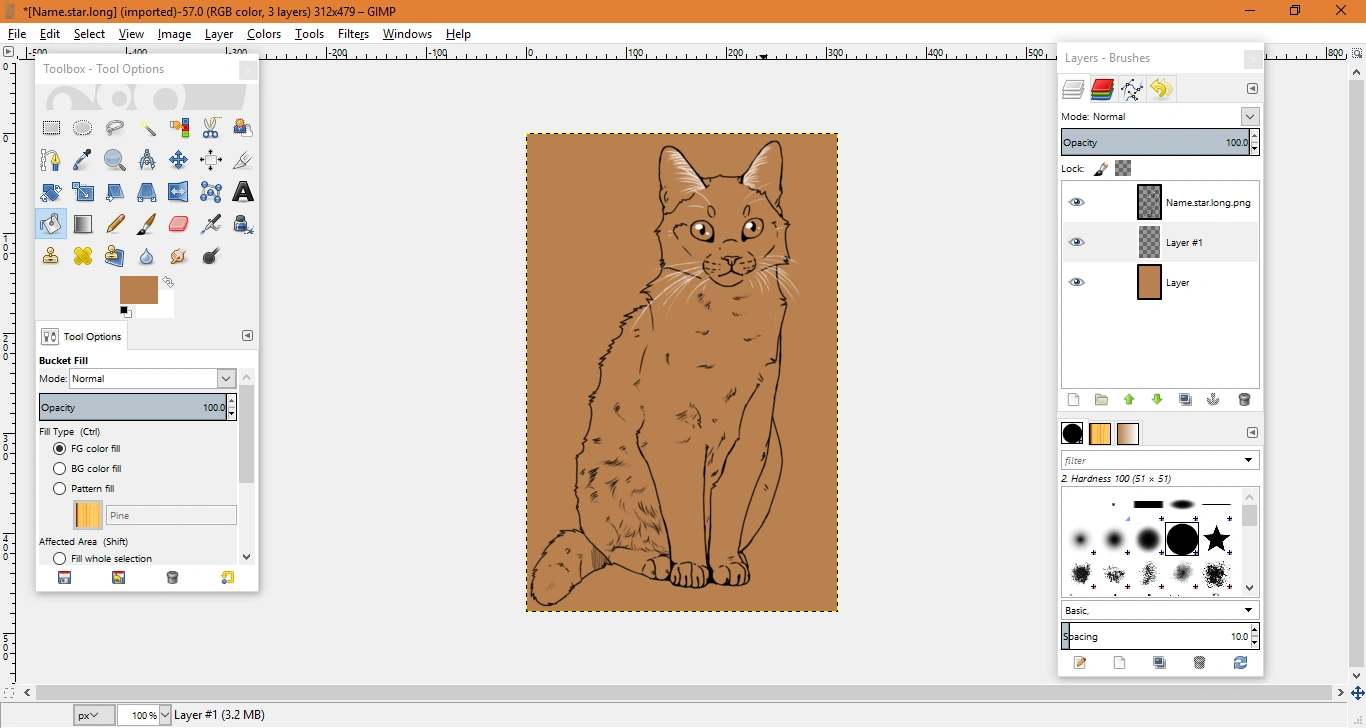
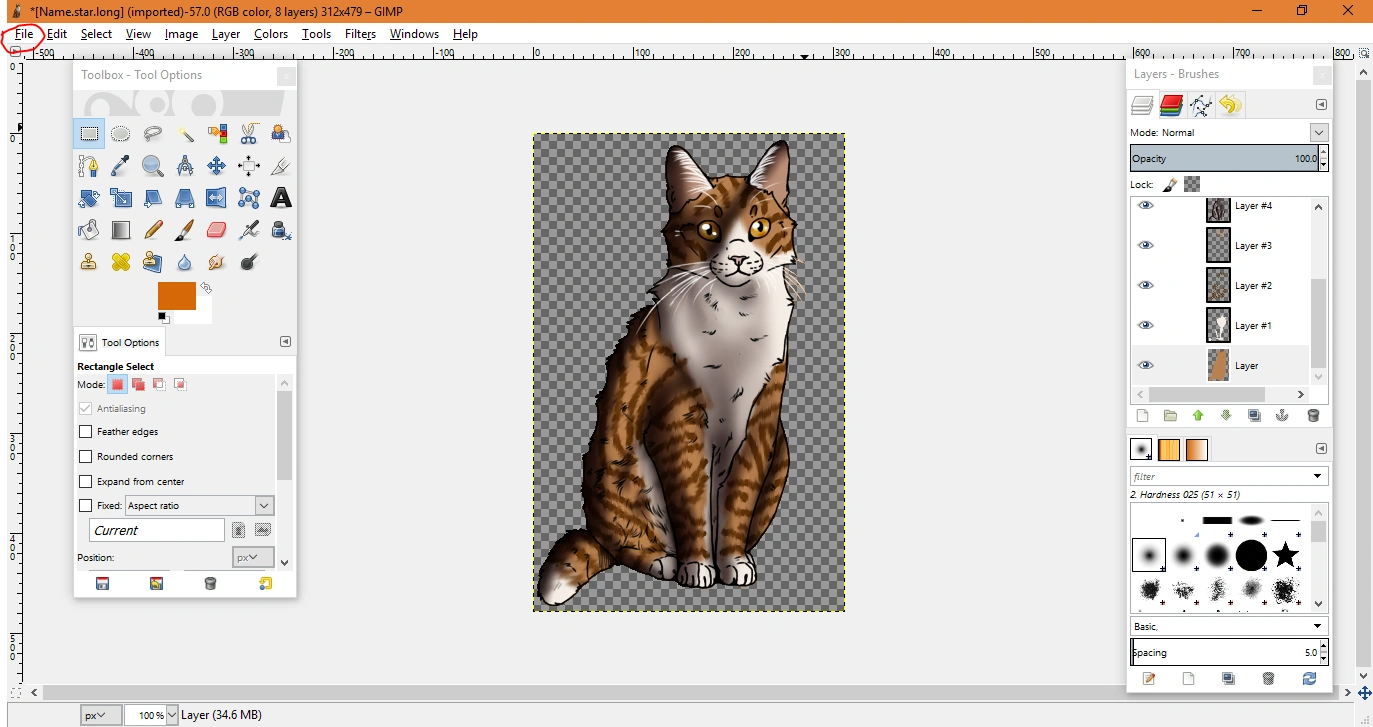
Saw the red circled small thing? This is the button used to create a new layer. Click on it. A box will pop and ask you about the size of that layer. Don't touch anything, just click 'ok'. Your screen will now look like that:
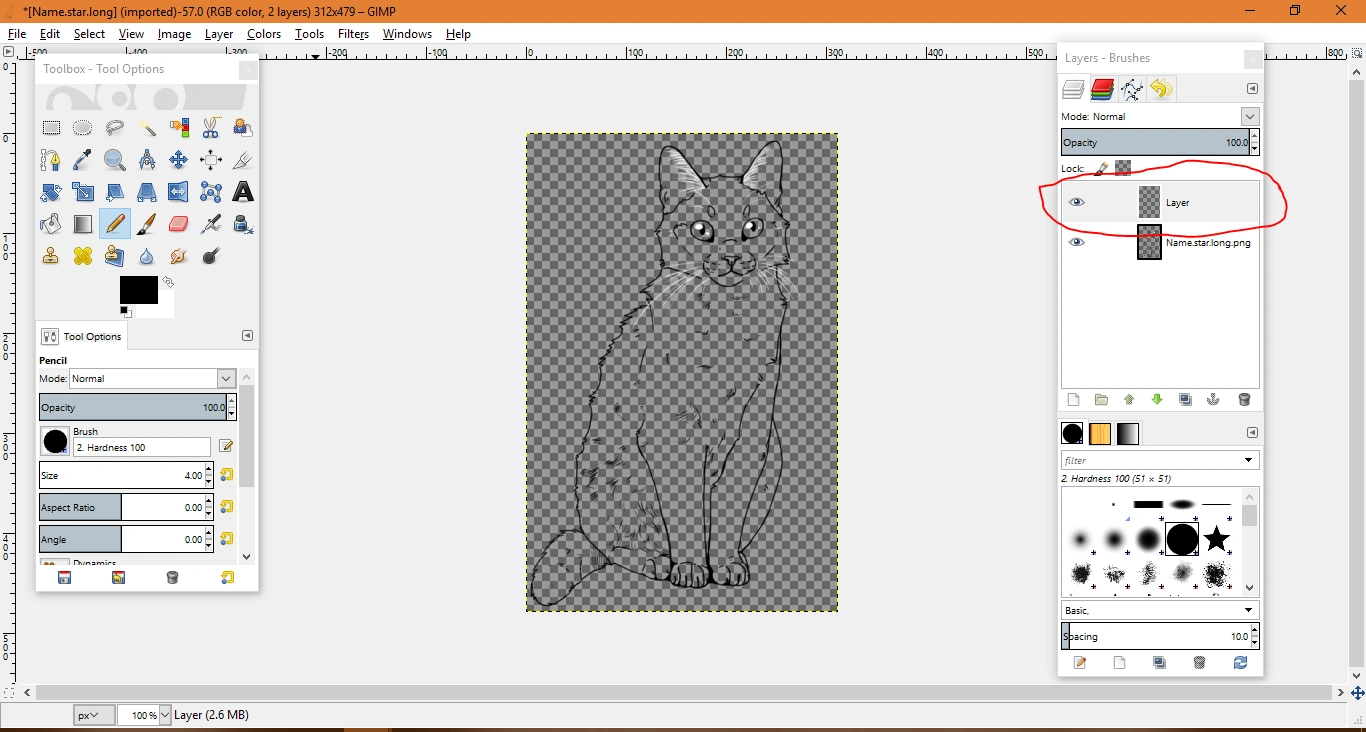
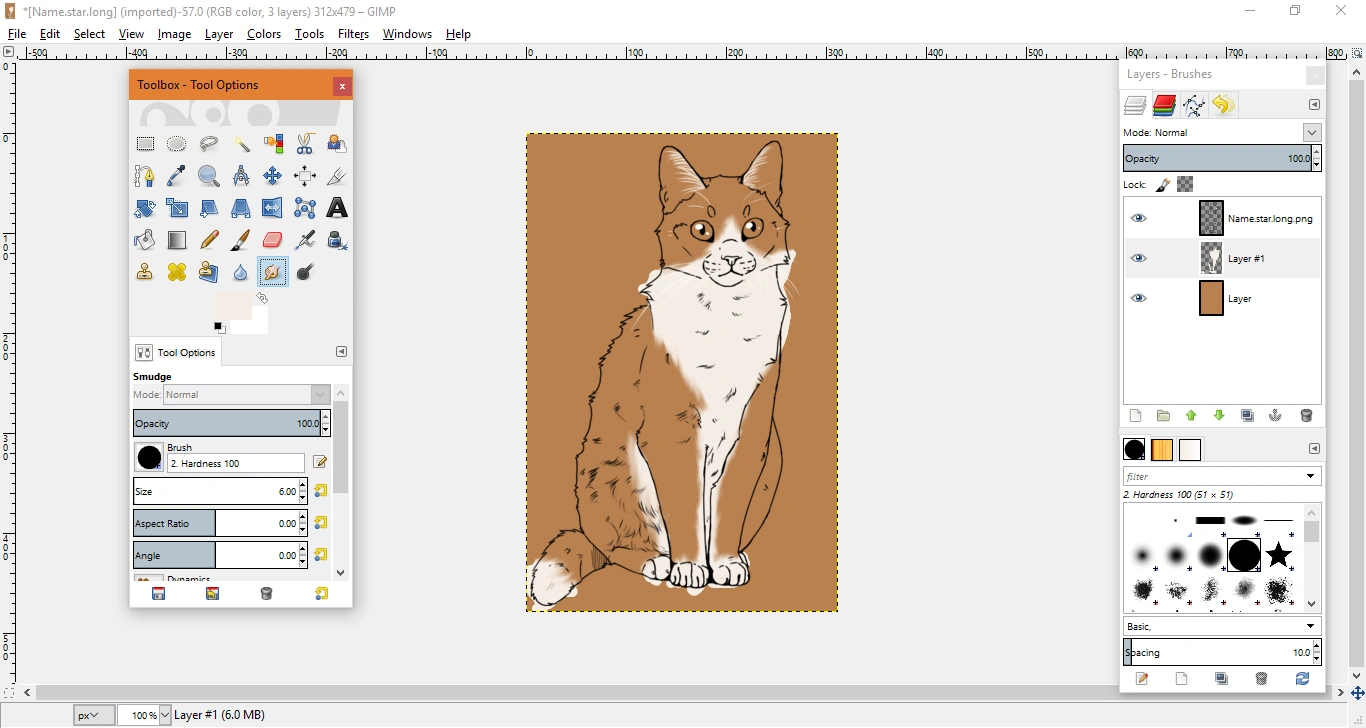
I circled in red your new layer which is named 'layer'. It is currently above the line-art layer. You want it to be below the line-art layer. Click on the layer and just drag it to be below the line-art layer. Your screen will now look like that:
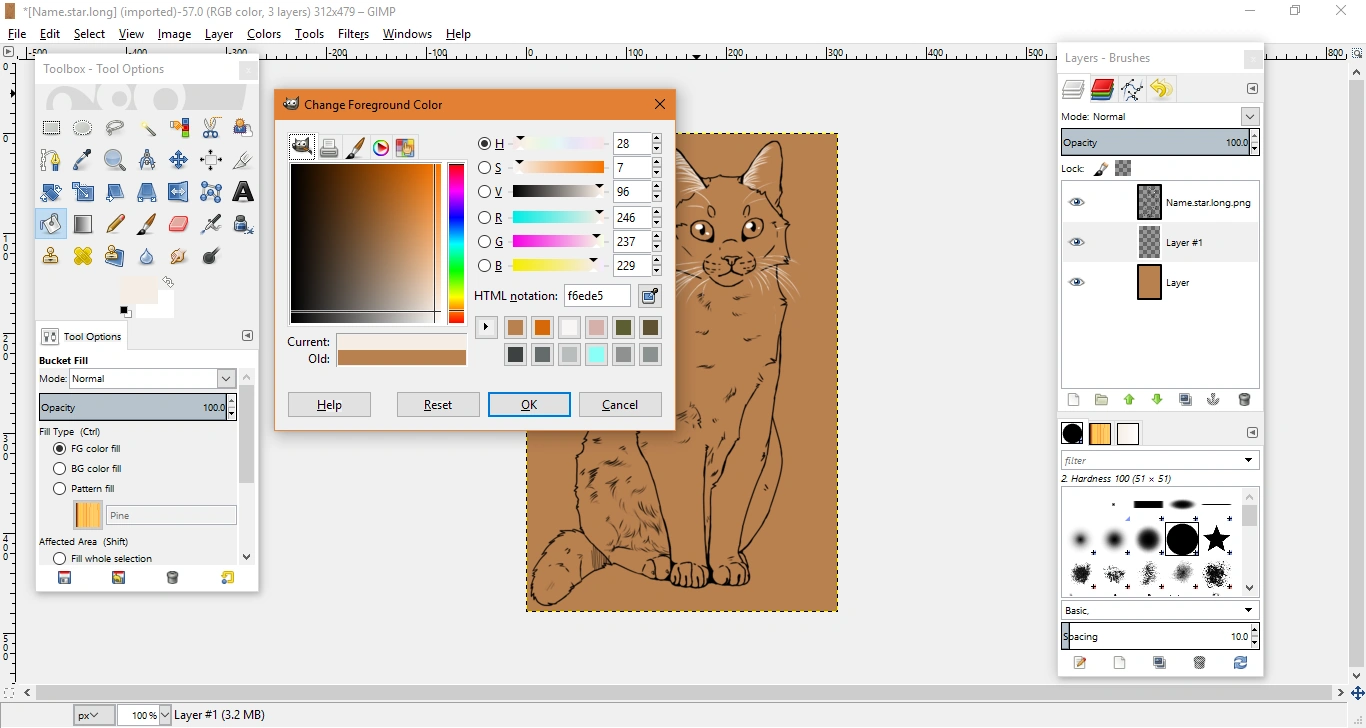
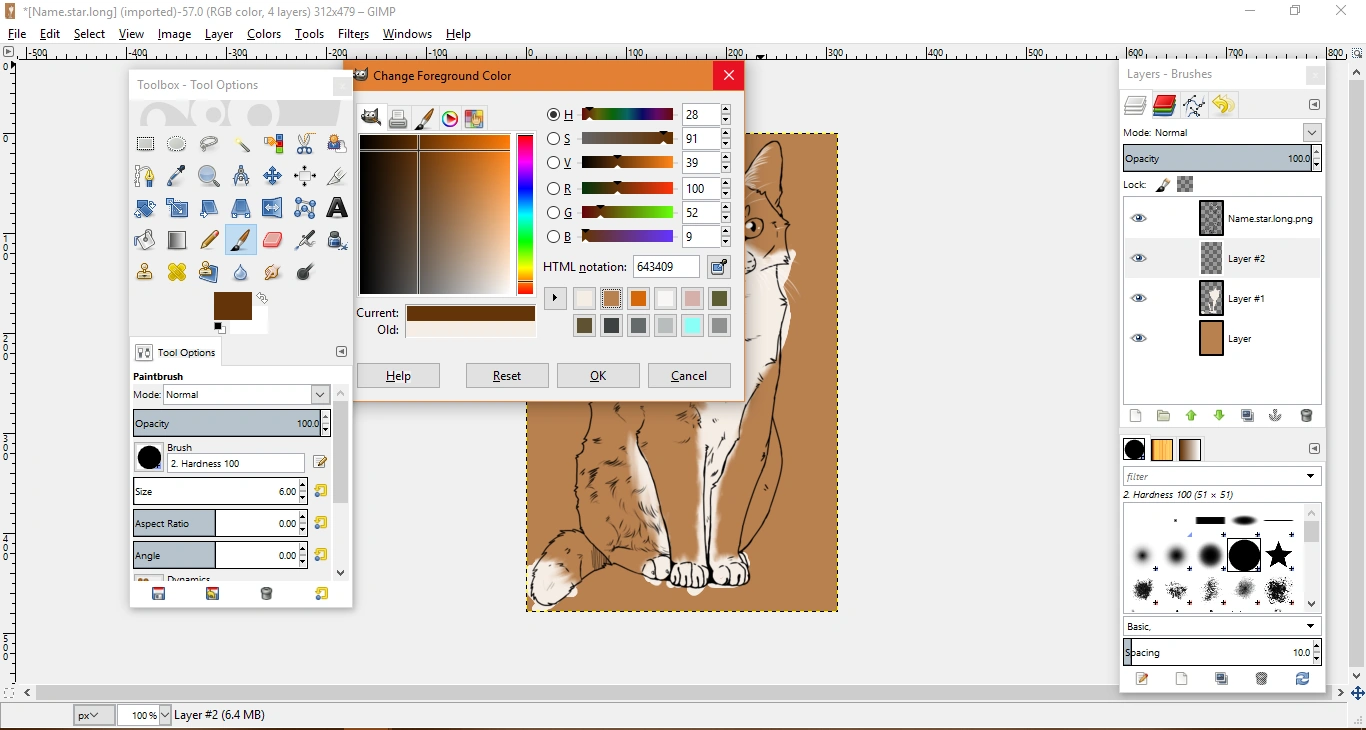
Do you see the black and white squares? Click on the black one, and a new box that will look like that will appear:
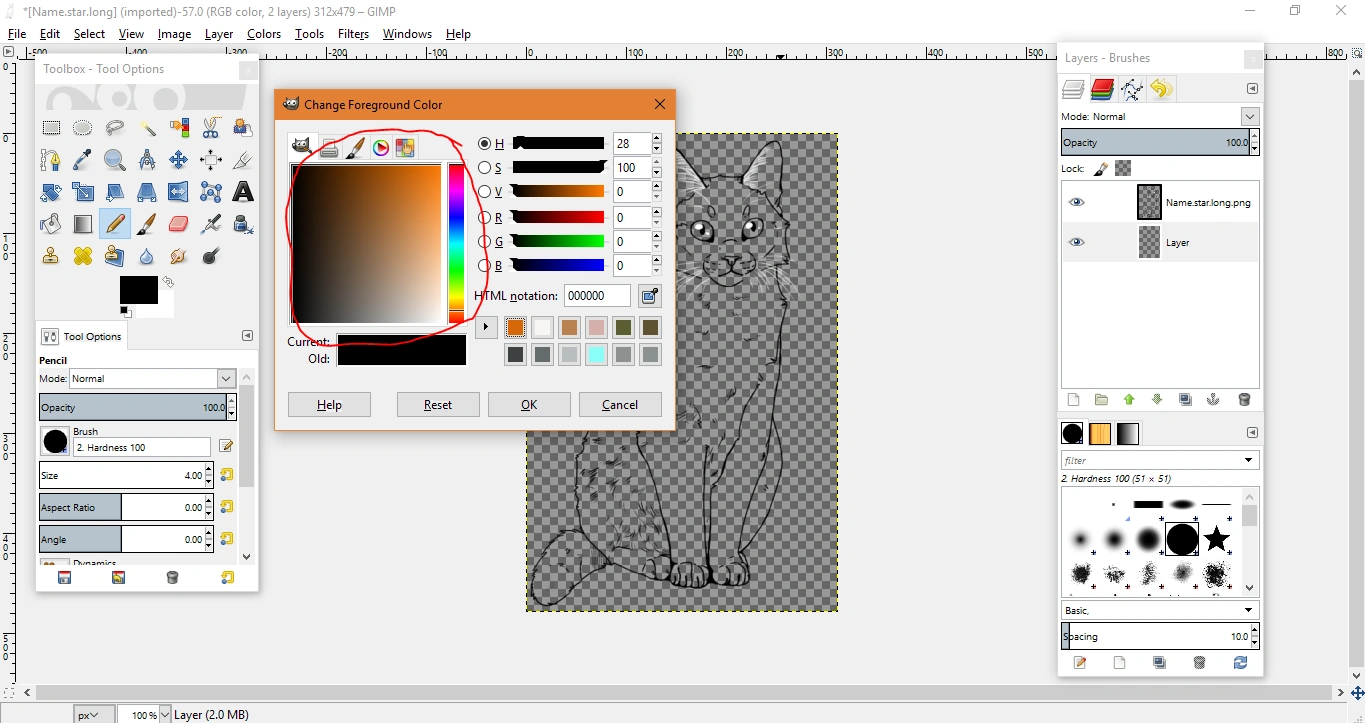
I circled the box in red. This is where you can change the colour you'll colour in. Change it from black to your base colour - I took some sort of fawn.
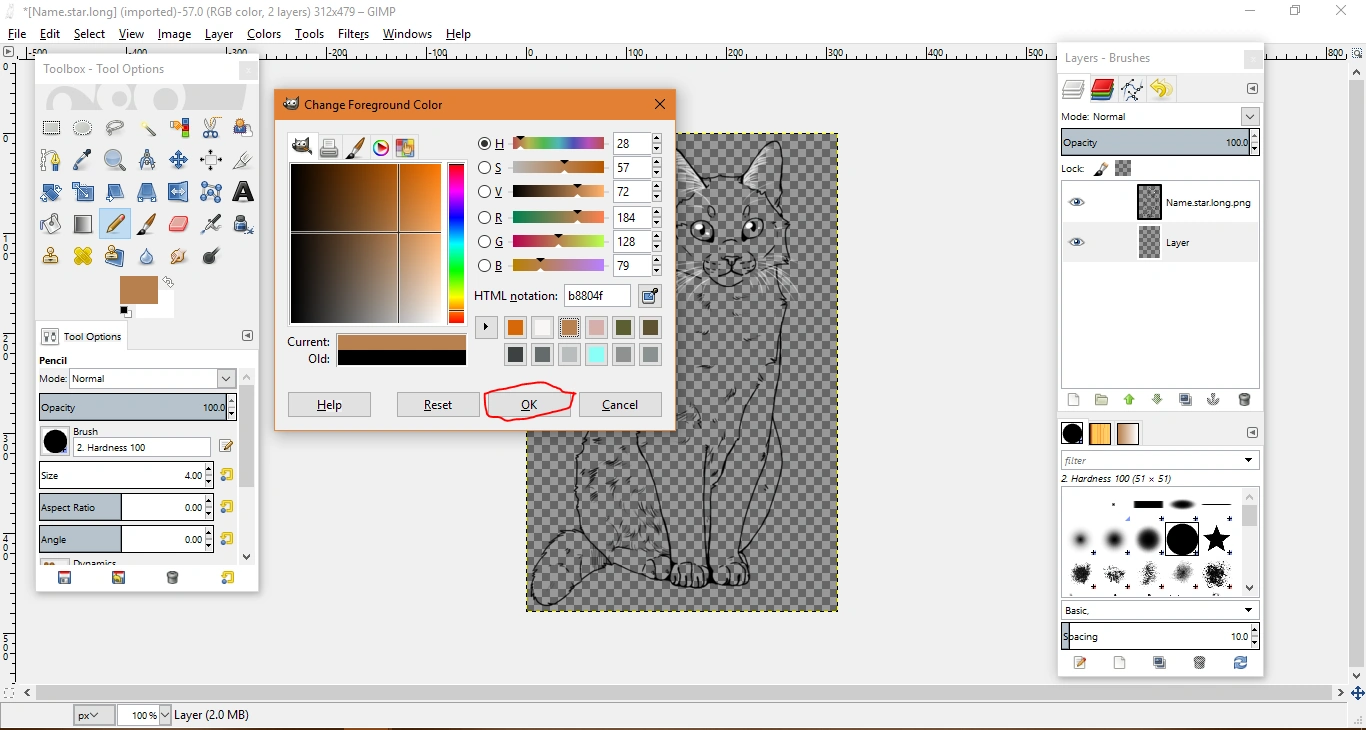
After you're happy with your colour, click on the 'ok' button, which I circled in red.
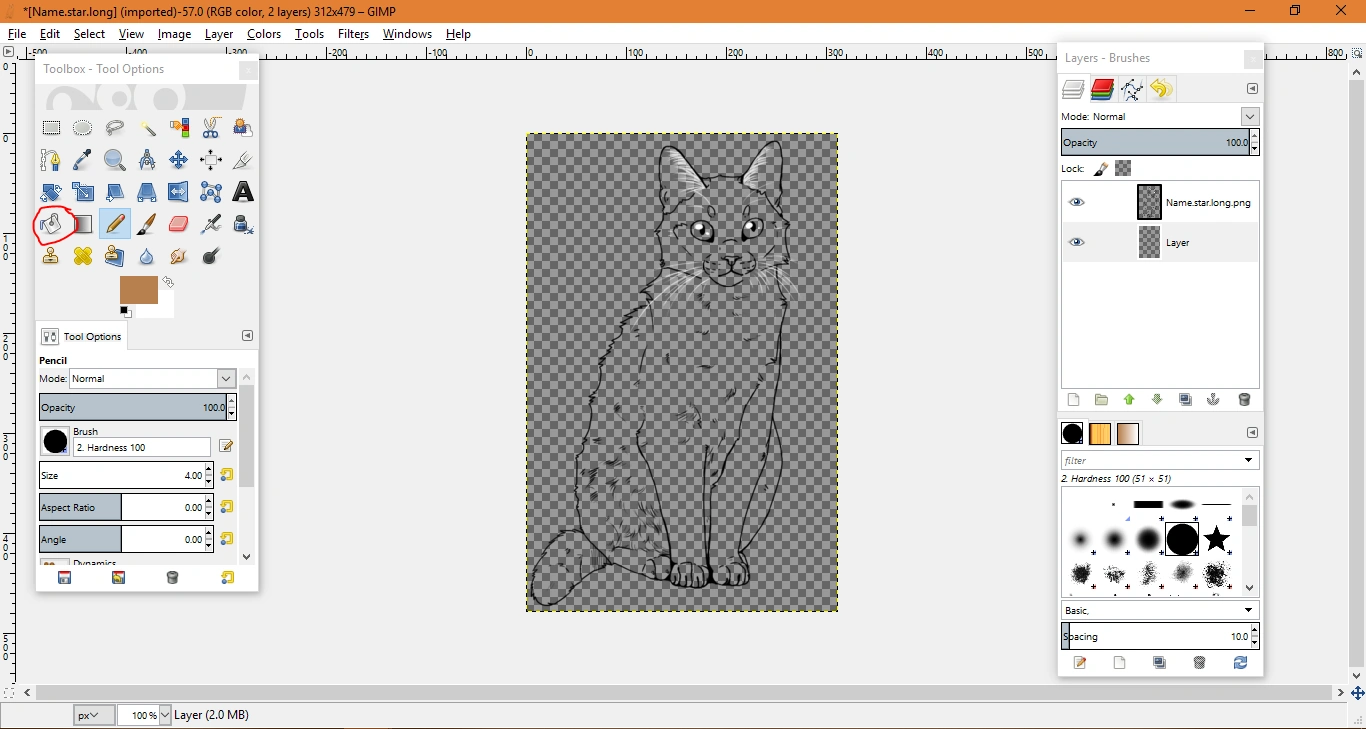
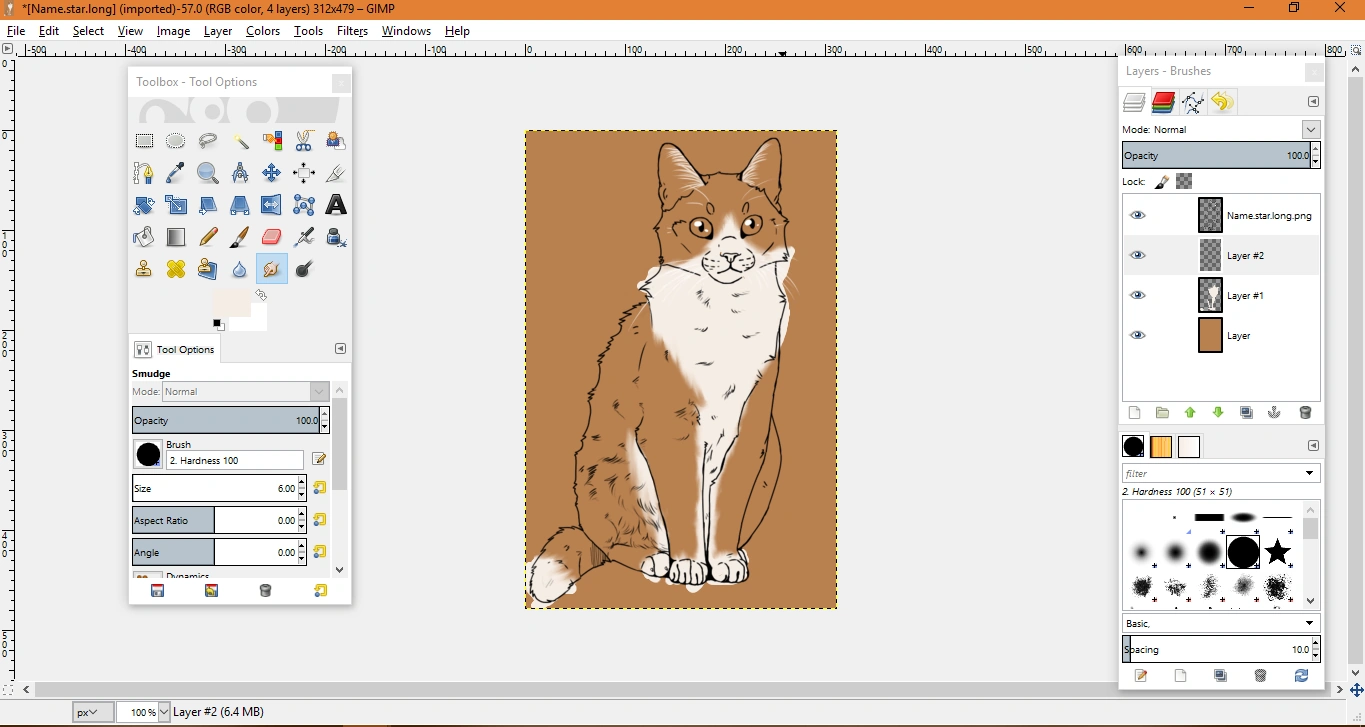
Now take the bucket tool (circled red) and click inside the cat. It will look like that:
Now create a new layer, and place it above the layer with your base colour but below the line-art.
Pick a very pale colour, almost white:
Click 'ok'.
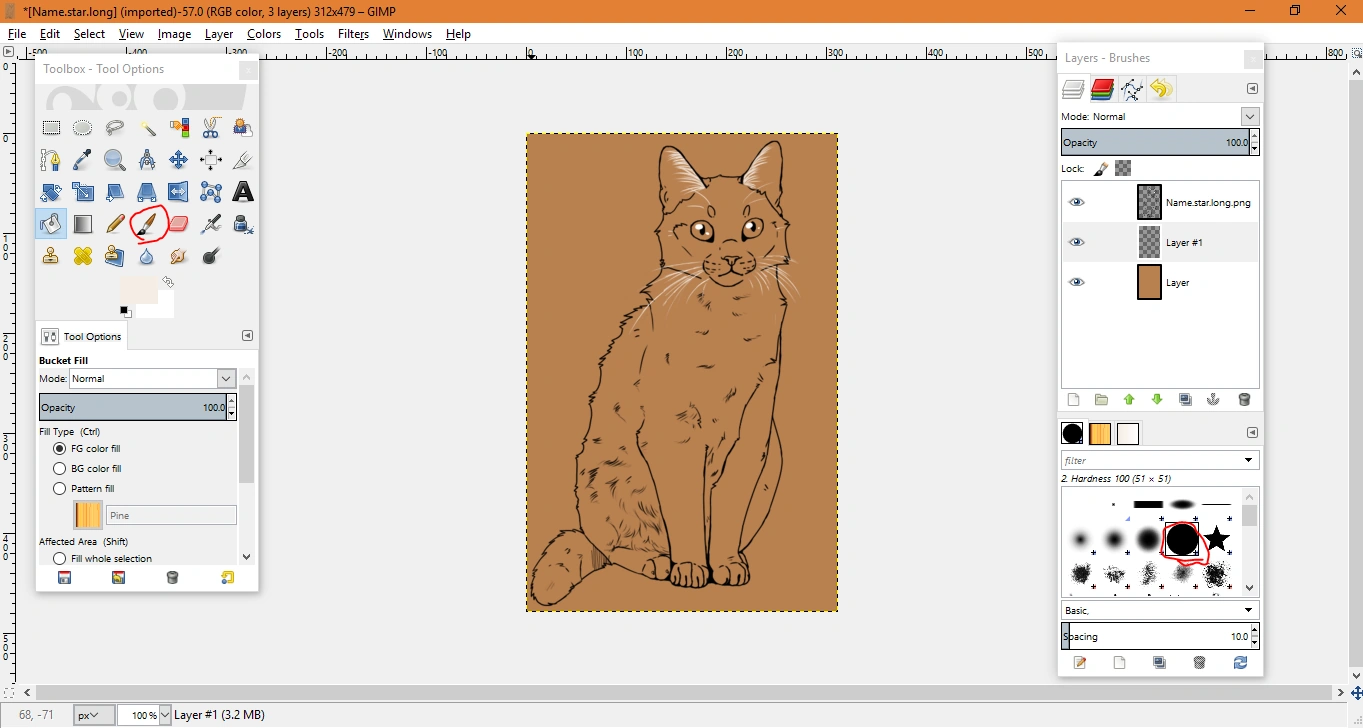
See the things that I circled in red? The one that looks like a brush is named the brush tool. You're going to use it to colour... well, like a brush. The second thing, which simply looks like a circle, is the way your brush is going to look. This is a round brush with a 100 hardness. Now, just start colouring!
Oh well. It looks pretty hard-edged, huh? Take the smudge tool (circled red) and gently go over the edges of the white.
That looks better! Create a new layer, above the layer with the white but below the one with the line-art:
Now pick a colour darker than your base color:
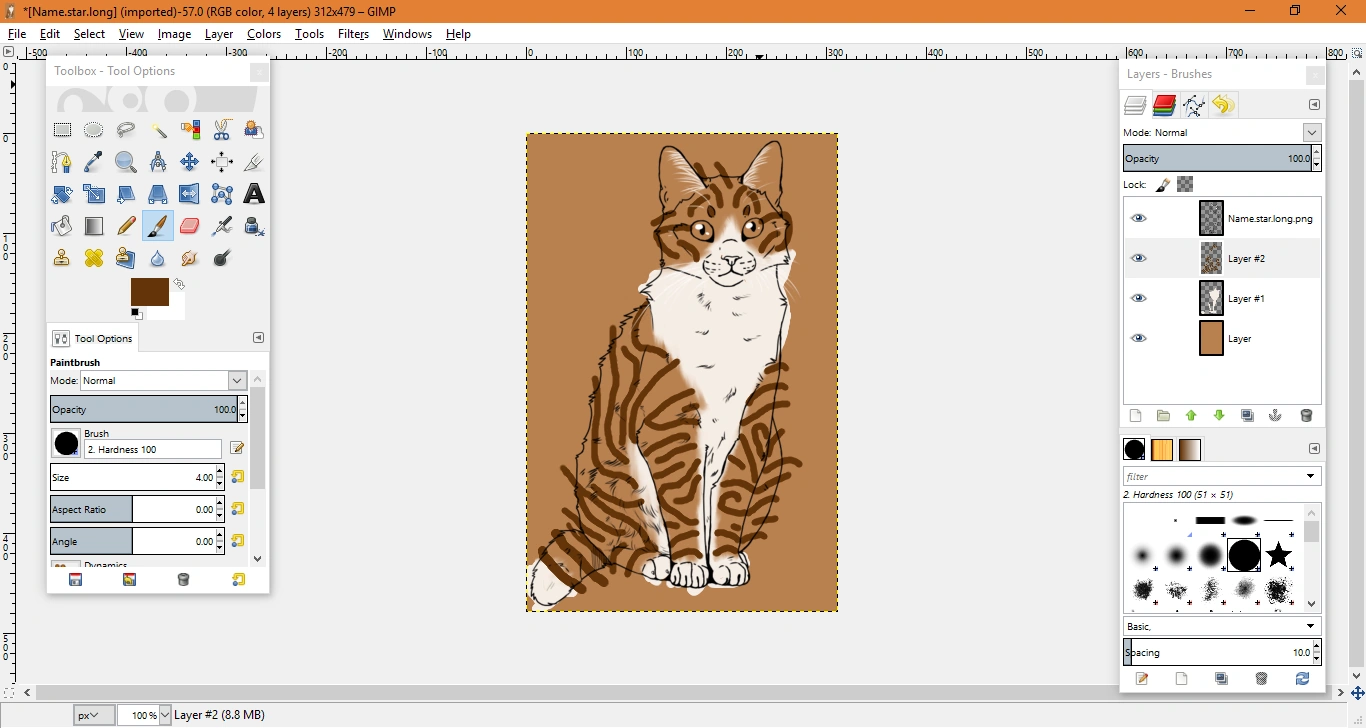
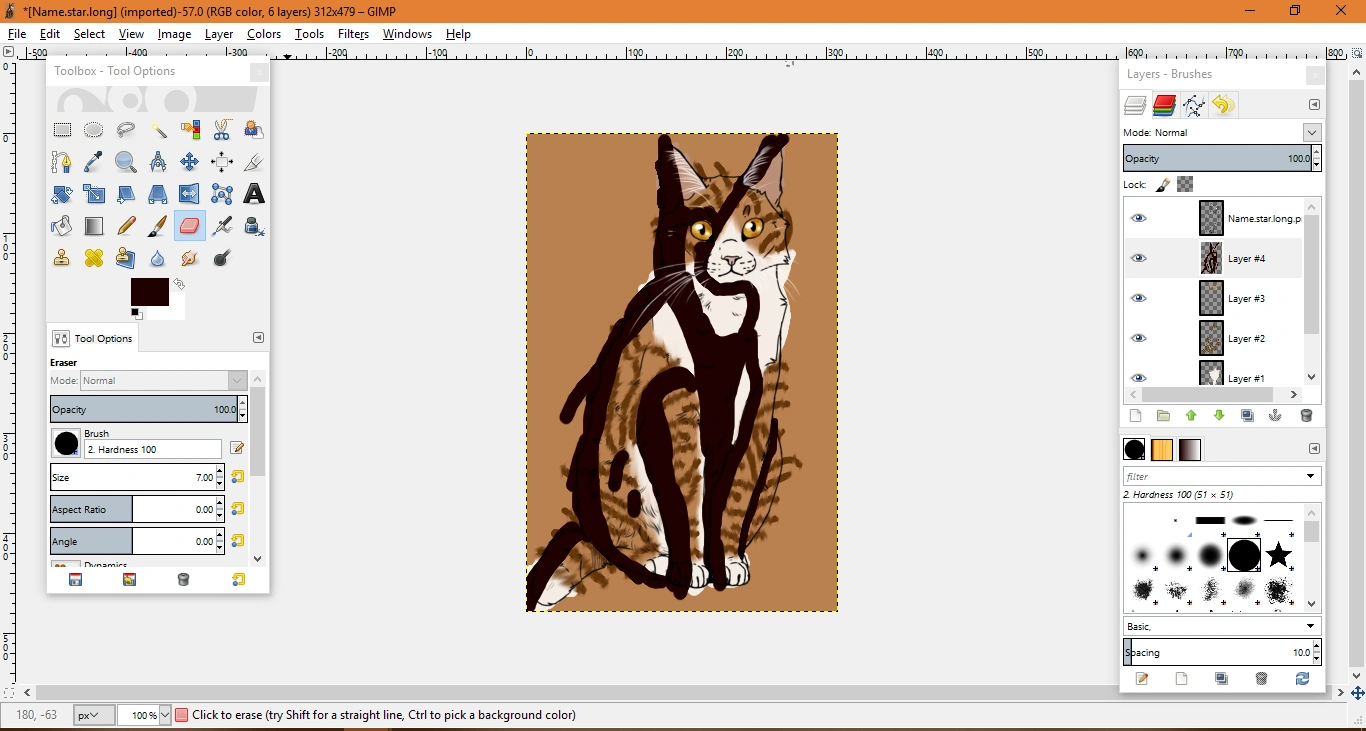
Now take the brush tool again and probably turn the size down a little ( I used 4) and start drawing your stripes.
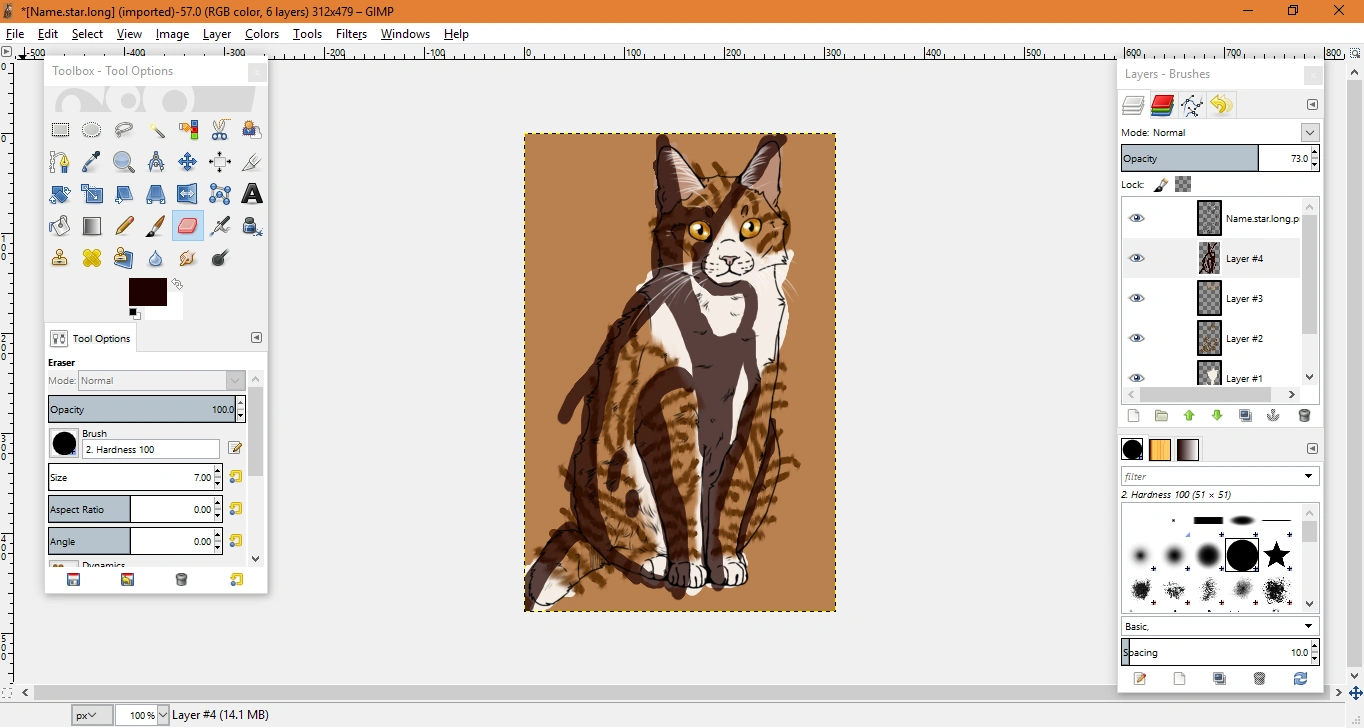
That took a while! I'm pretty proud of that pattern. But the stripes look pretty sharp, huh? Take the smudge tool again and smooth the stripes.
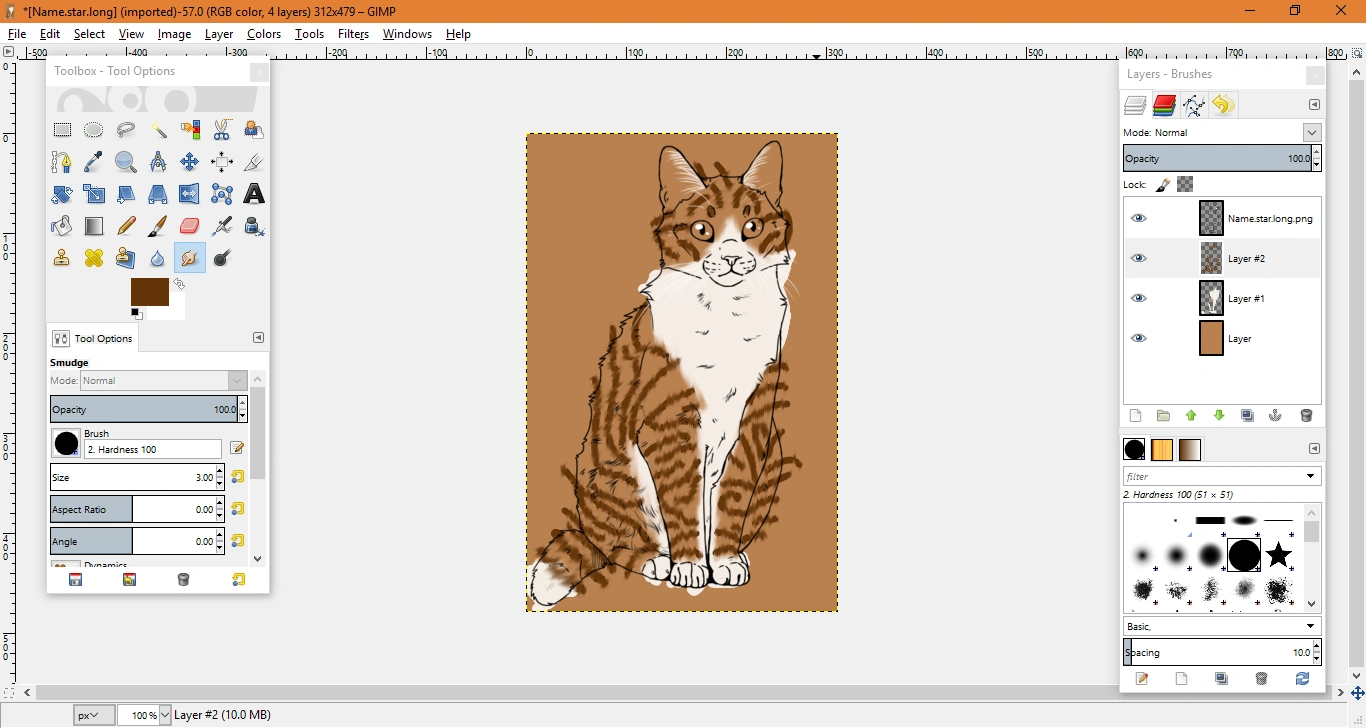
That looks better, huh?coming
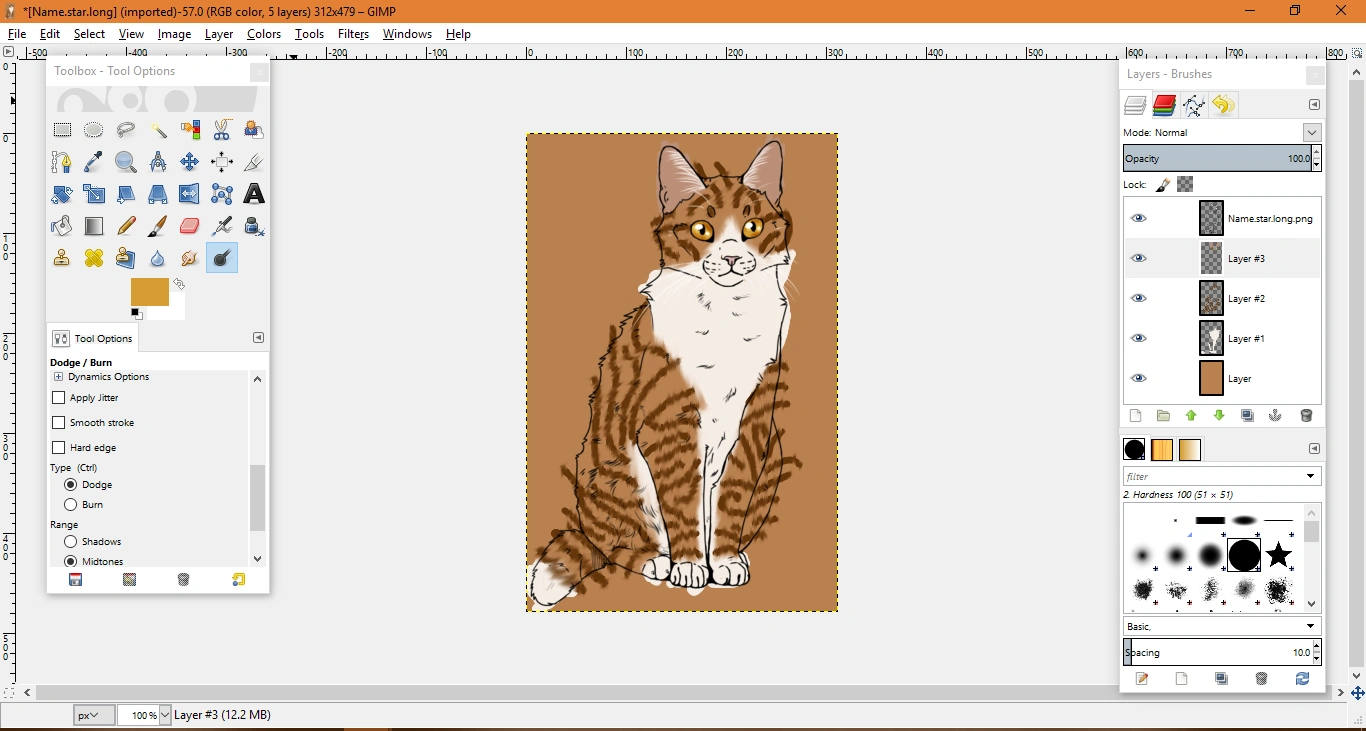
I added nose colour, eye colour, and ear pink.
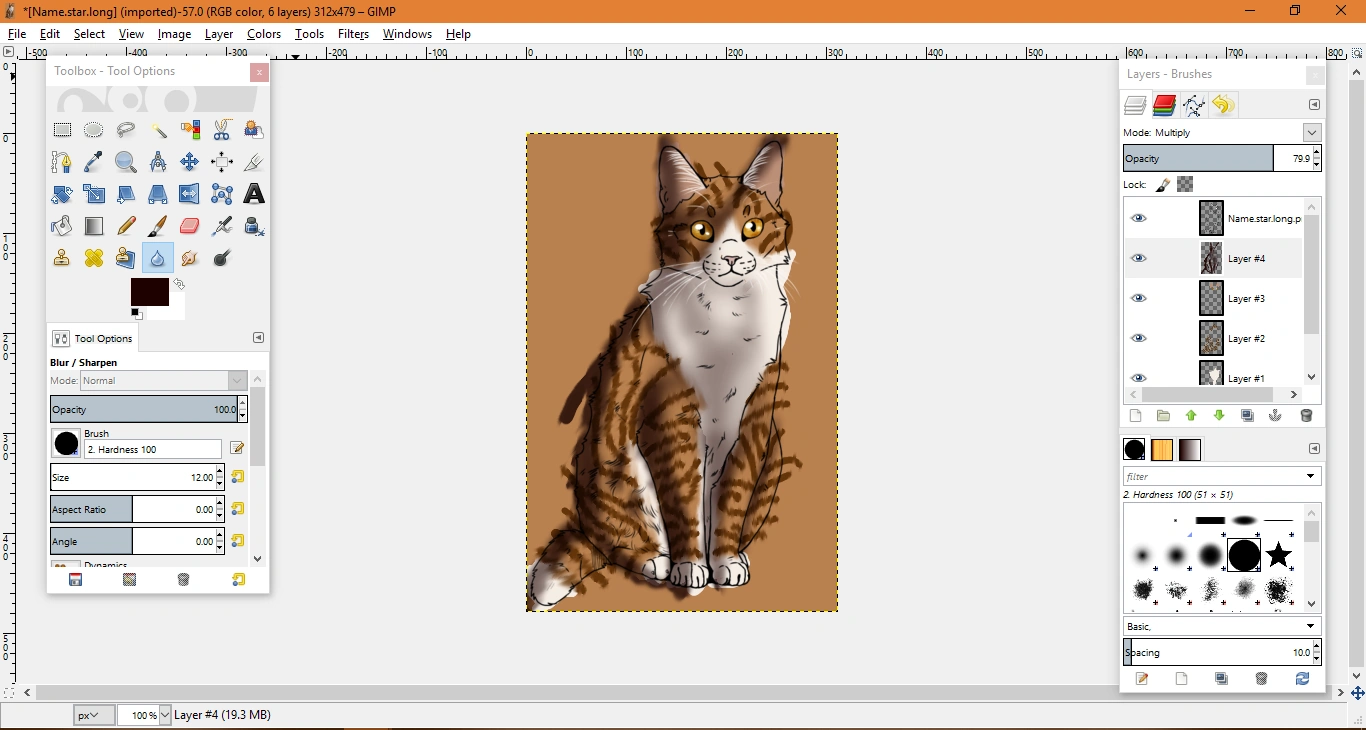
Create a new layer, above everything but the line-art layer, and a pick a dark colour. I chose a dark red. Now I'm going to colour with that colour (lol) in the shaded areas. I'm not too good at light sources, here is my attempt:
Now I'm going to lighten it by changing the opacity from 100% to something around 70%.
Yep, that looks better. Now I'm going to smudge my shading until I'll like it (I never like my shading).
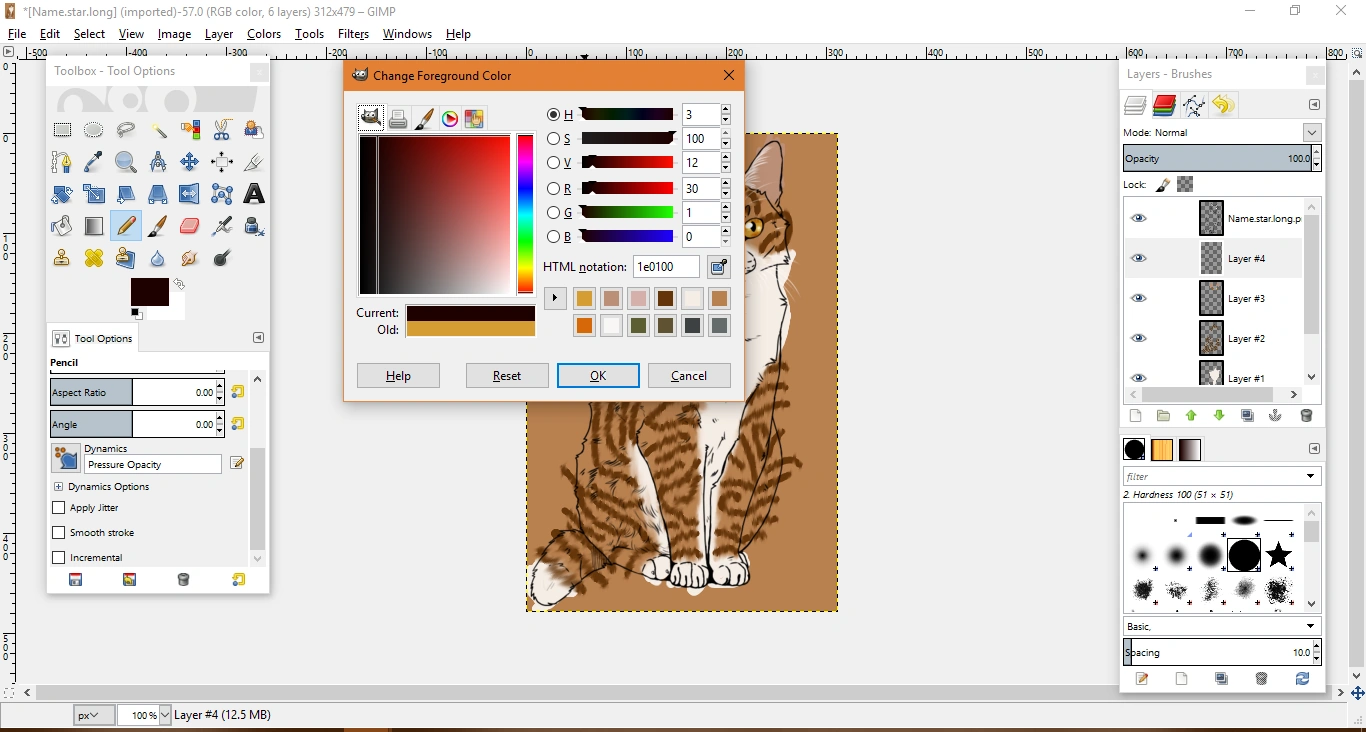
It still doesn't look very good, but there's not much I can do about it. No, I'm going to add another layer, above the shading layer, and pick a colour darker than my shading colour:
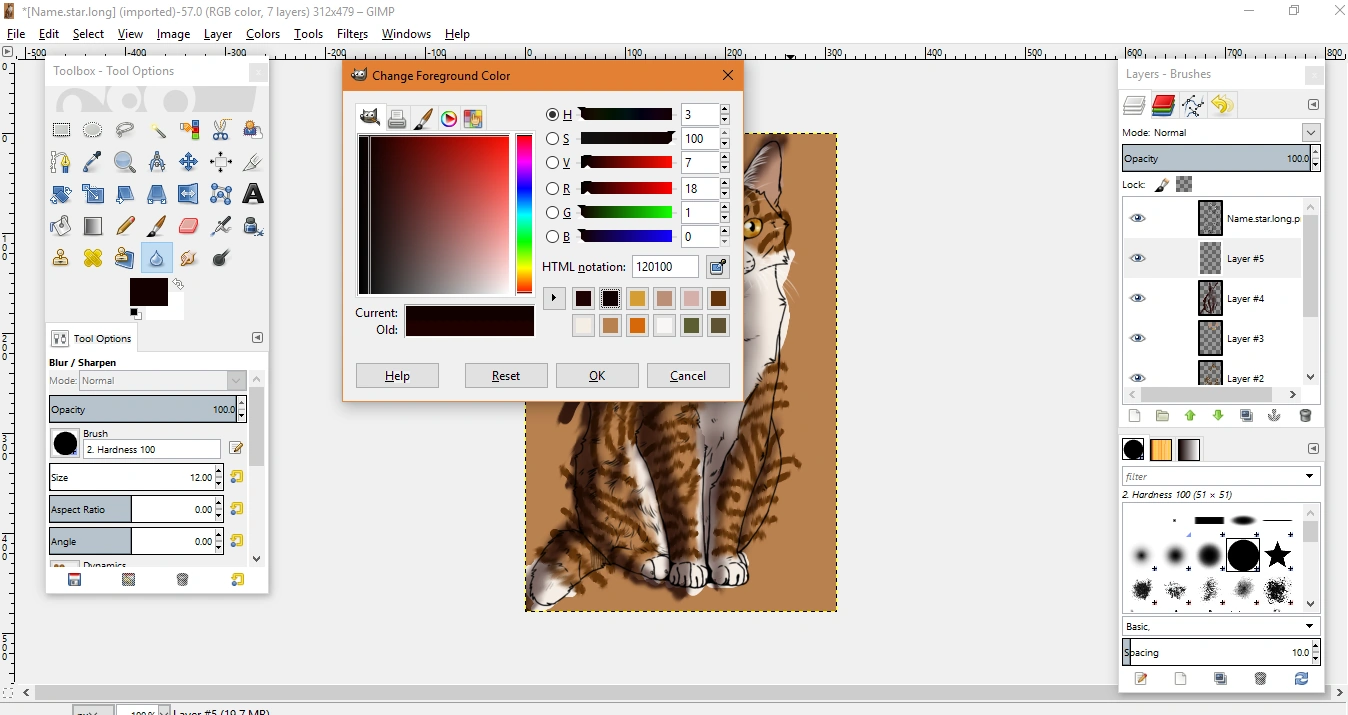
Now I'm going to smudge and blur it (and lower the opacity, of course) :

Well, all I need to do now is to get rid of the colours outside the line-art. Here is how I do this: go back to the line-art layer, take the bucket tool, and fill in everywhere outside the line-art with a neon colour. Like that:
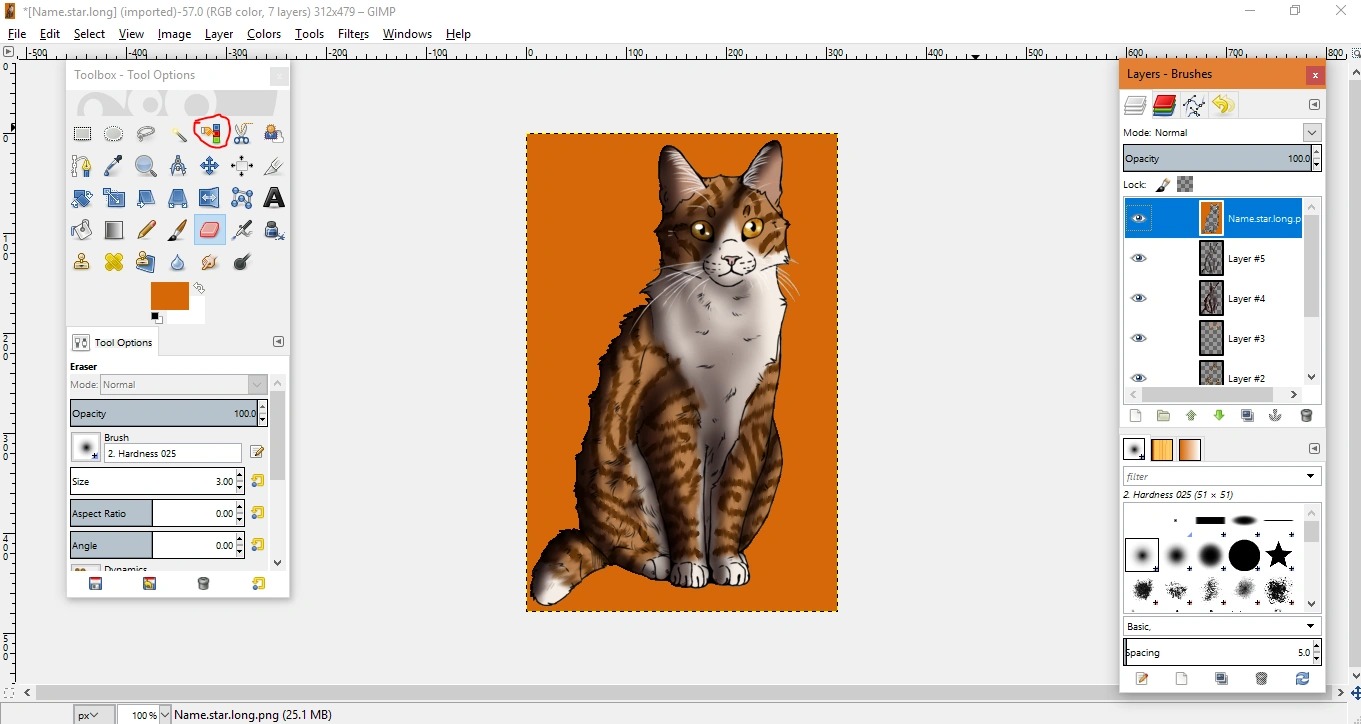
Take the colour select tool ( circled red ) and click on the neon colour. Your screen will now look like that:
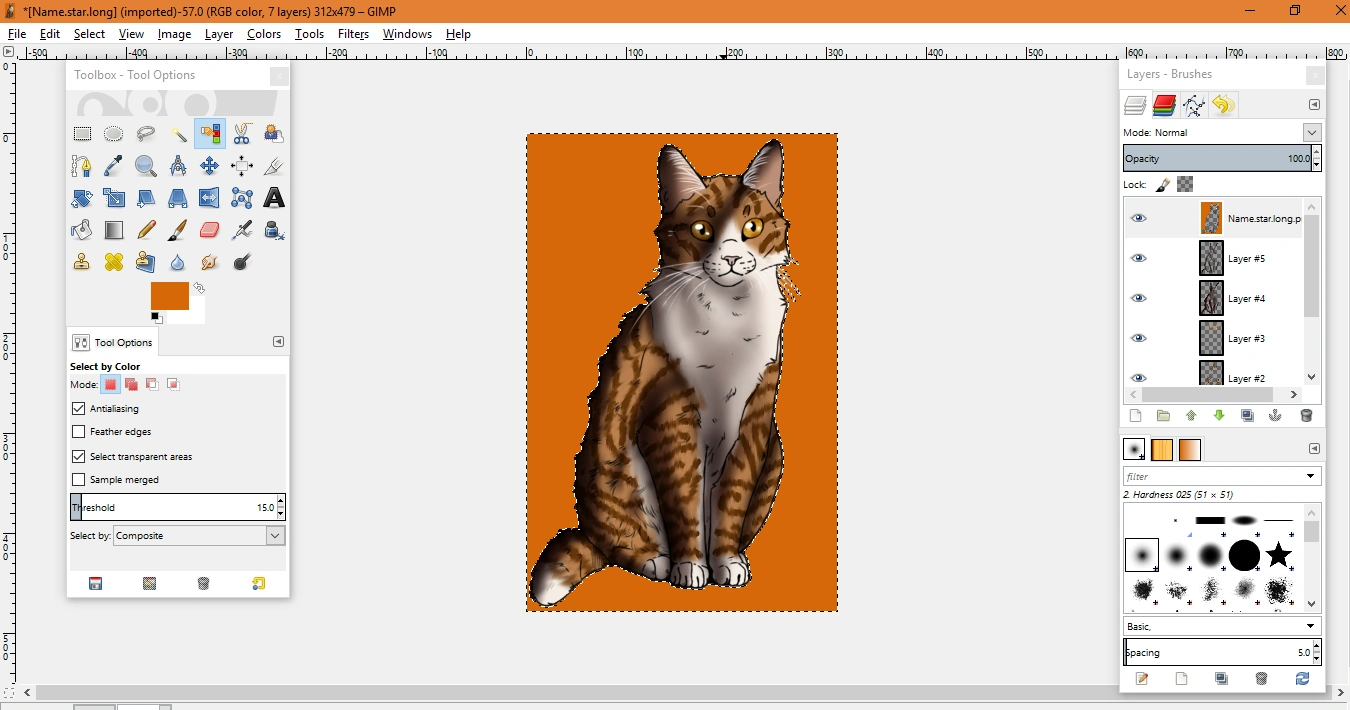
Now press 'delete'. Go to every single layer and press 'delete'. Your screen will change to this:
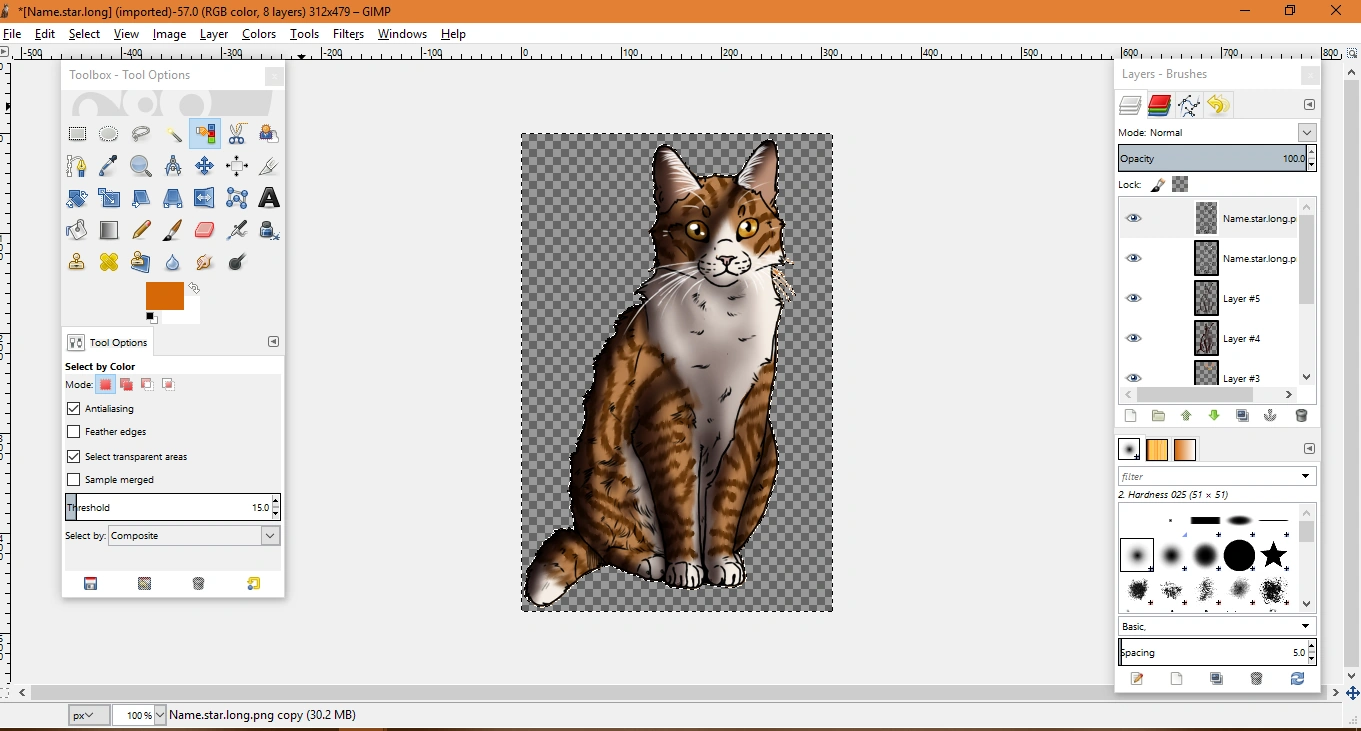
Click Ctrl + Shift + A, and your screen will change to that:
I went ahead and fixed some problems with the whiskers:
See that I circled in red 'file'? Click on it, and then on 'export as' and then give it a name. Save it, and then you're done!
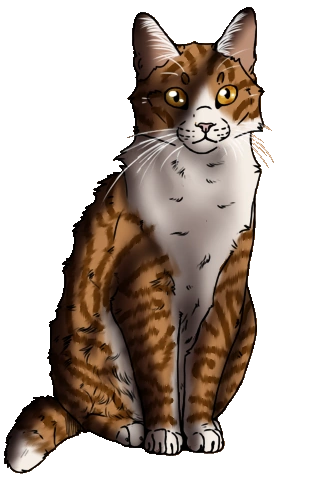
Here is your finished kitty! Cloudy
Solids by Sandstone25[]
(Click expand)
Hello there! Today I'll be teaching you how to color in solid cats!
First, you wanna save the image. Check out the general info before coloring the cat.
Don't forgot to check Getting everything ready as well!
So, have you made another layer called Layer 2? Make sure it is under layer 1!
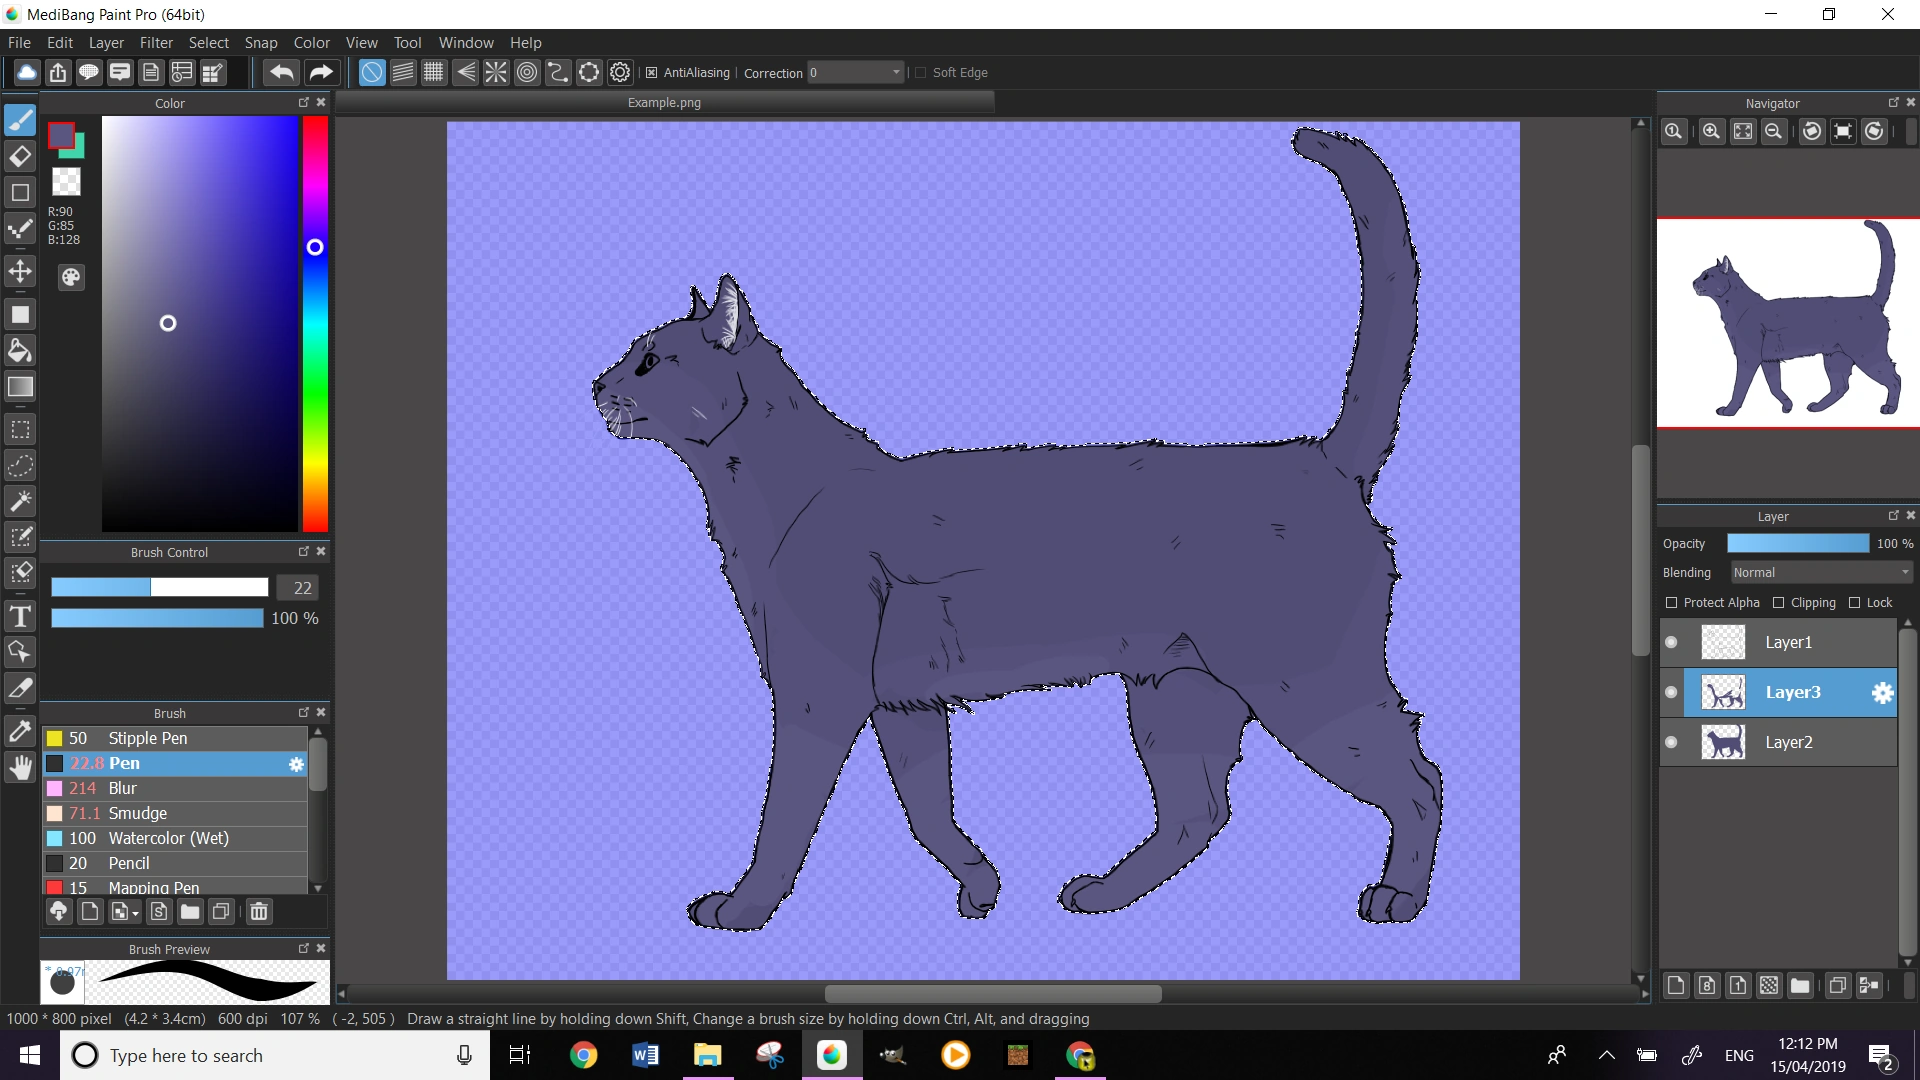
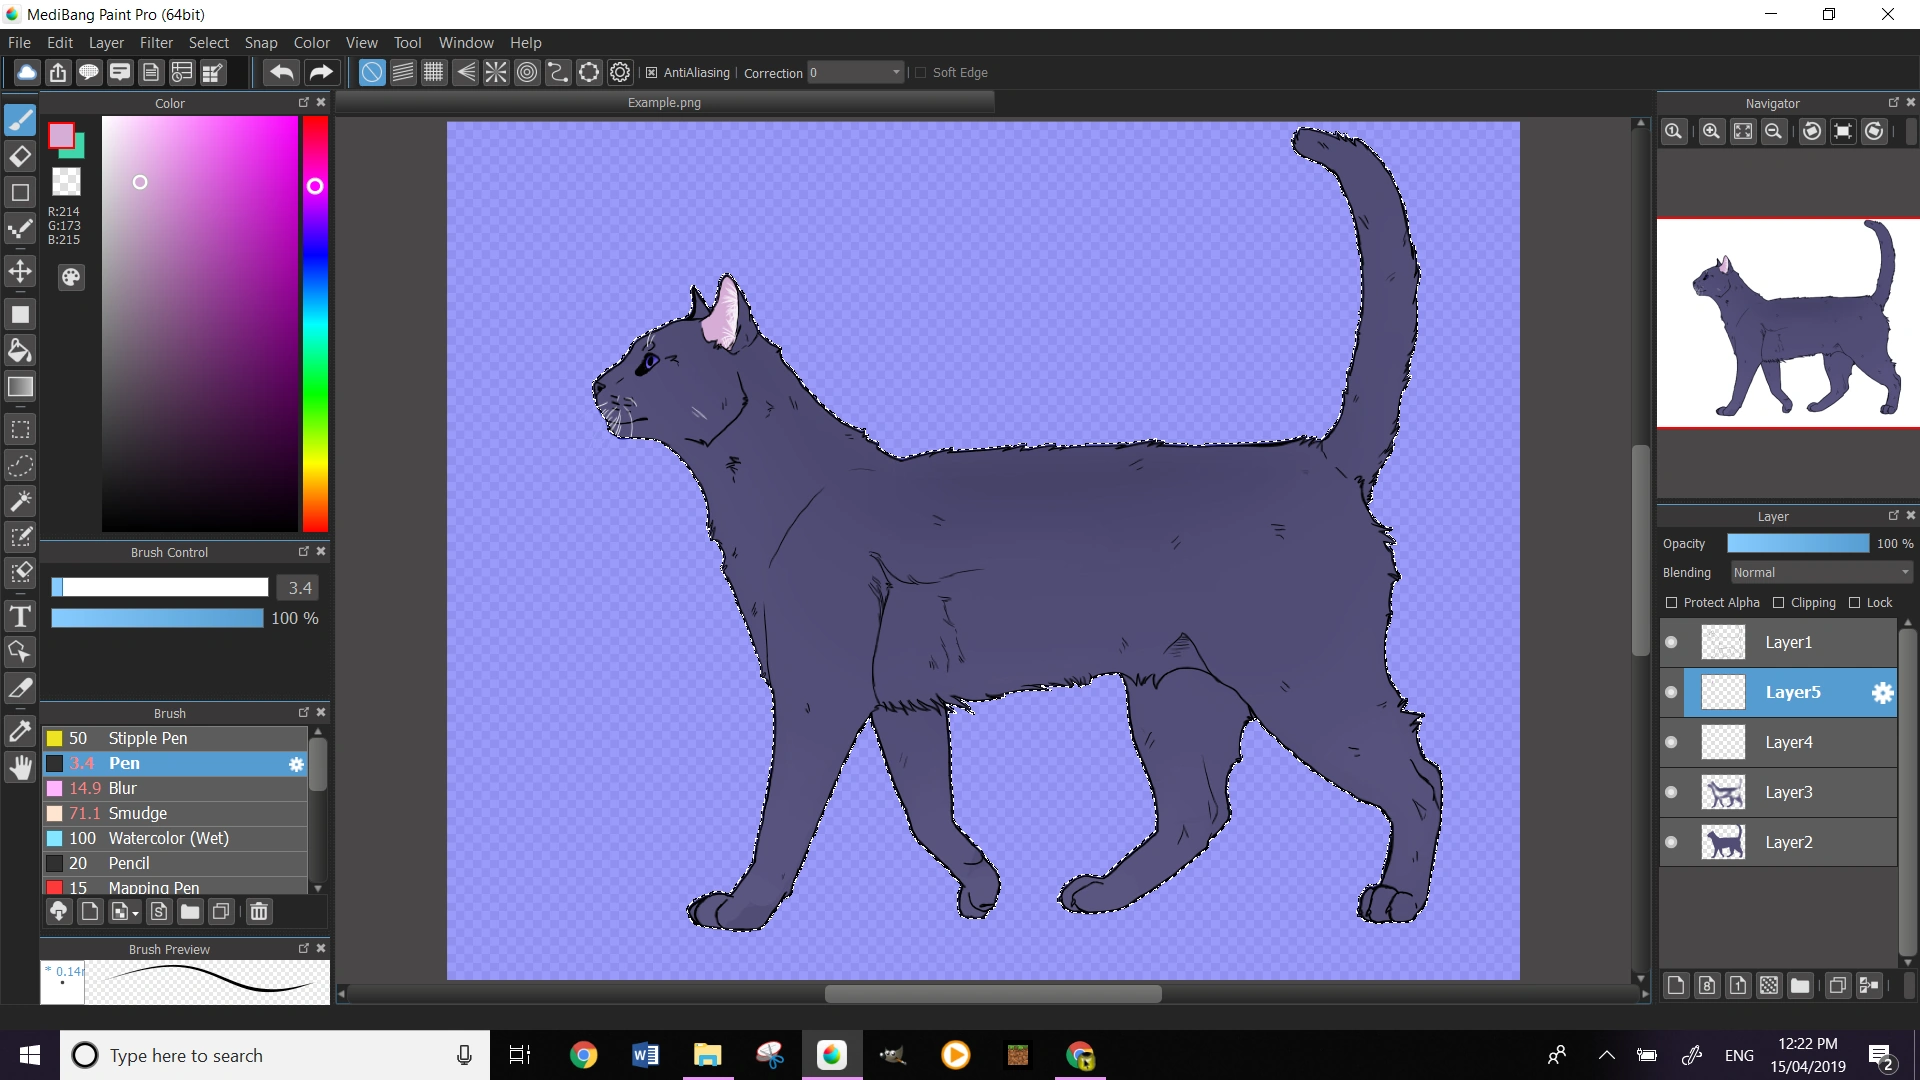
Now, get a fairly big brush and color everything in!

Now the fun part...shading!
Create a new layer and drag it on top of layer 2.
Now, get a medium-sized brush (I used 22 c:), and choose a lighter color than the base color.
Then, color the parts on the cat that are brighter/lighter.

Now get a even lighter color and color in where more bright light comes from.
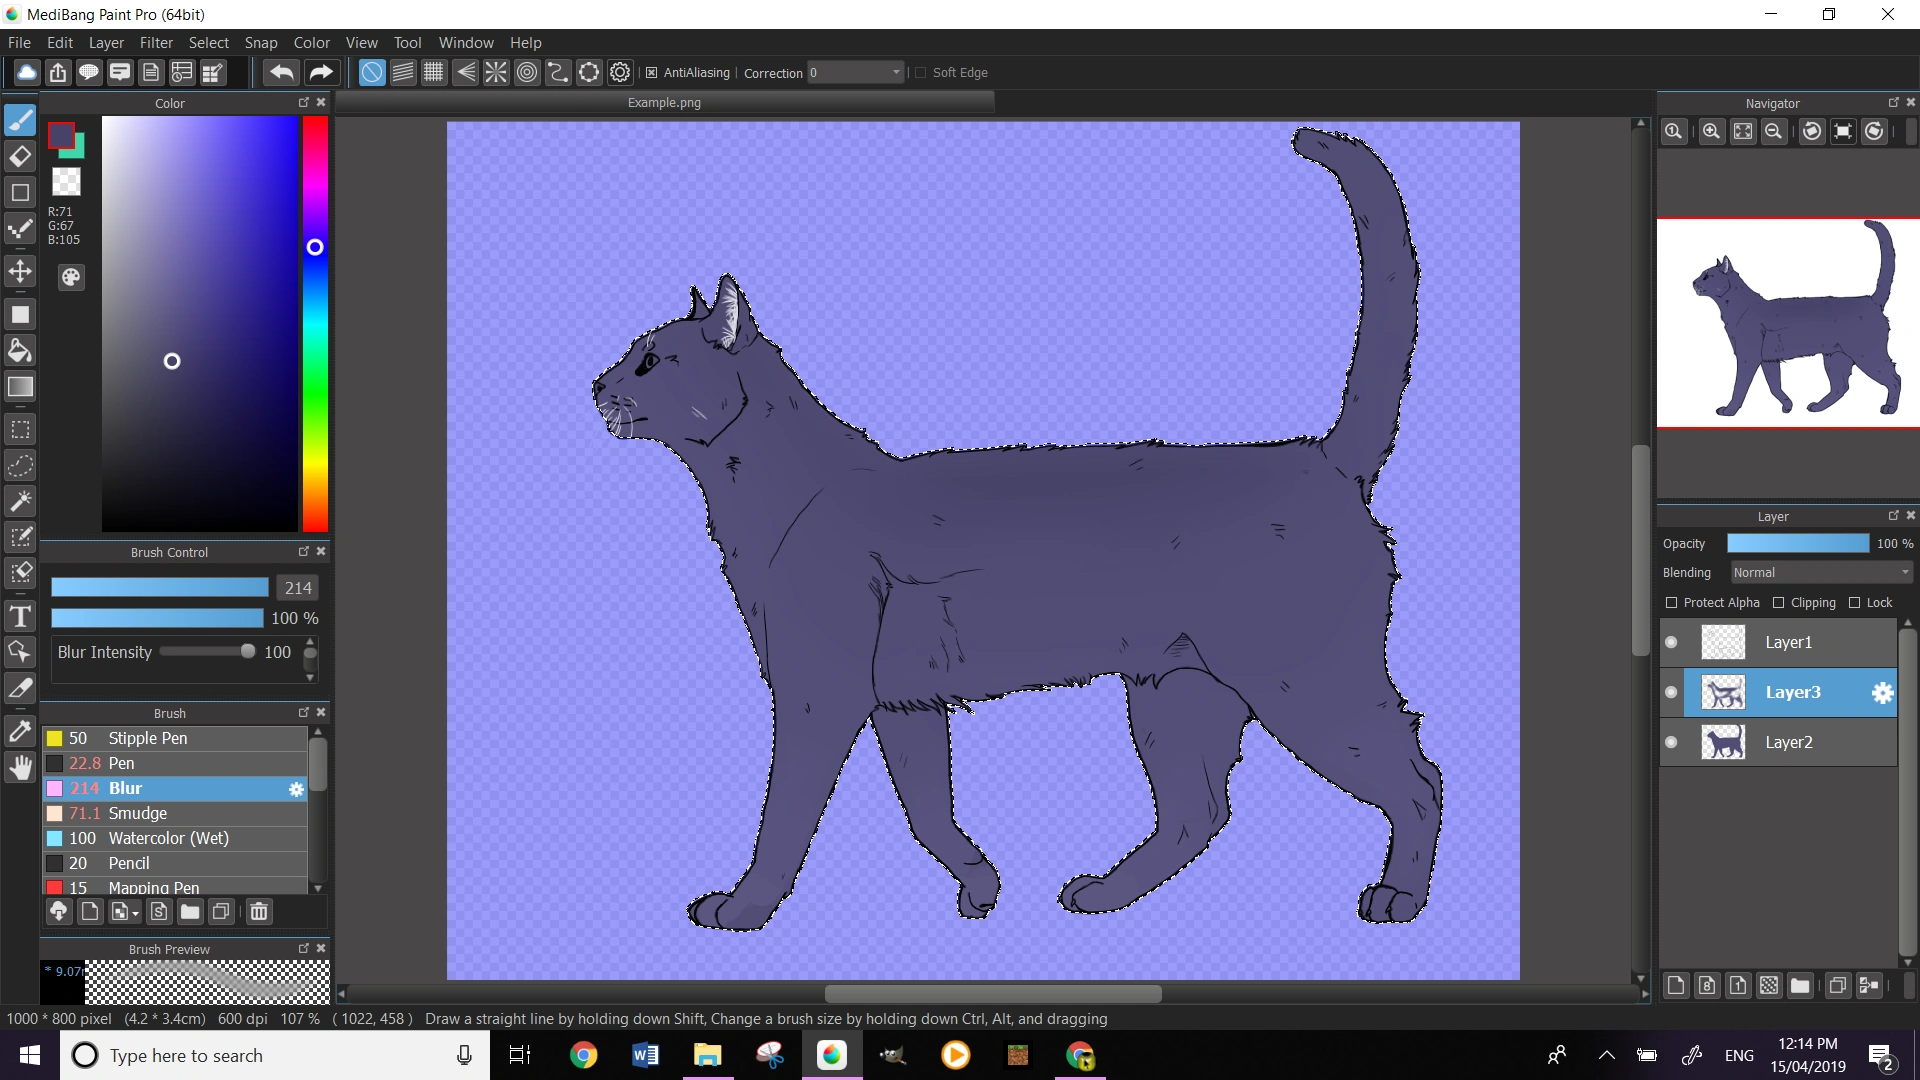
Now, get a darker color than your base color, and color in the darker parts.
Now, get a even darker color and color the spots where the darker light comes from.

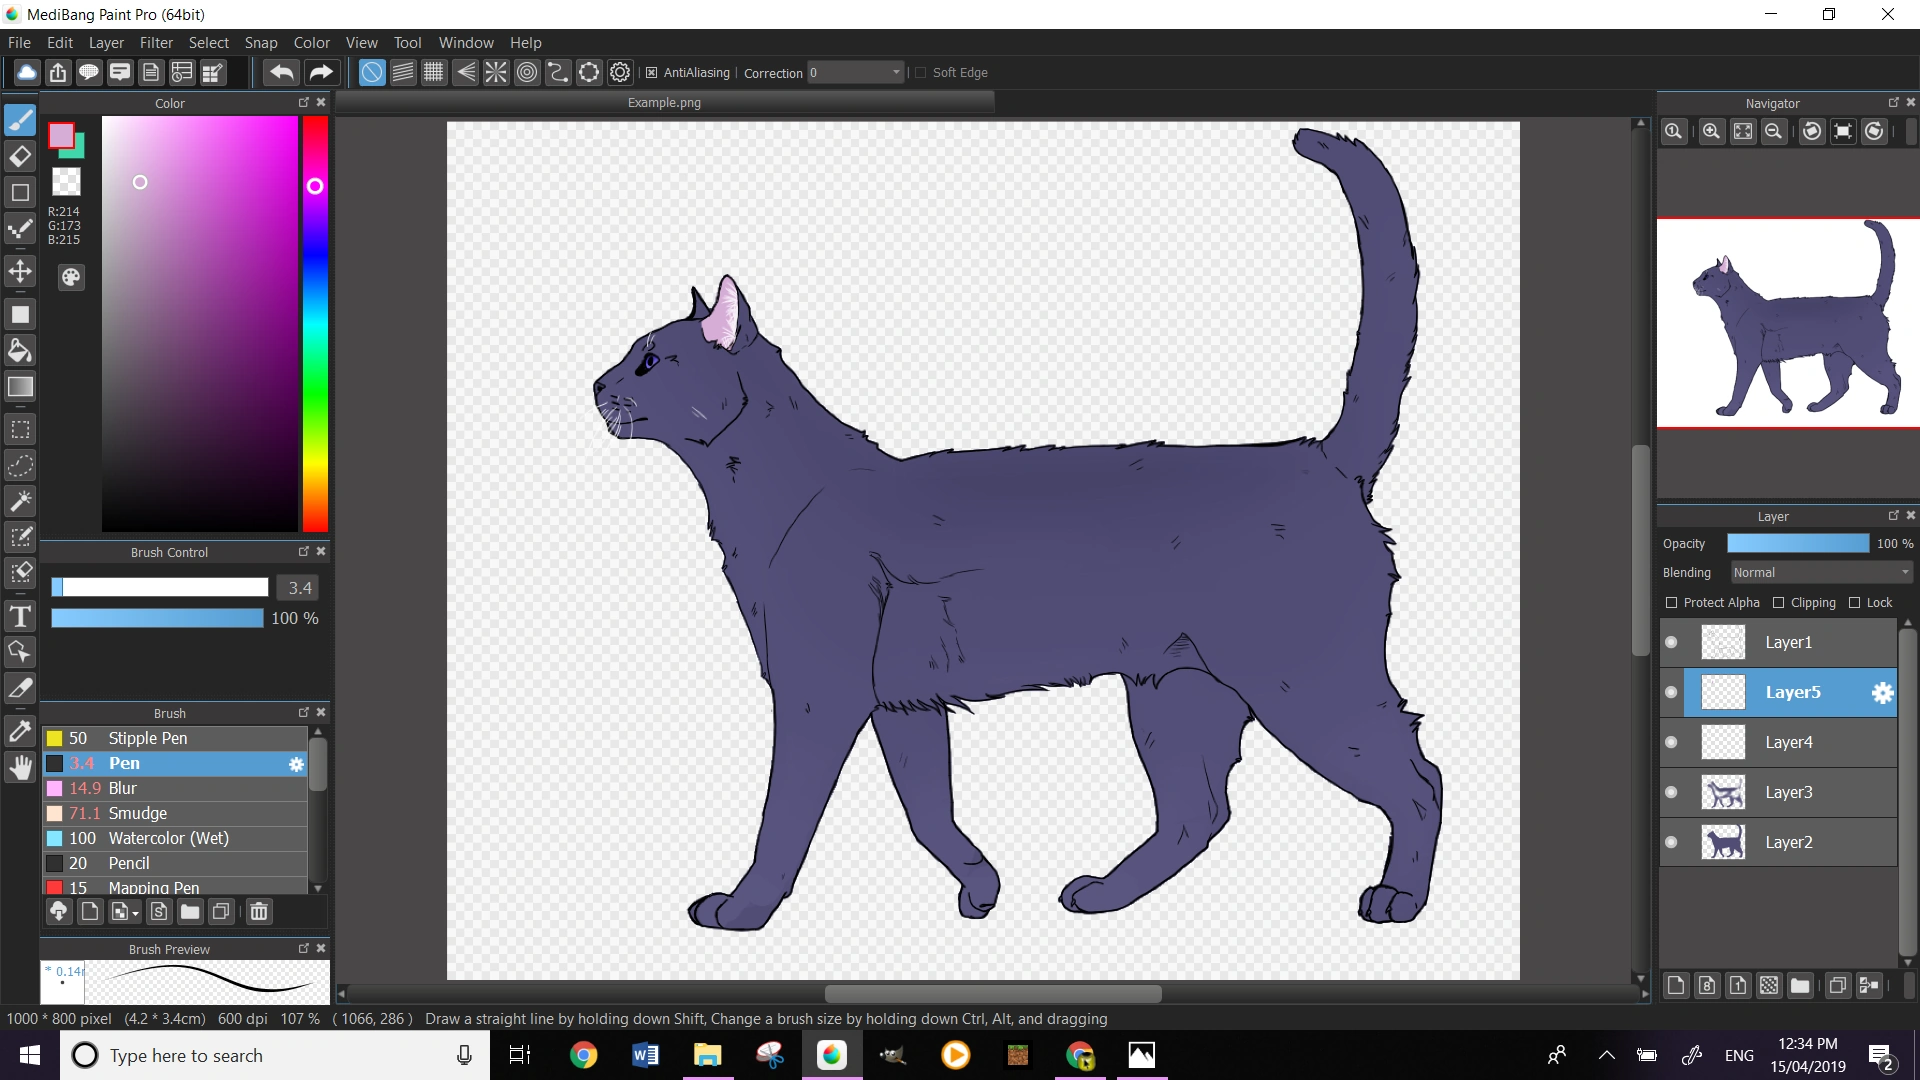
Now get a large sized brush (about 200) and blur the shading.
If you want to add any extra detail, go ahead! But I'm not sadly.
Time for the eyes!
Create a new layer and get the cat's eye color. Then color it in.
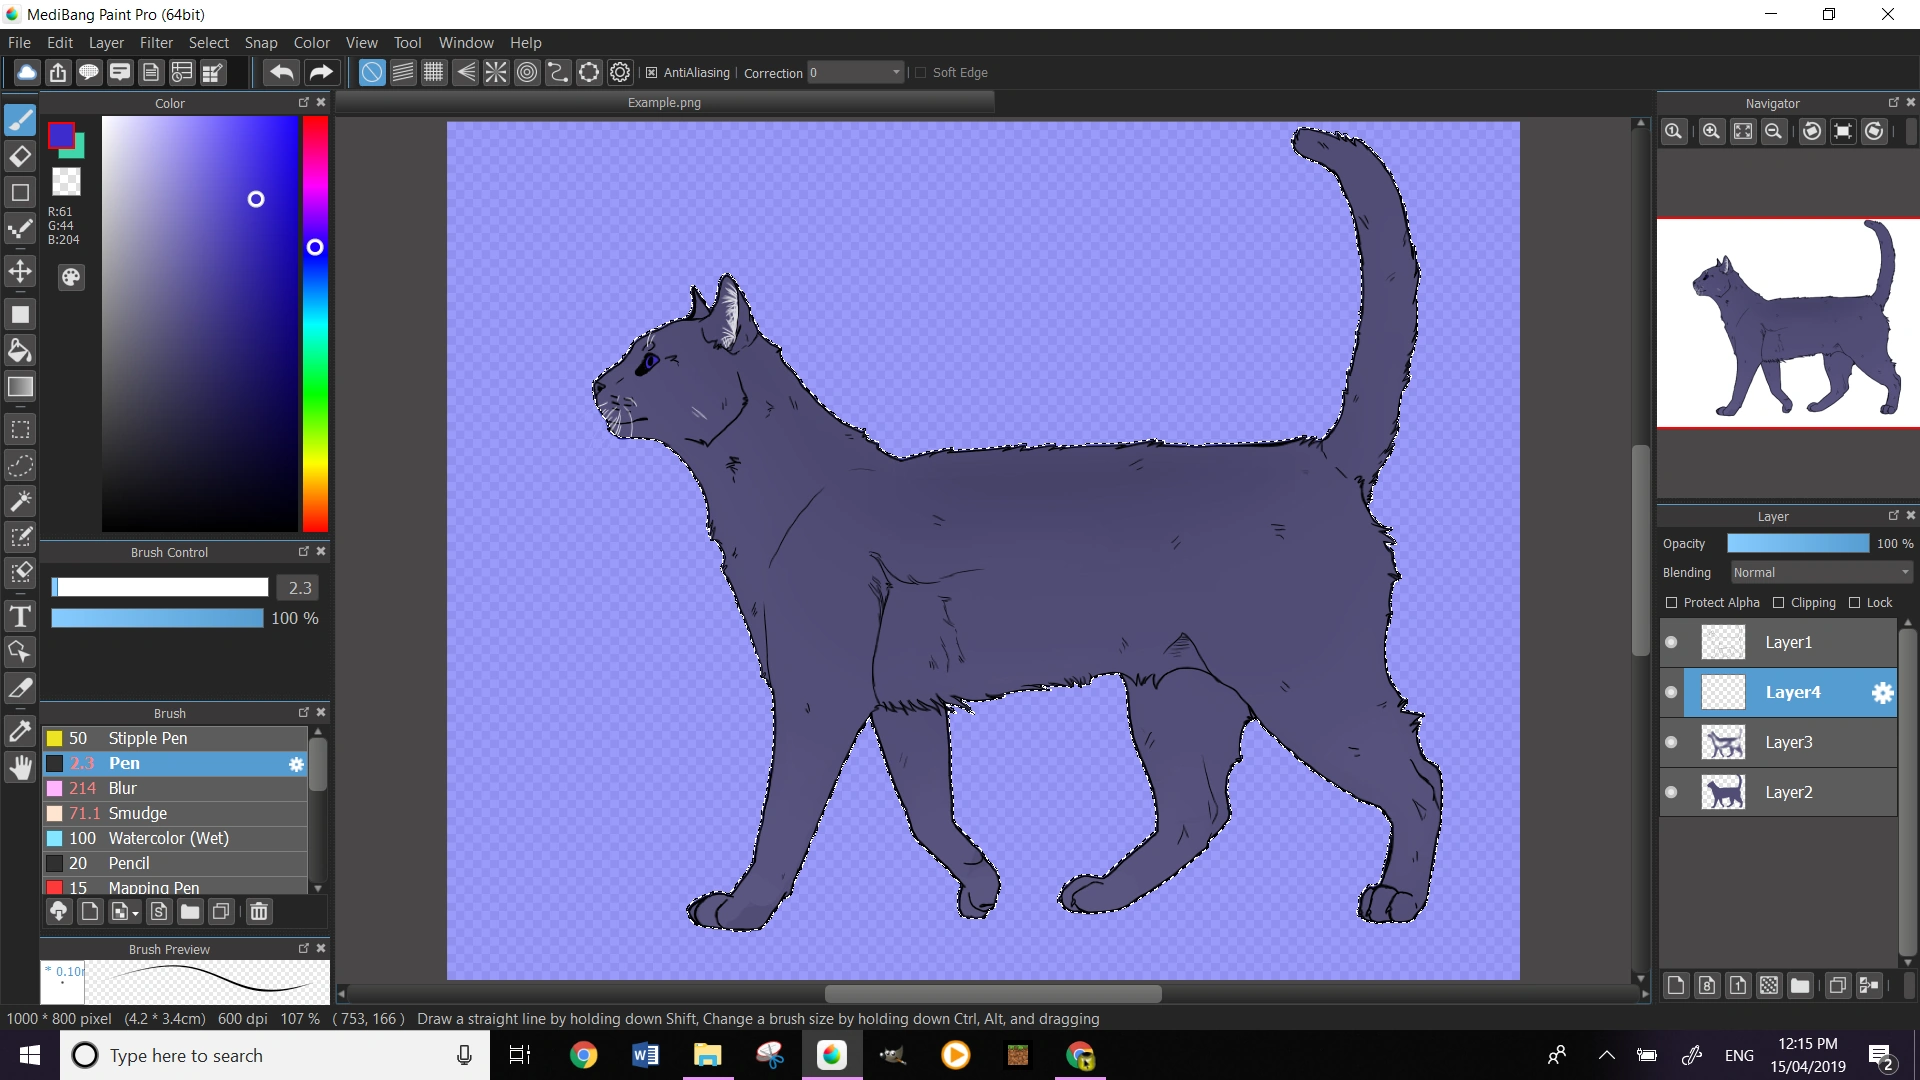
If you want to add a gradient-sorta effect, you can. Just chose a darker color and color the bottom of the eye, then blur it.
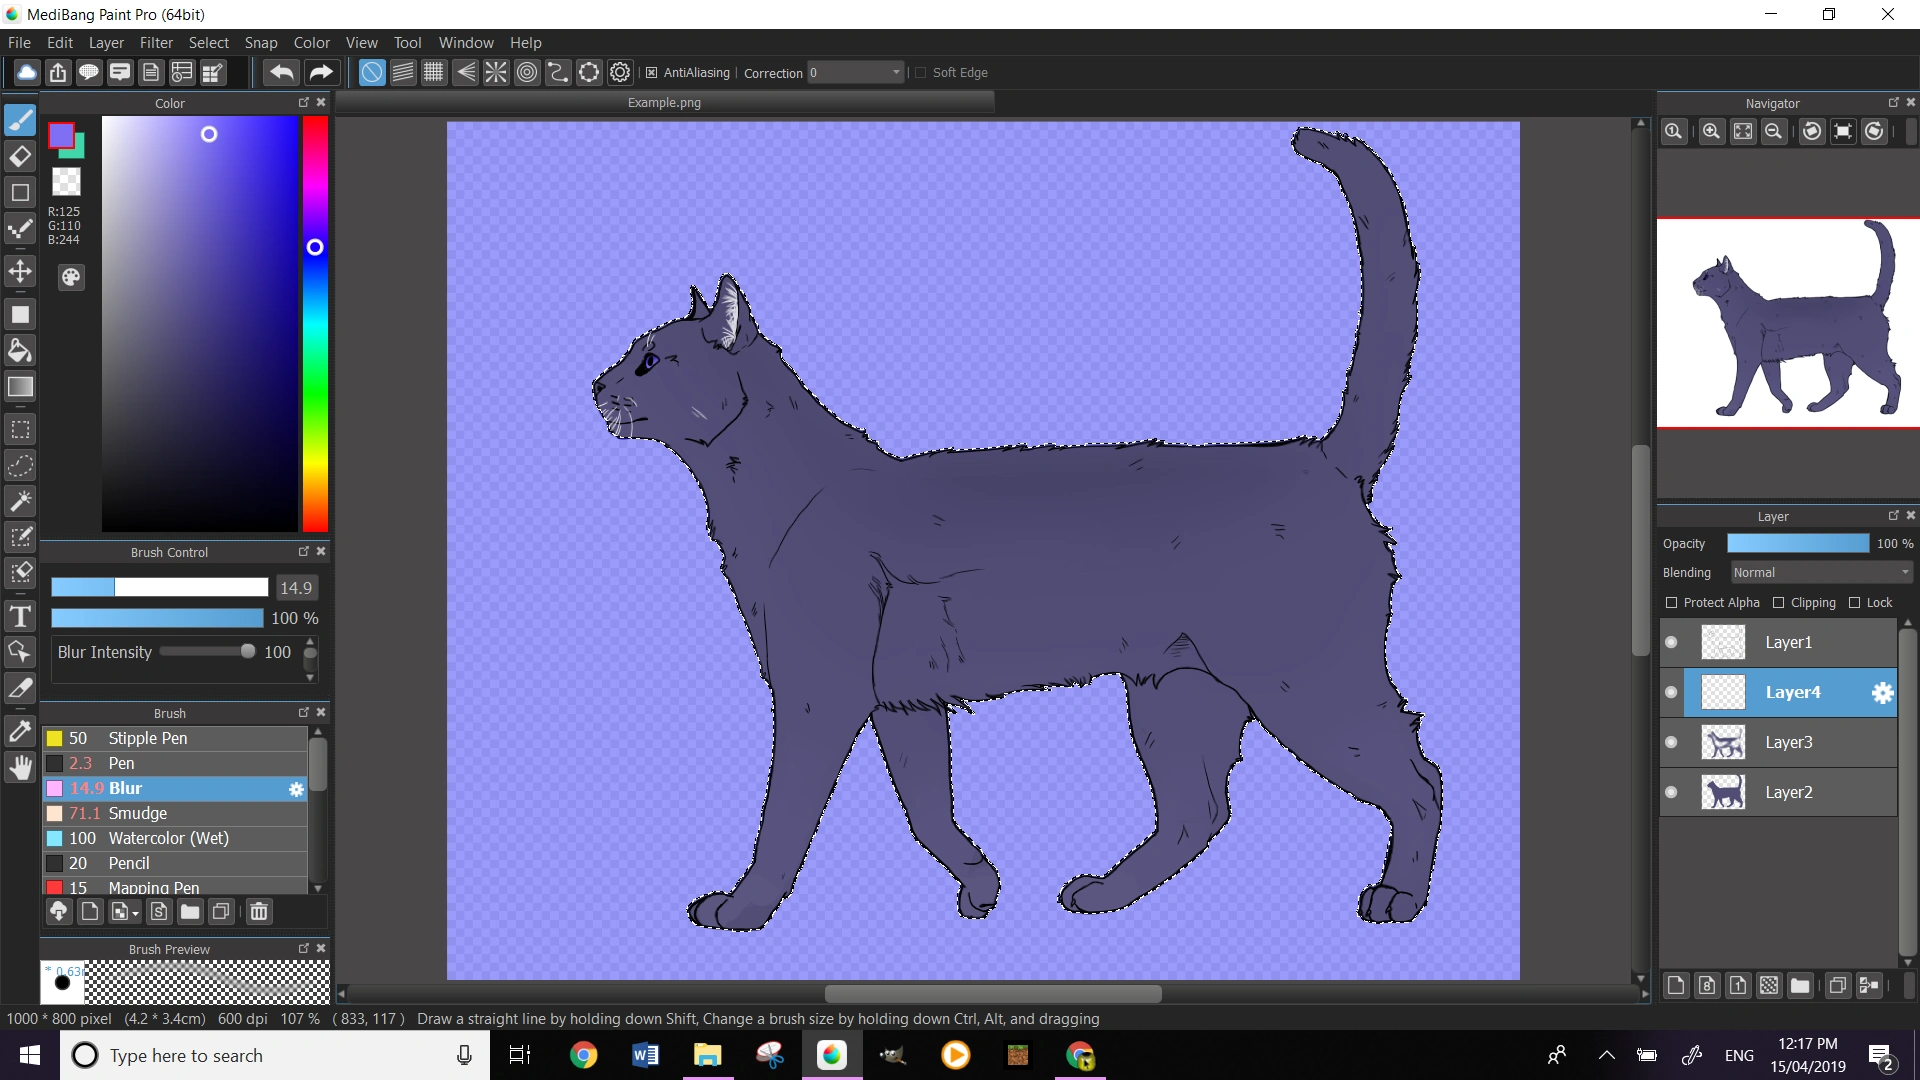
Now, the earpink. Create a new layer and get a pinkish-gray color and color in the inside of the ears.
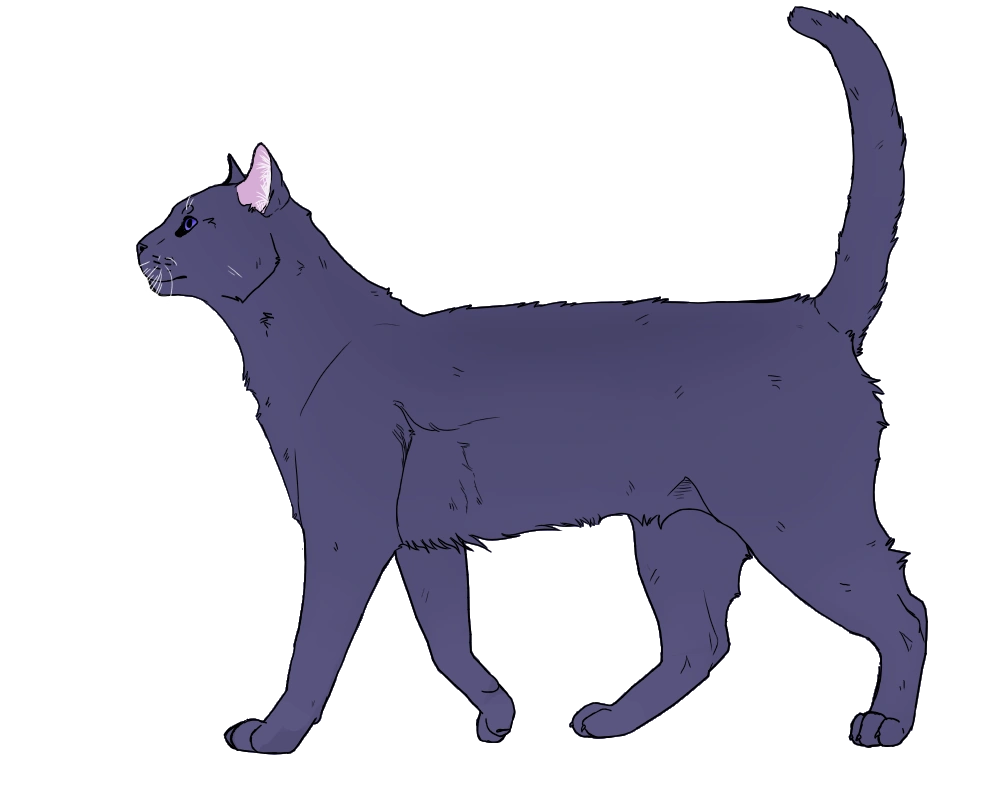
And there's your finished cat!
AKA this:
StarClan cat outline by Sandstone25[]
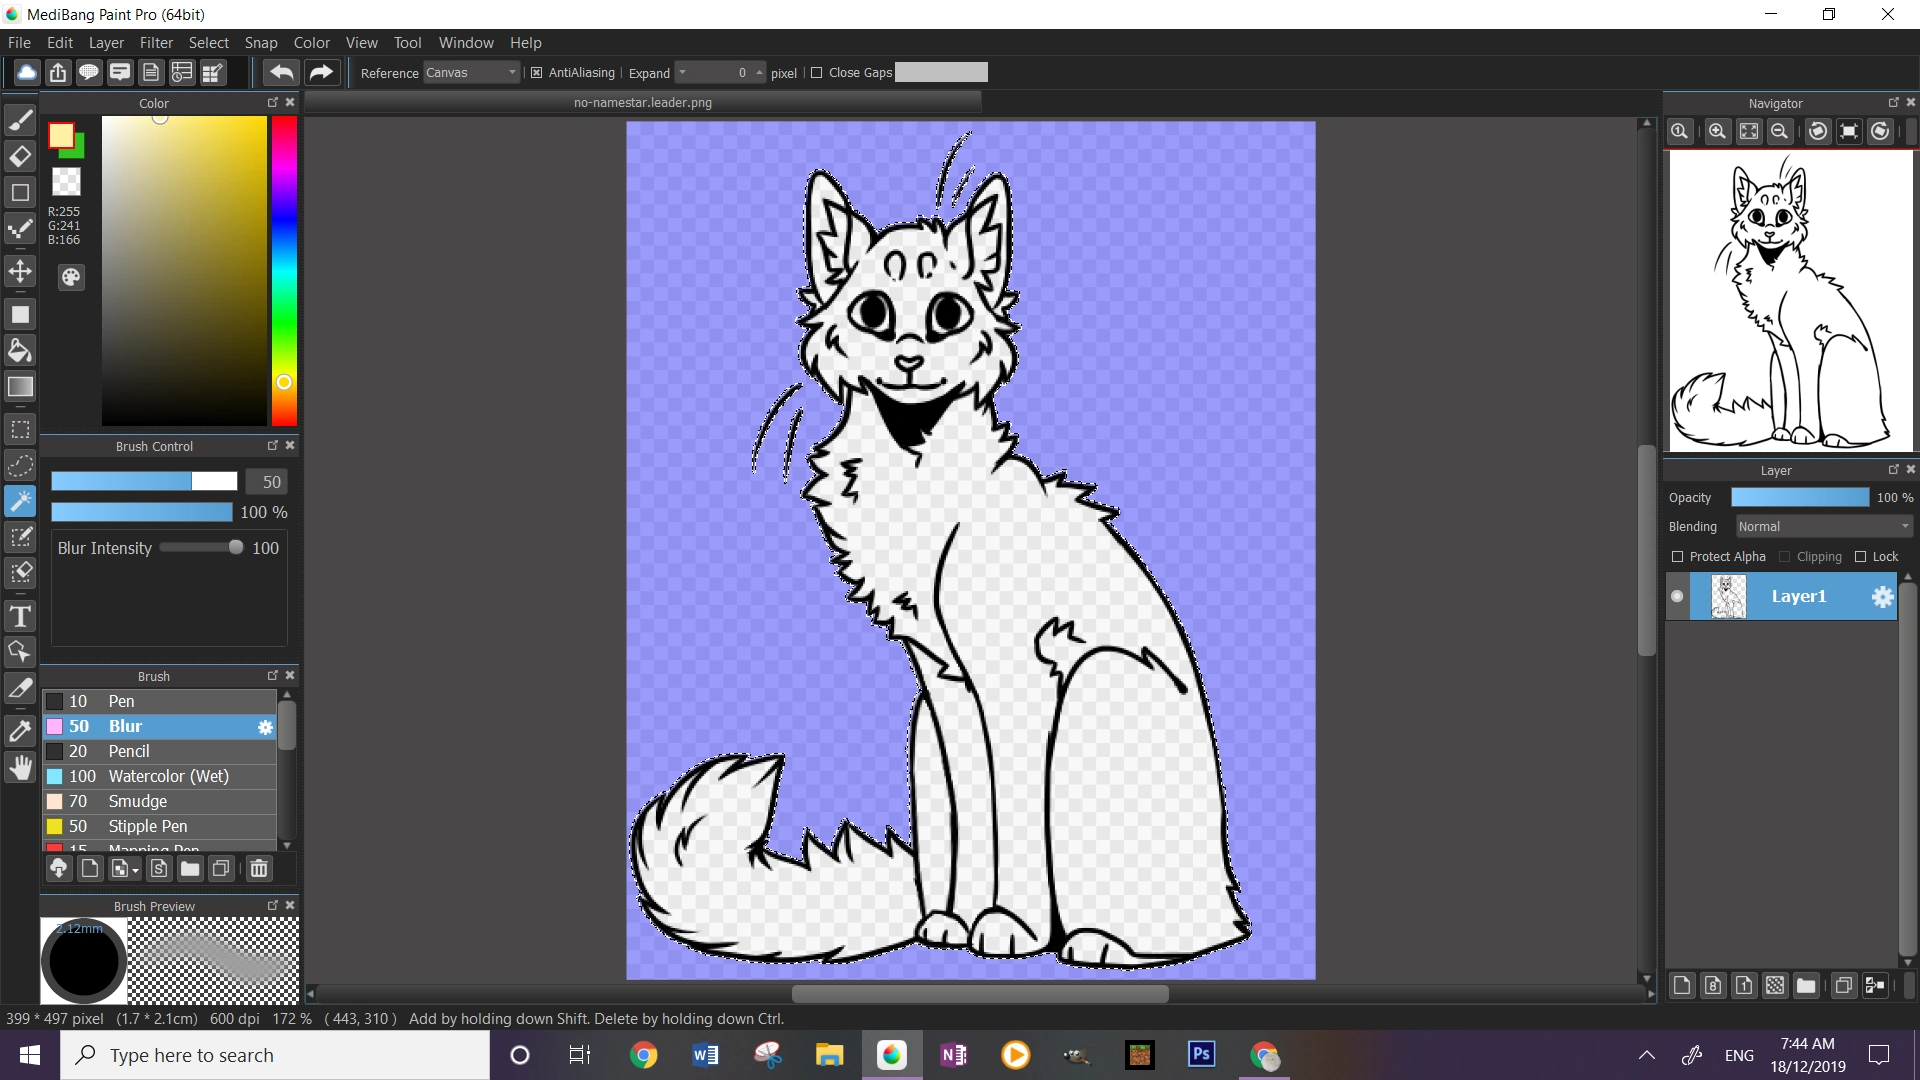
Hai, welcome to the second tutorial by Sandy! As you know, on some pages the StarClan blank has a white outline. But the normal blank is black. How do you change it? Well this is the tutorial for that!
First, obviously you save the image from Character Blanks, which is the StarClan one.
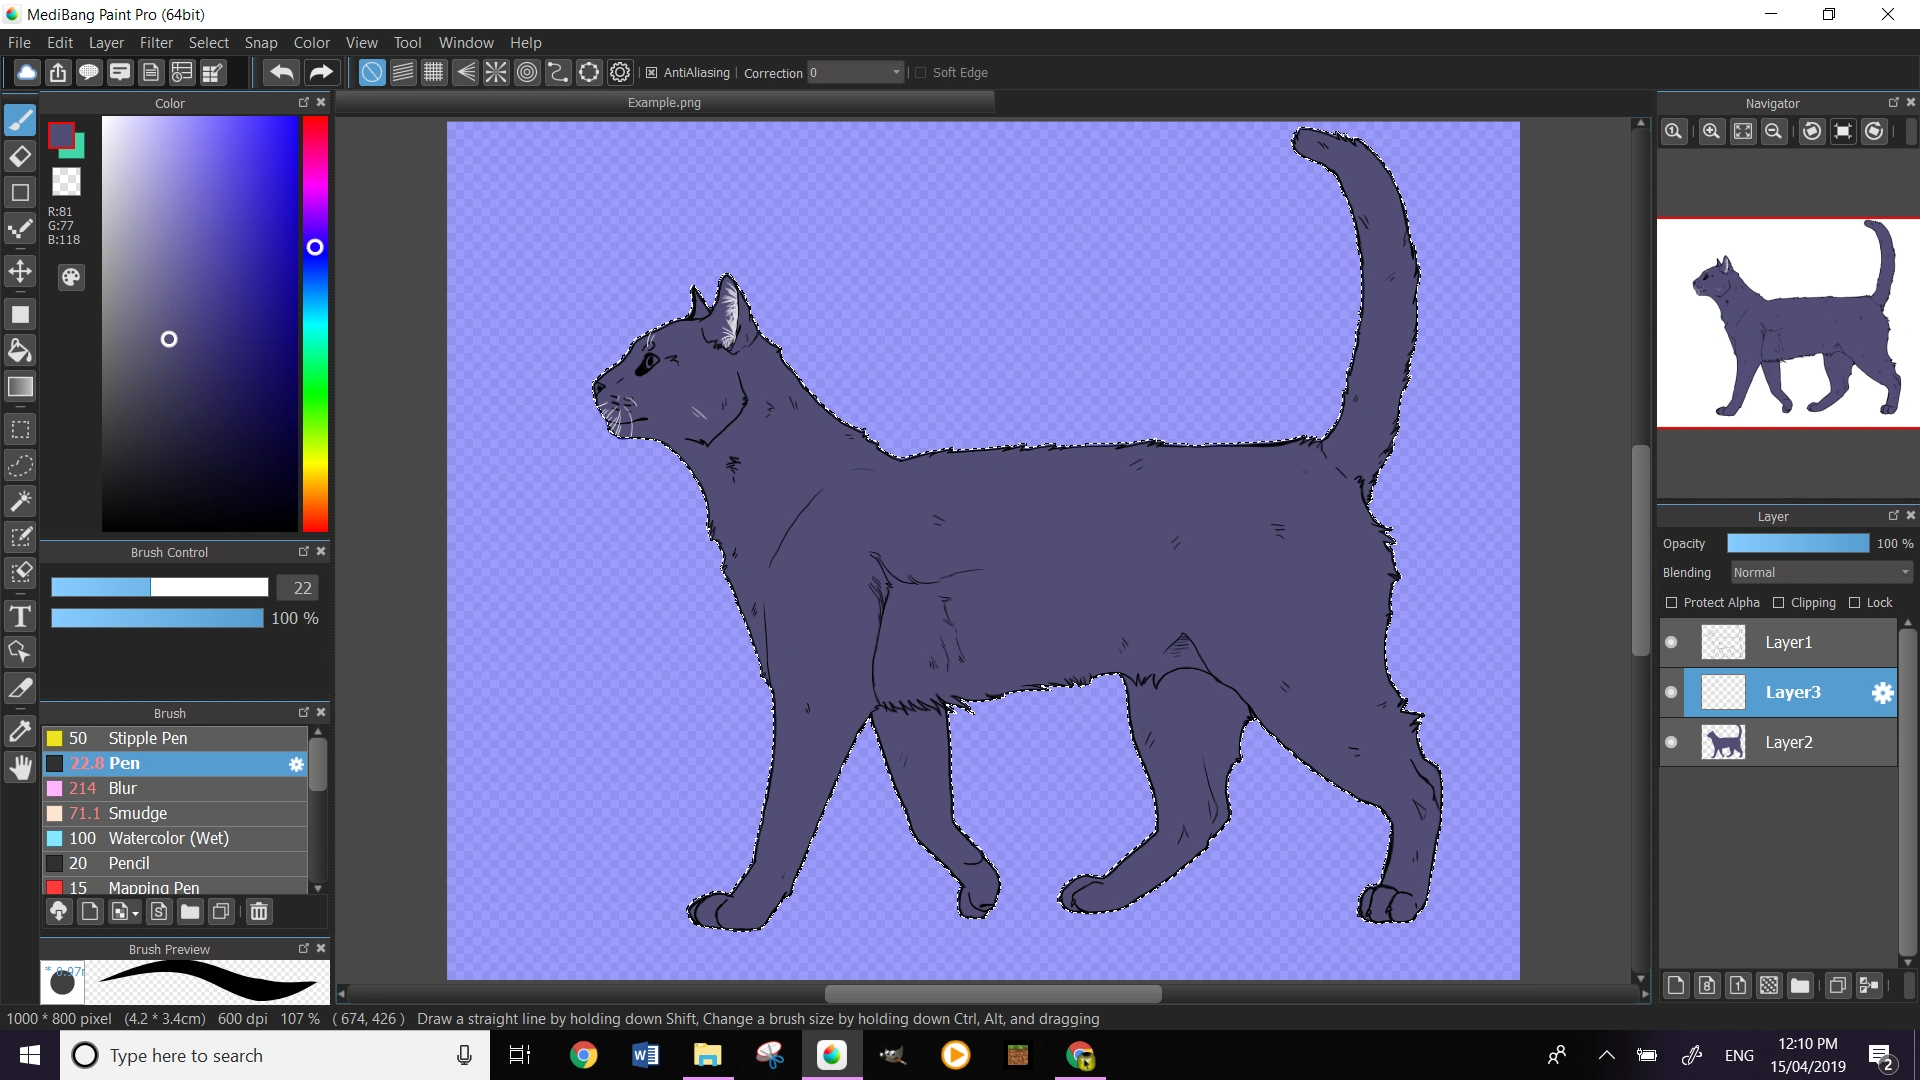
Next, you upload the file into Medibang Paint Pro. If you use another program, the steps might be different or similar.

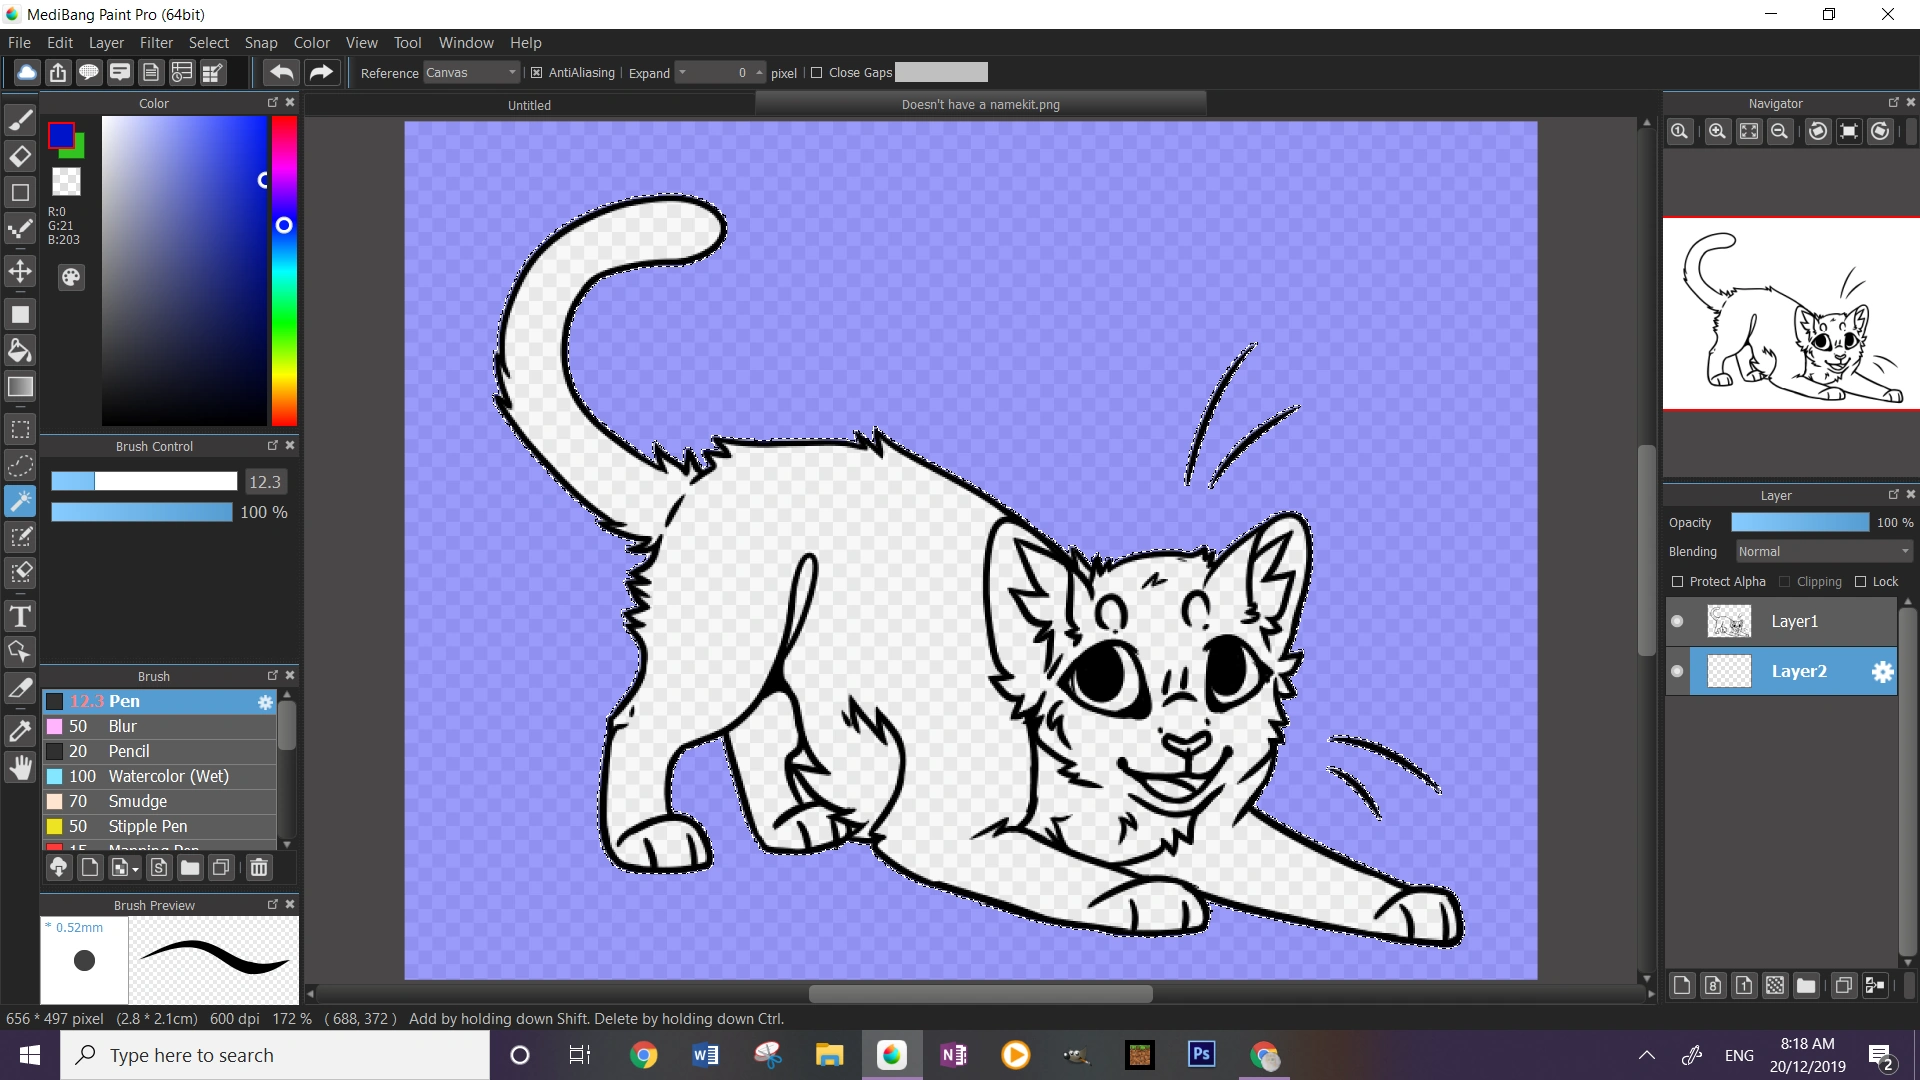
It's actually really easy. Near the blending and changing transparency area, you would see two words above the layer bar, called 'protect alpha'.
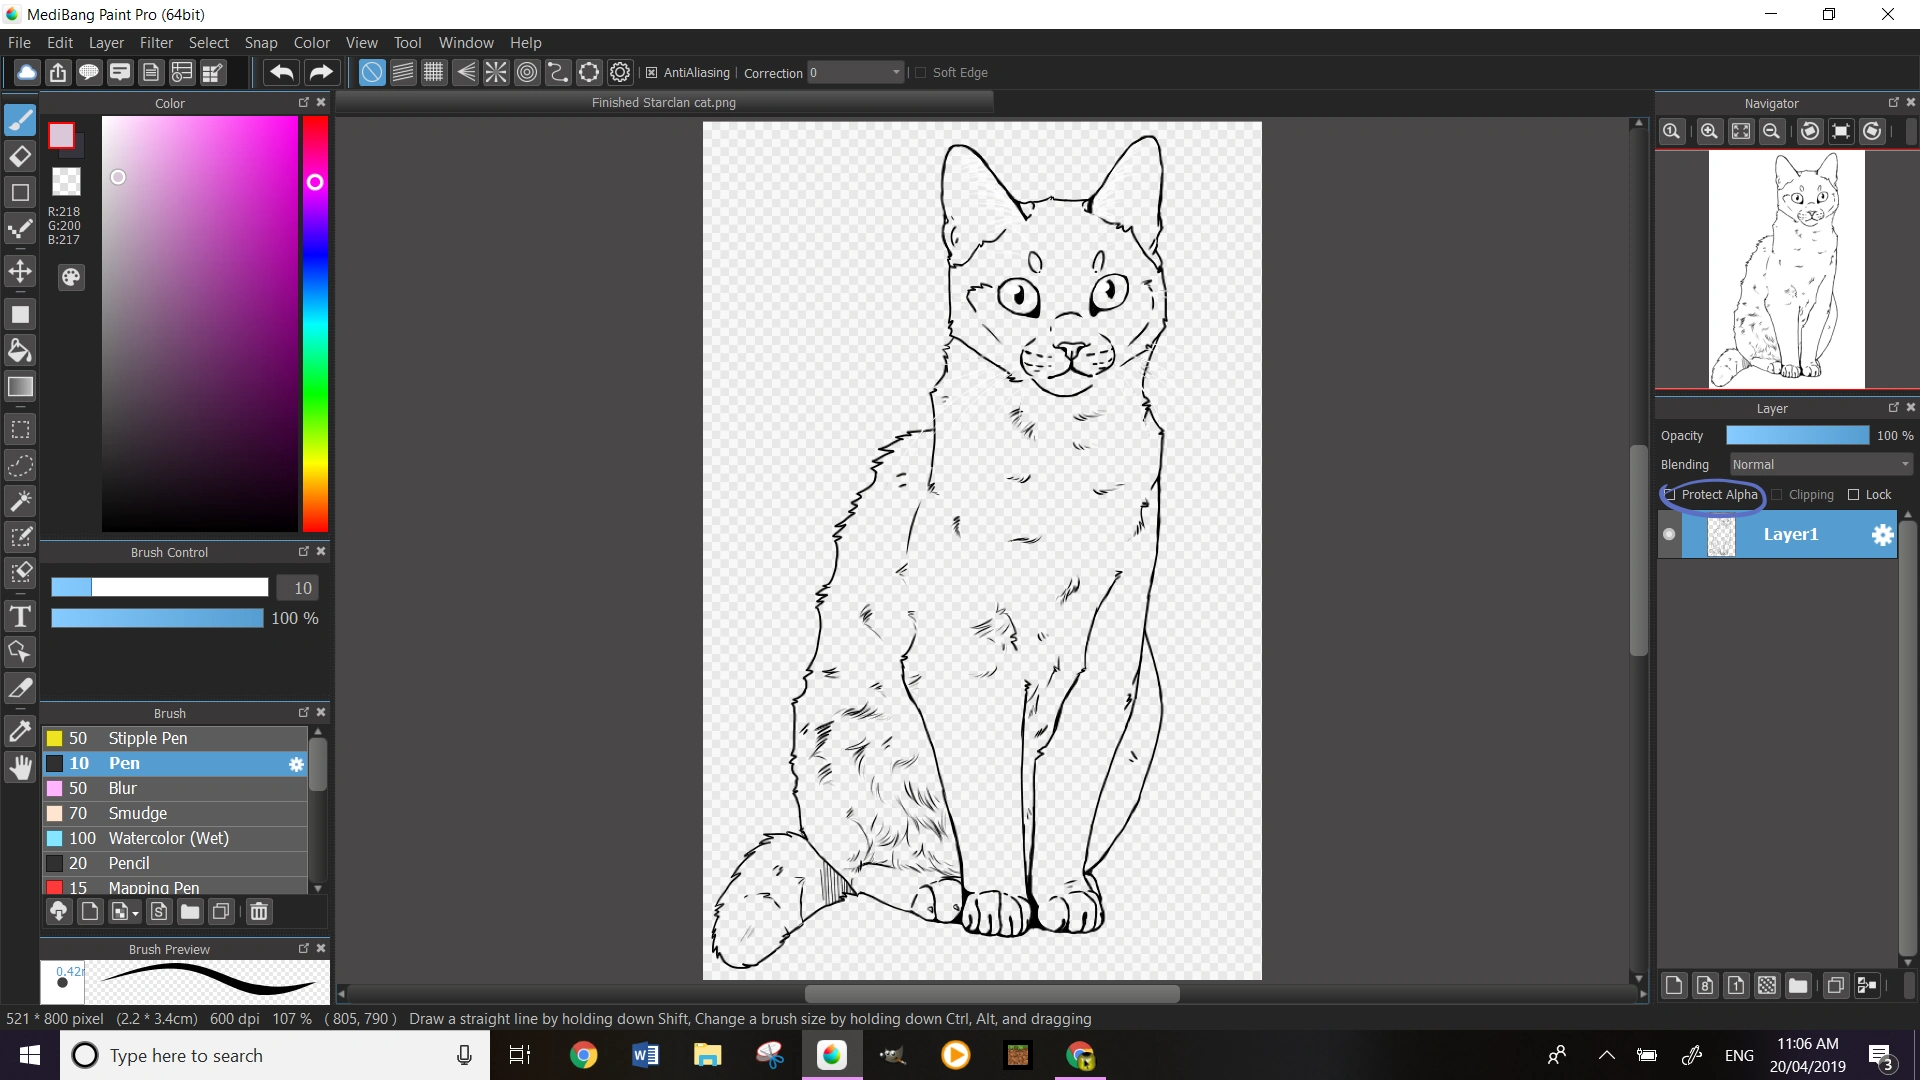
Now, click the little check box and a cross will appear.

On your color palette, switch the color to pure white.
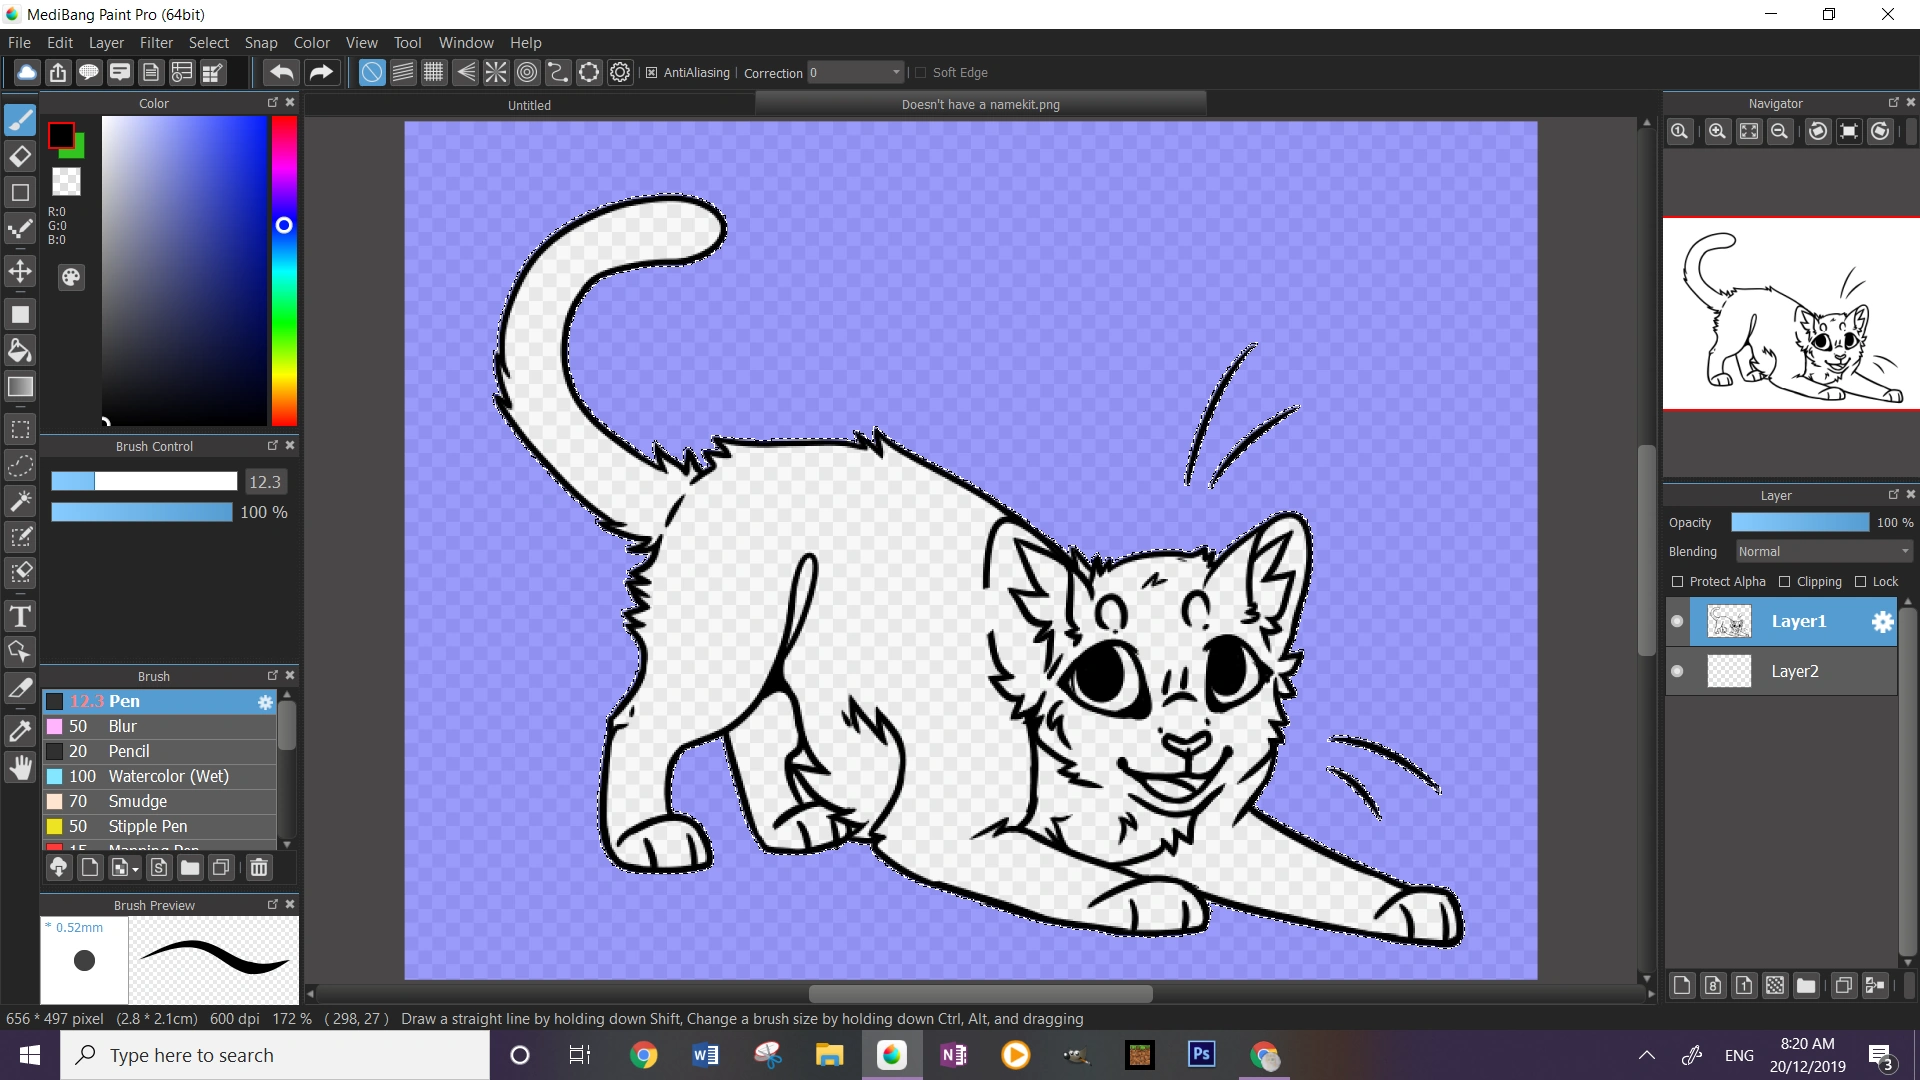
Now, get a large brush and color white on the layer (do NOT create a new layer)
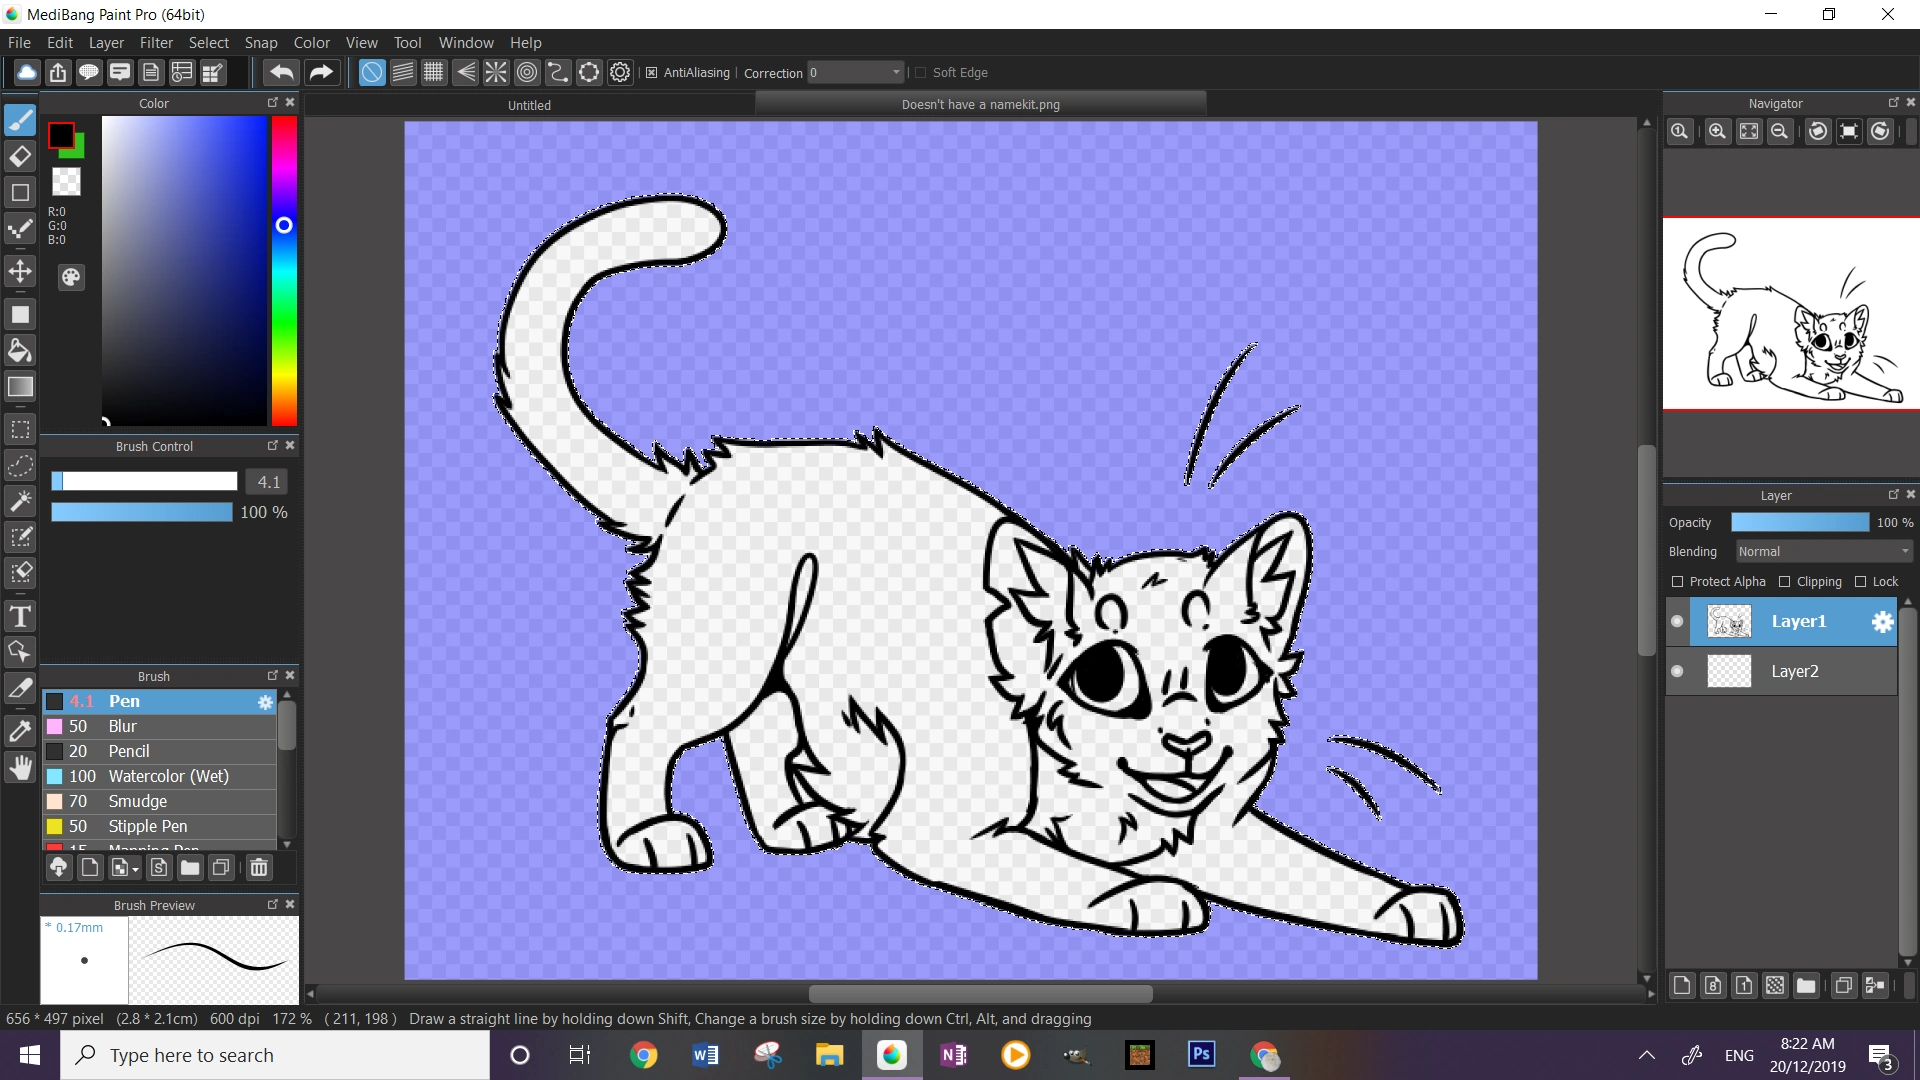
Now you'll see that the StarClan cat is white outlined. Now color in the cat with whatever color you want (make sure you make new layers). Don't forget to add the shading, earpink and eyes!
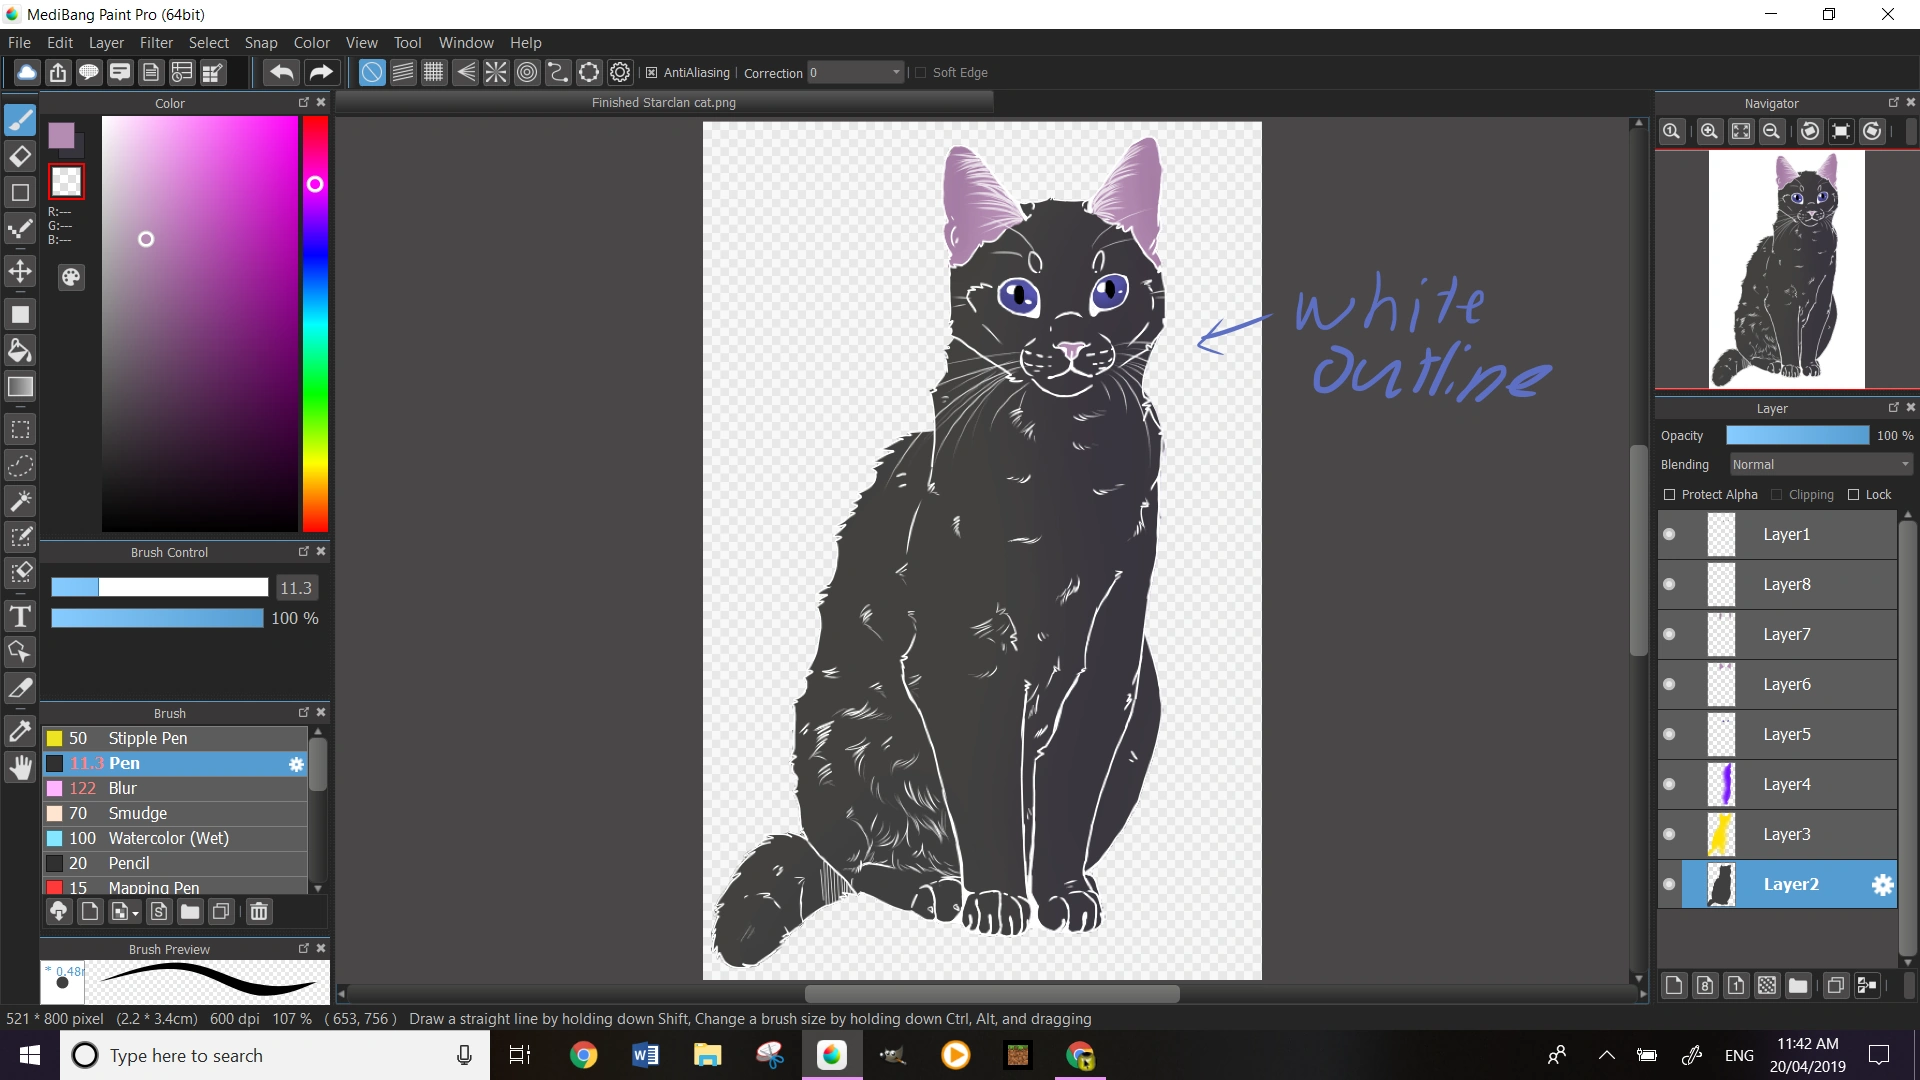
There's your finished cat. Boom.
Edit: You can also do red for the dark forest blank!
Eye Coloring Tutorial by Kezii[]
This is a tutorial showing how I color eyes.
First of all, make a new layer on the bottom of the current one. Do not change the opacity. Let's use red / crimson eyes for this example.
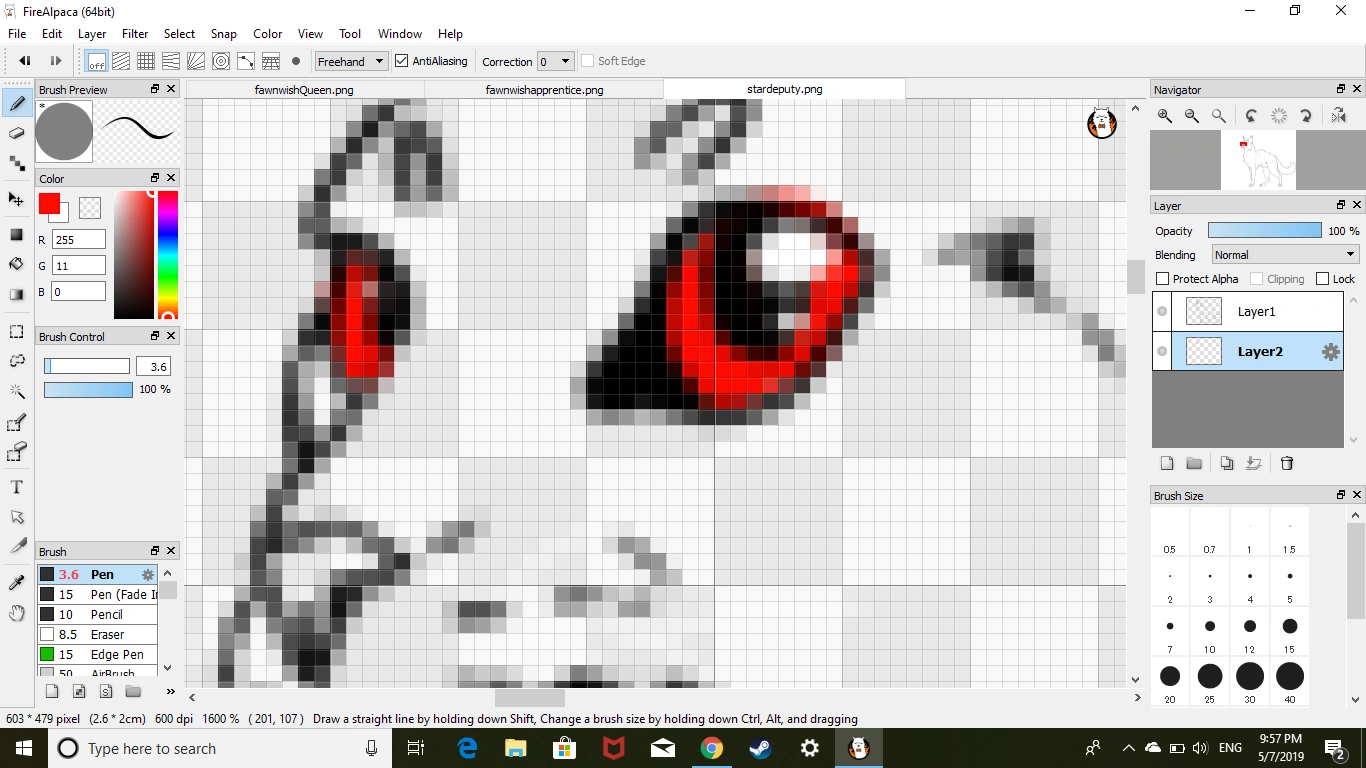
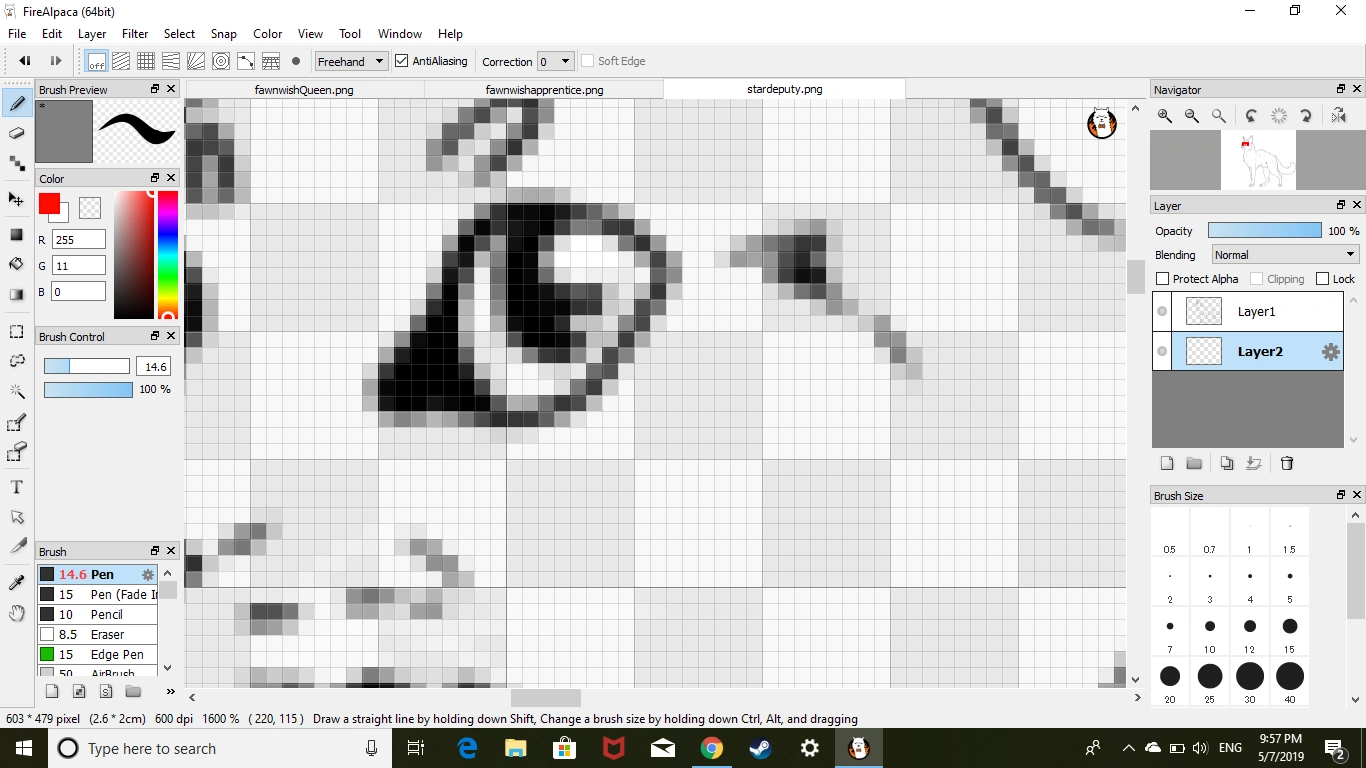
Proceed to color your base color. (Your cat's normal eye color)
At the bottom side of the eyes, select a color that is visibly darker than your base. Color that color onto the bottom half - ish section of the eye.
Now with the topside, color it a visibly lighter color than your base. This time outline the pupil with that color.
Zoom out and see what it looks like, if you don't see a lot of your base, or it doesn't look good, proceed to the next step. If not, leave it as it is and you get your eyes.
Add as much base until you can see it.
It should look similar to this, after you add white to the top of the eyeballs. After that, you successfully made eyes!
Changing lineart by Sandstone25[]
Hey! I'm here to tell you how to change the line-art of one of the character blanks! :)
I'm going to sure how to change line-art of torn ears and bobtails.
Bobtail[]
Bobtails are cats with stubby tails. Naturally, or is a disablity. In this section, I'm going to do bobtails.
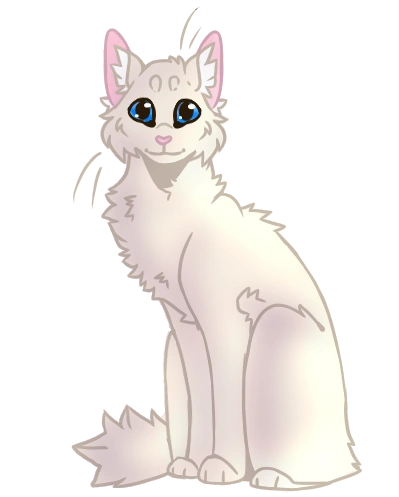
You wanna load in the blank in your art program. I use Medibang paint pro, and the leader blank.
Add colour, earpink, eye colour, etc (Not shading yet)
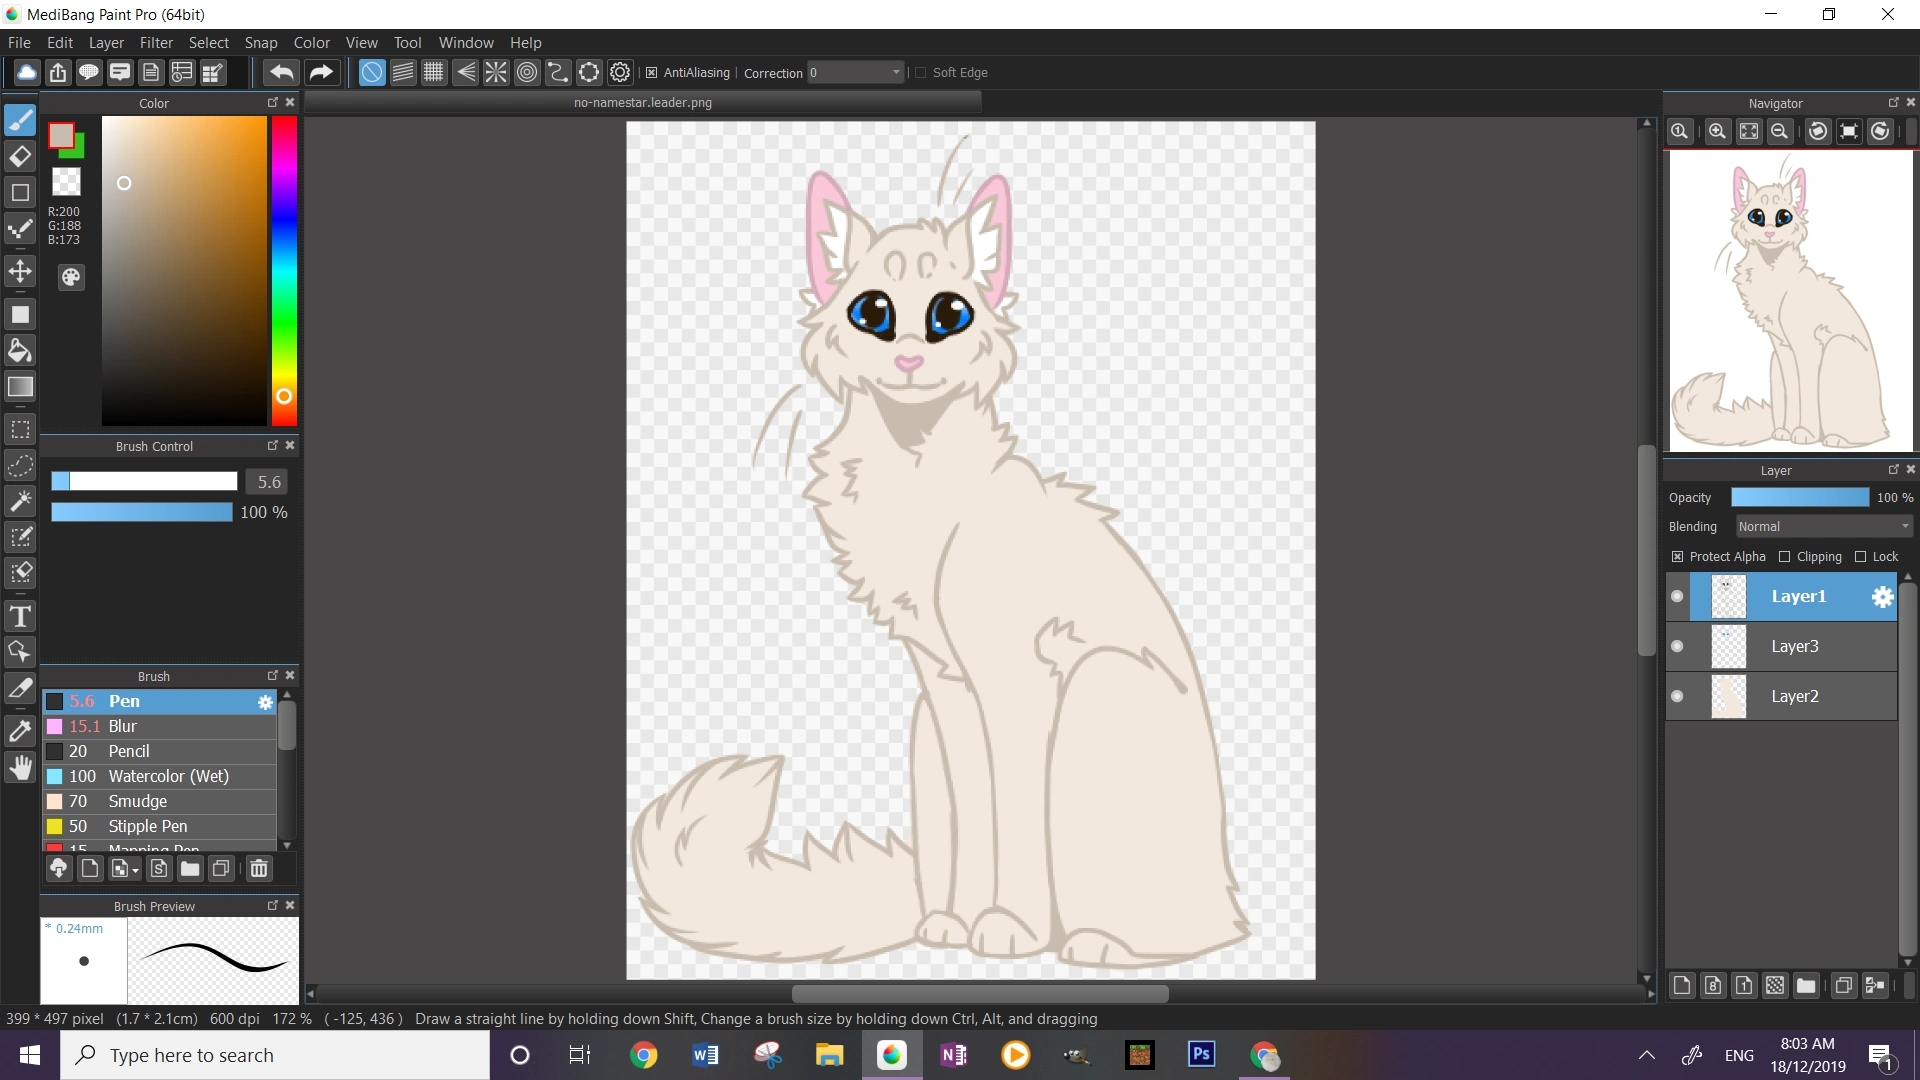
Now, erase some of the line-art on the line-art layer. You can erase as much as you want. Be careful, you don't want to create a no-tailed cat! :P

Kinda have a glance how spiky the fur looks. If you picked a short-haired blank, it should be easier to form the bobtail. (TIP: Try to pick the brush size similar for better charart)

Erase the colouring from the tail.
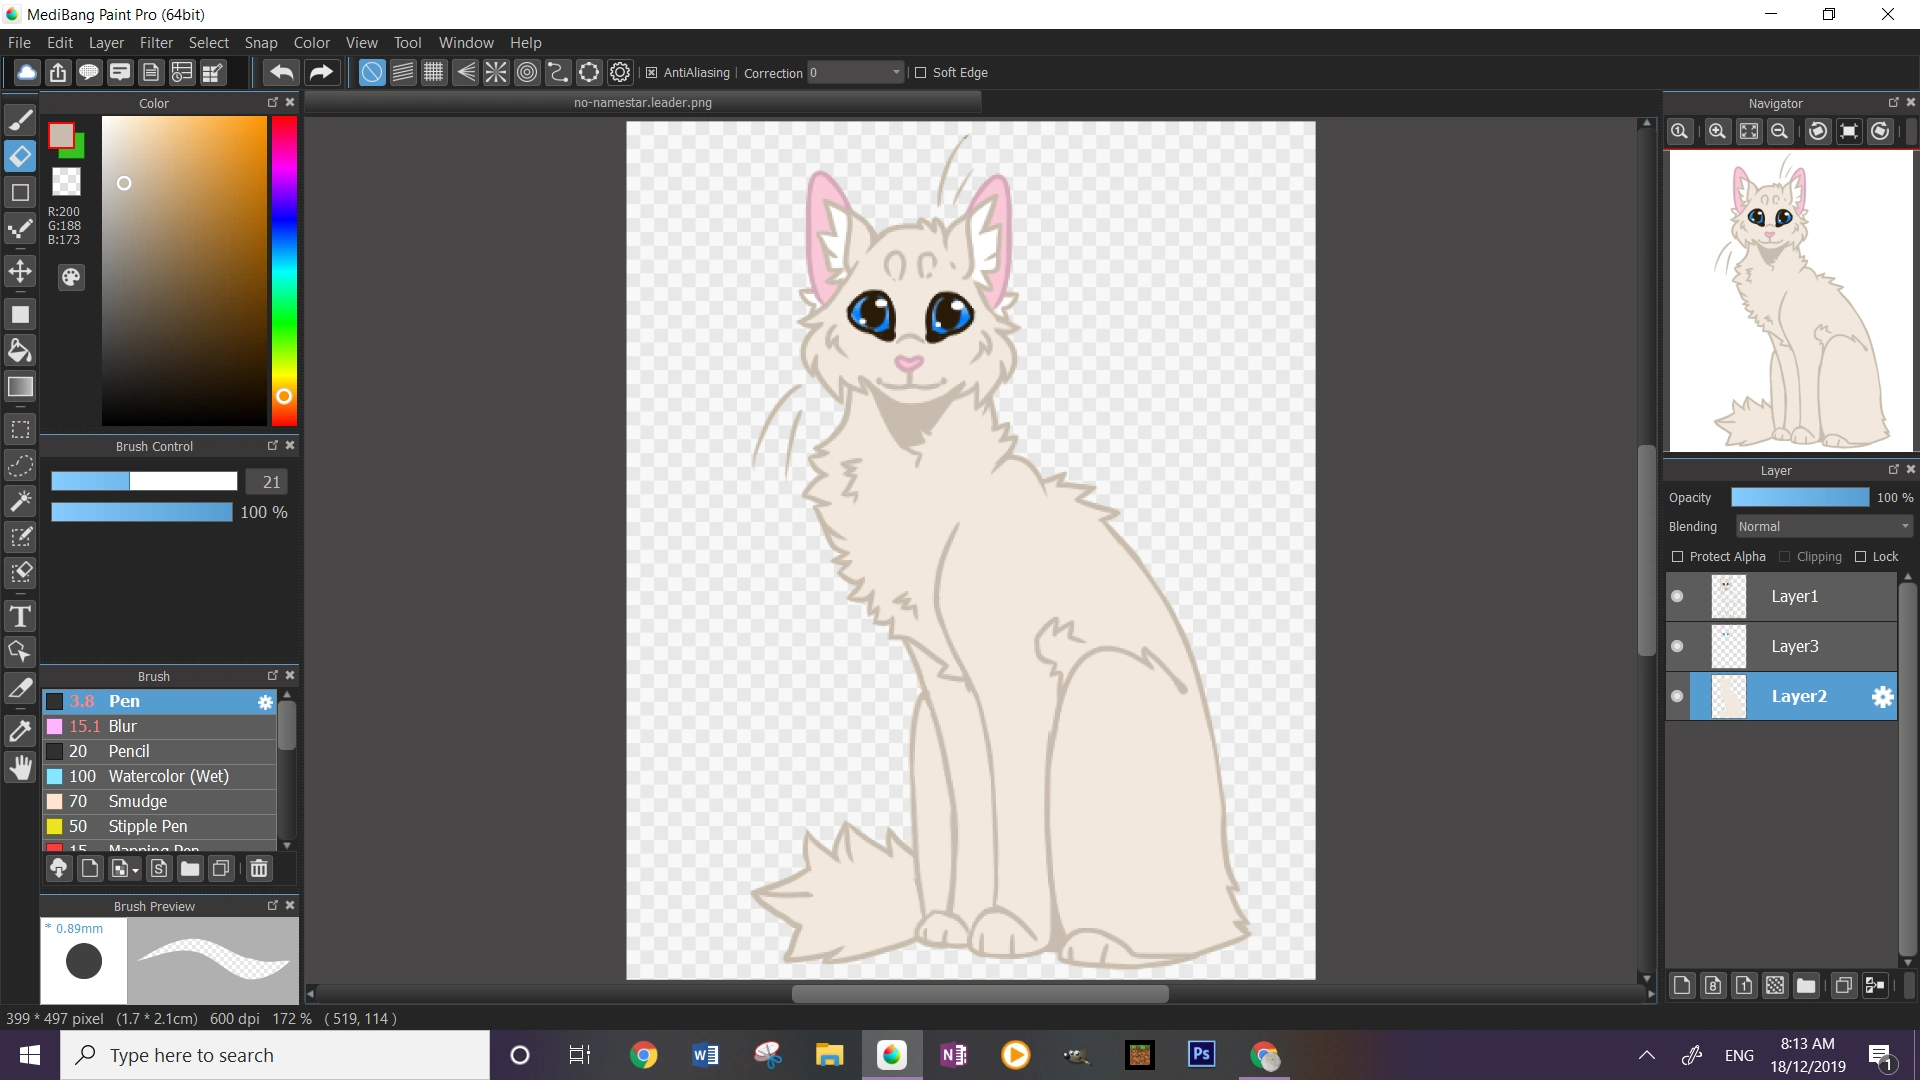
Now add shading, and you're done!
~~
Nicked ear[]
Get the image into your paint program. I'm using the kit blank.
Erase the eartip, however much you want the ear to be torn. I'm doing a small nick.
Draw the nick in.
Now, colour the blank in (add shading if you want), and you're done!

Siamese/Colorpoint cats by tsukidove/Kortooney[]
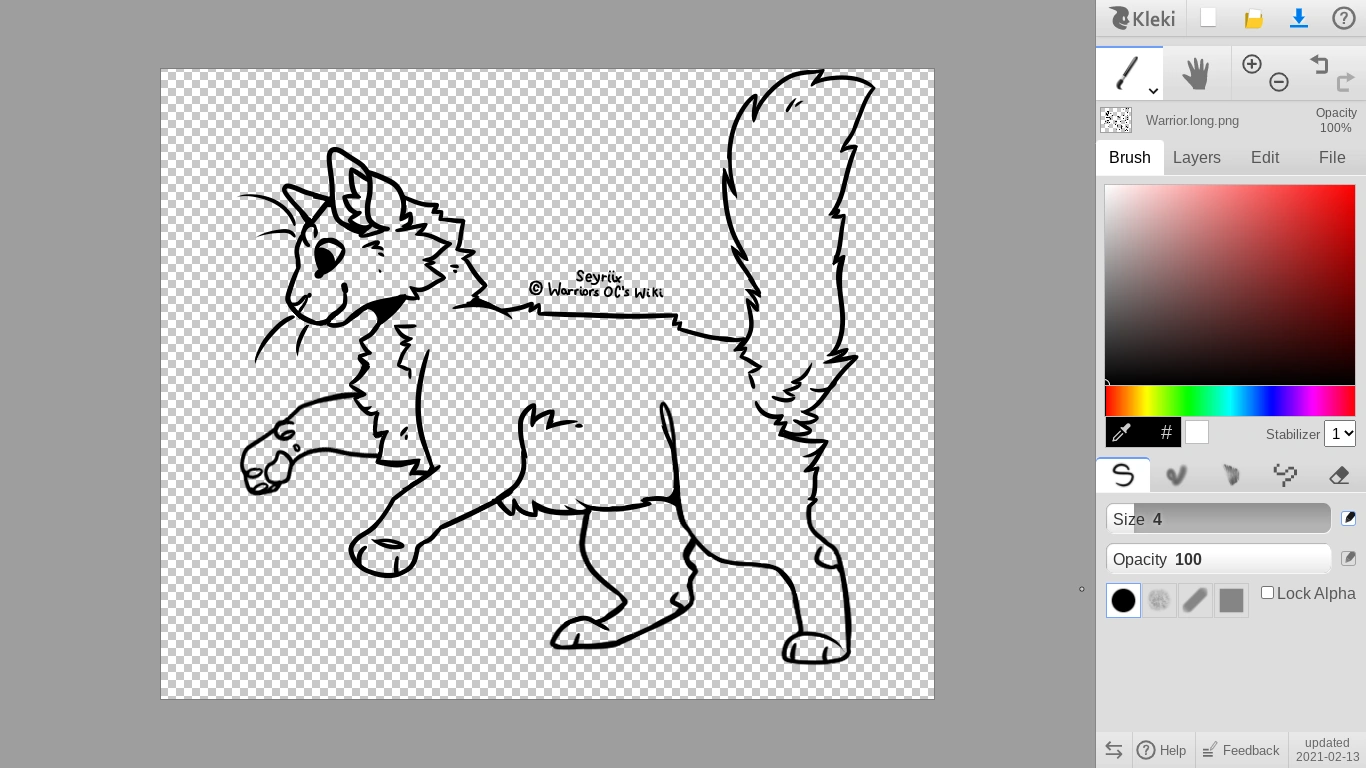
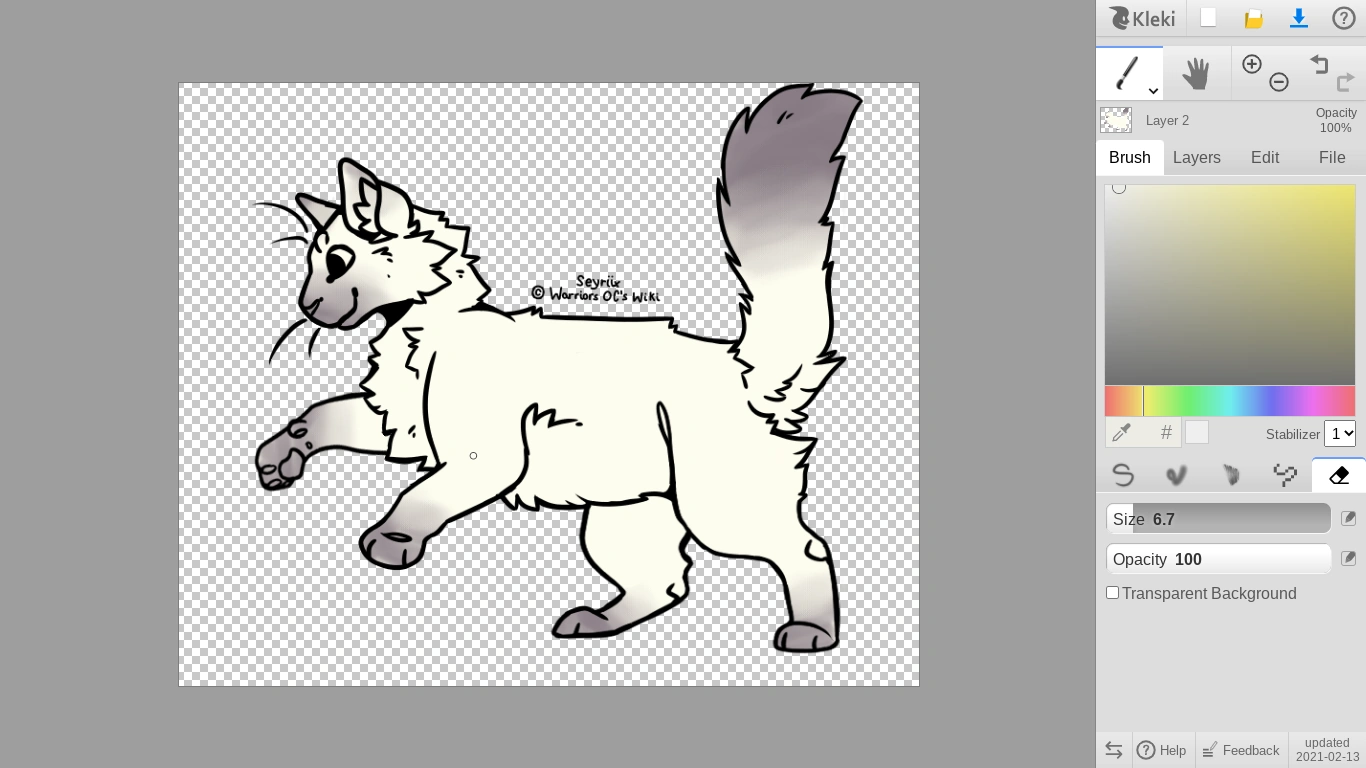
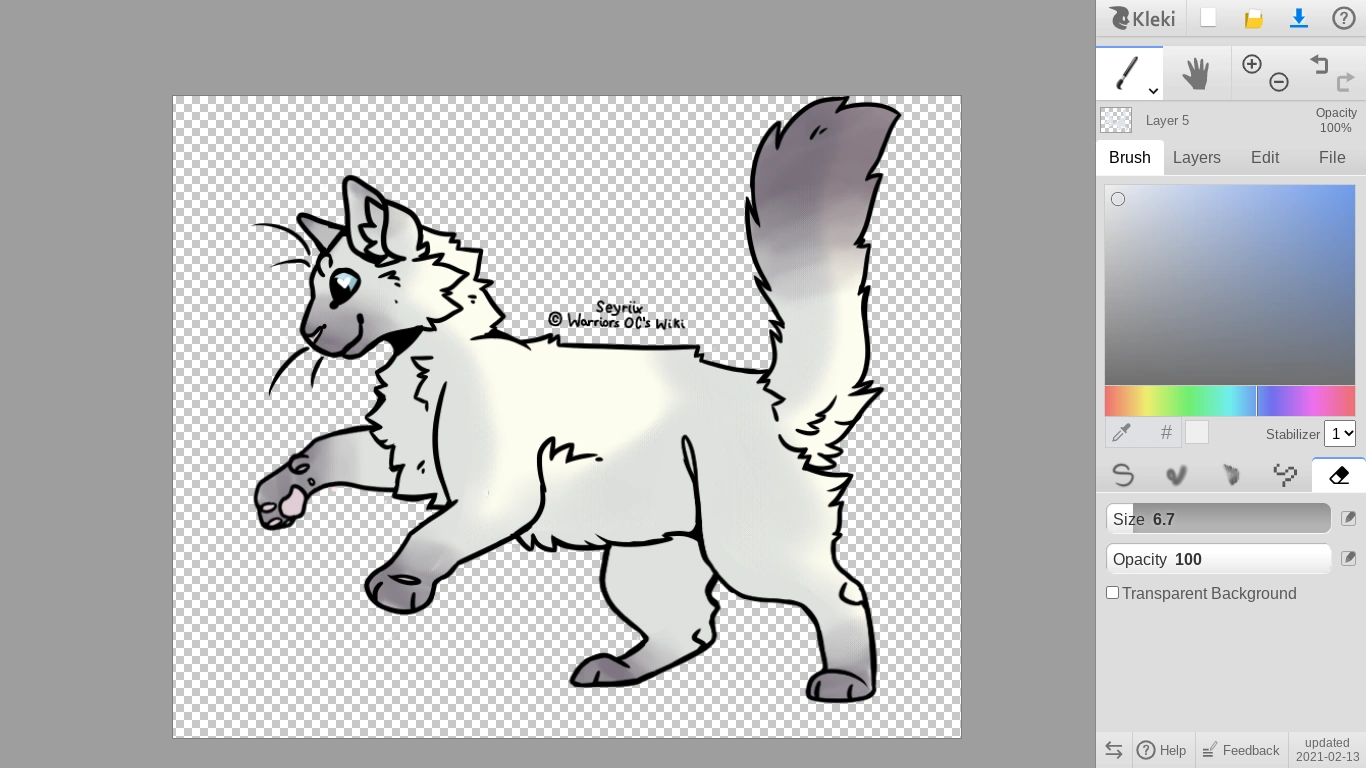
First, get your outline into your paint program. I'm using the warrior outline, and coloring it in with Kleki. This works for every art program, don't worry.
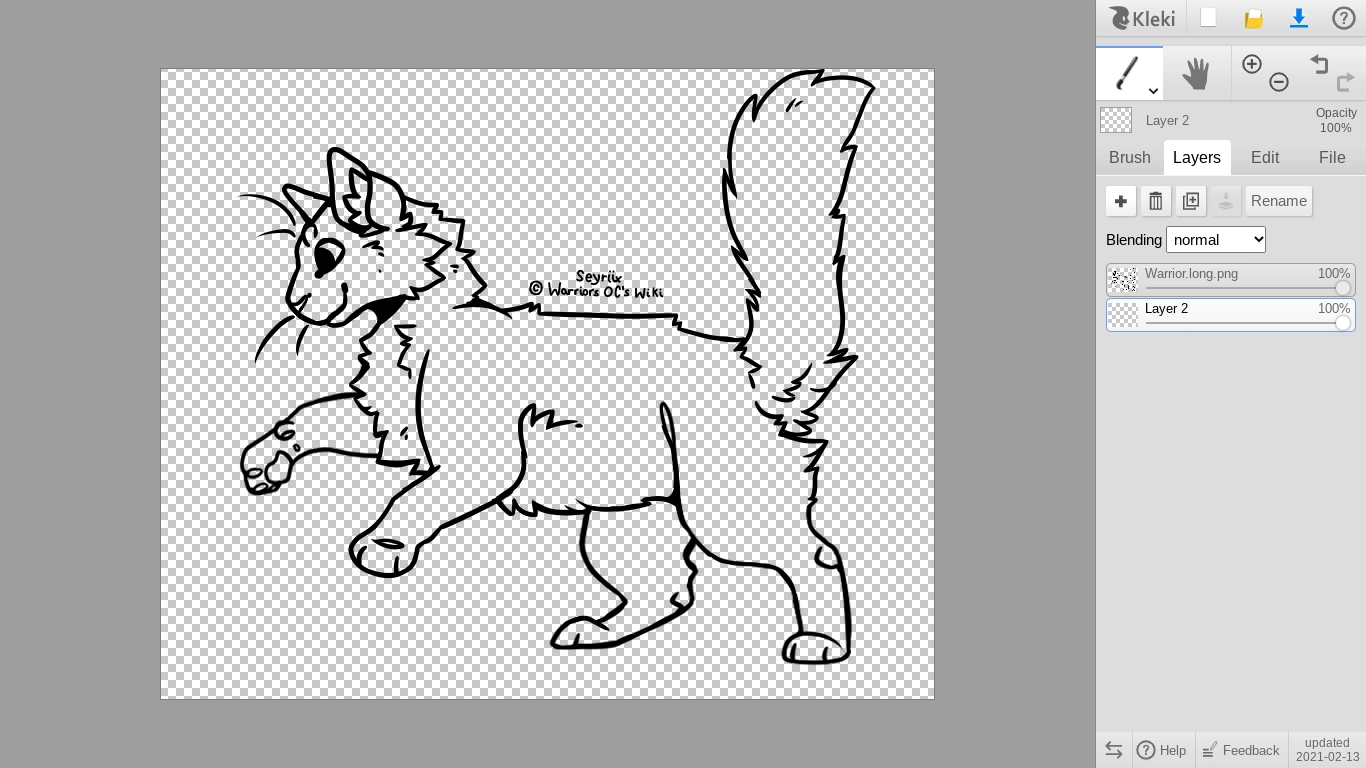
Add a layer below the layer with the line-art. You'll be coloring on this layer. You don't want to mess with the line-art when coloring (unless you want to, that's been covered already)!
Now, select a large brush and color in the blank (on the layer you just created). Don't worry too much about coloring in the lines, because that'll become impossible later on. The base color should be light, almost white (or white if you really want to).
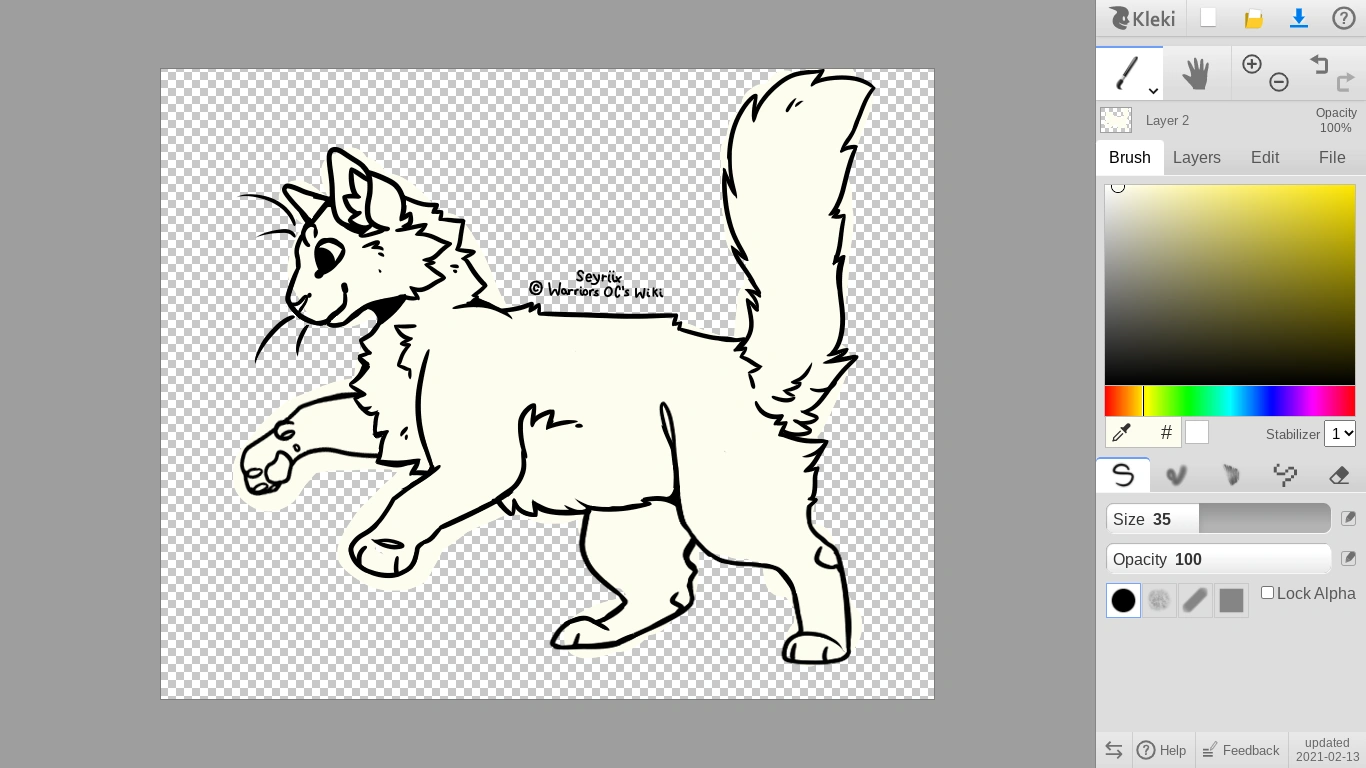
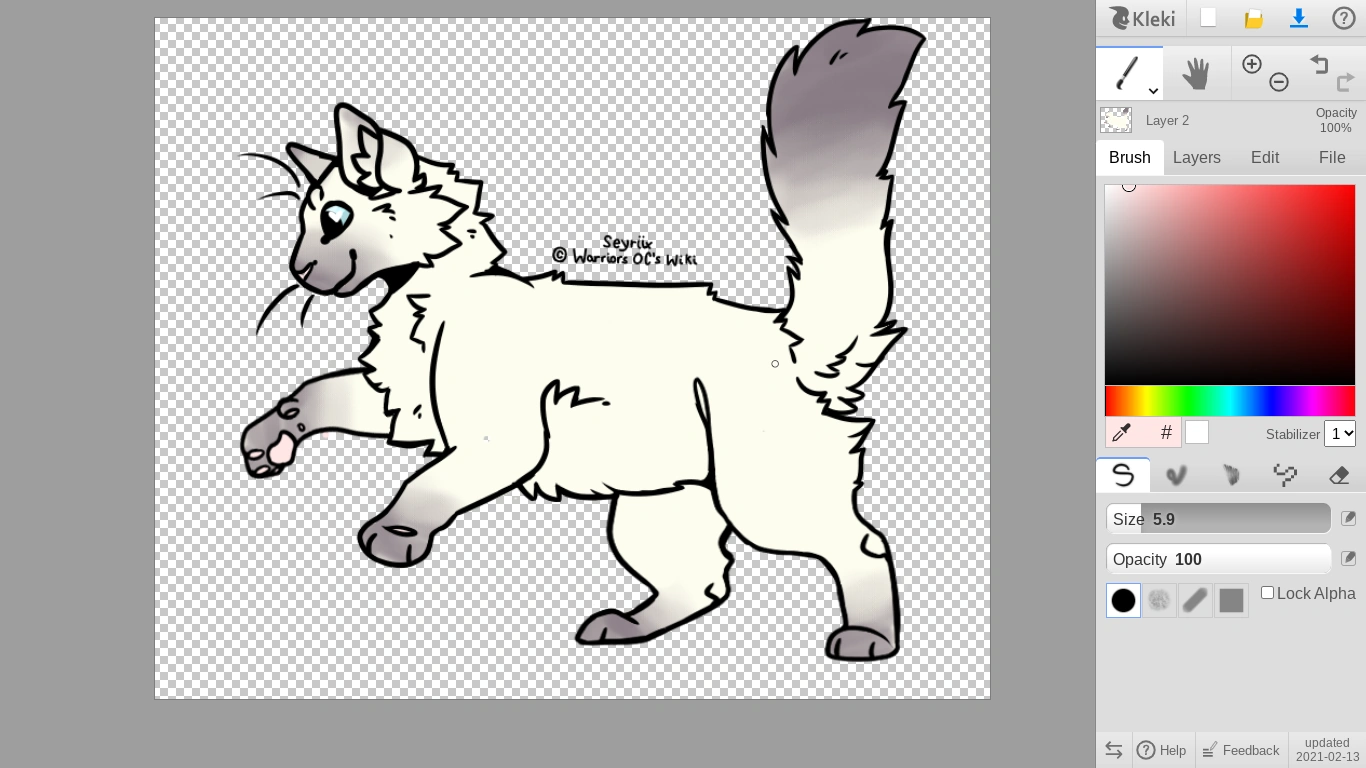
Choose a darker color and color in wherever you want the darker part to be. This is going to be the fade. I've colored in the muzzle, paws, and tail, but you can have a very dark or light colored siamese cat. If you can on your art program, use an airbrush, but don't worry if you can't.

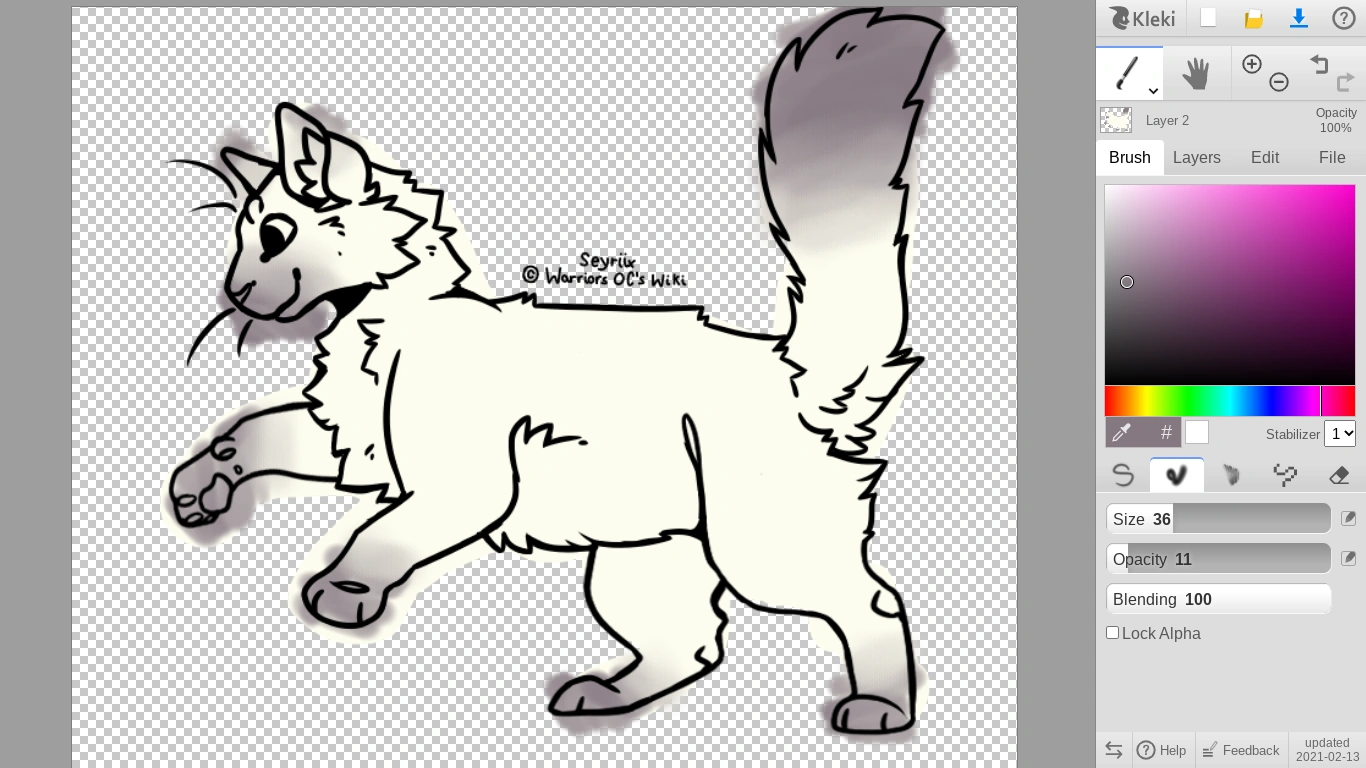
Now, select the blur or smudge tool and soften the fade a bit. If you used an airbrush, you can skip this step.
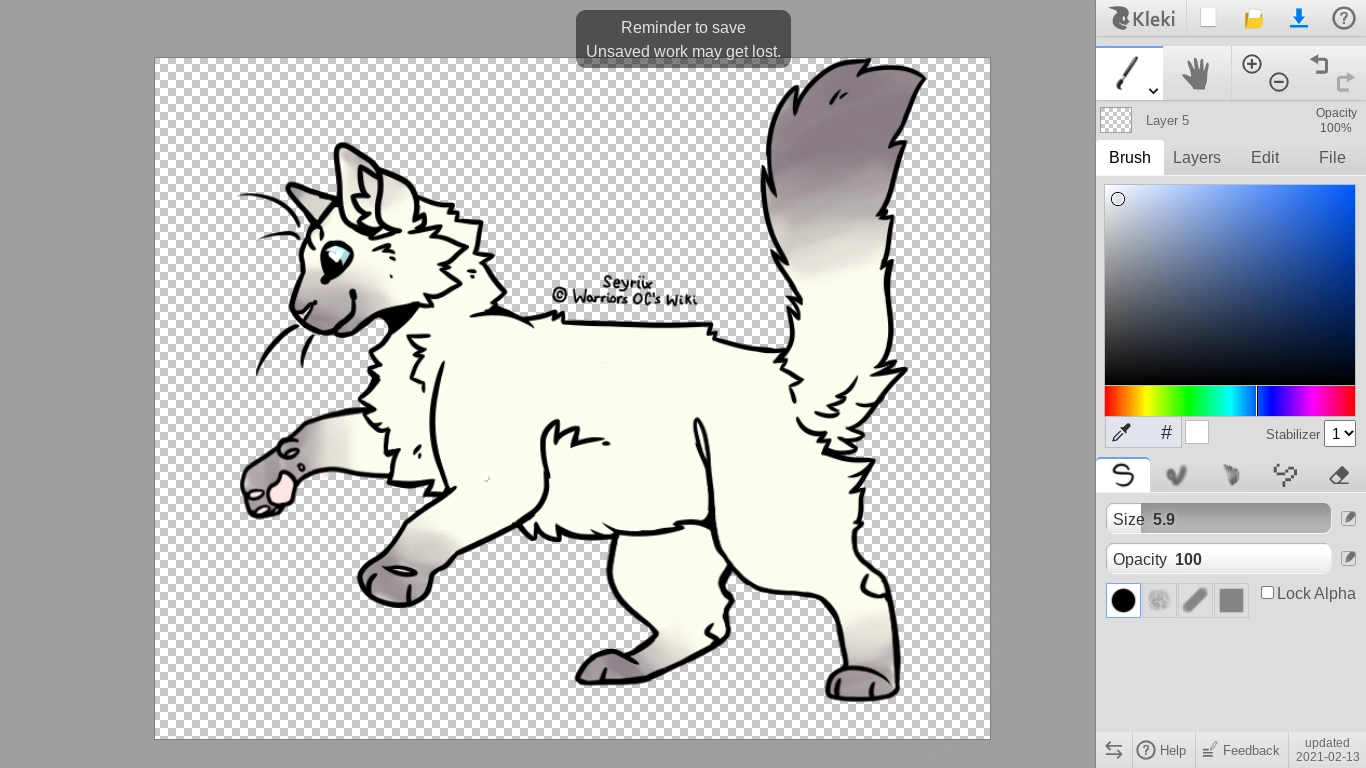
Erase all the color outside the lines. I'm sure there's a better way to do this in other art programs, but I did it this way.
Color in the nose, eyes, paws, and ears. Remember that siamese cats almost always have beautiful icy blue eyes!
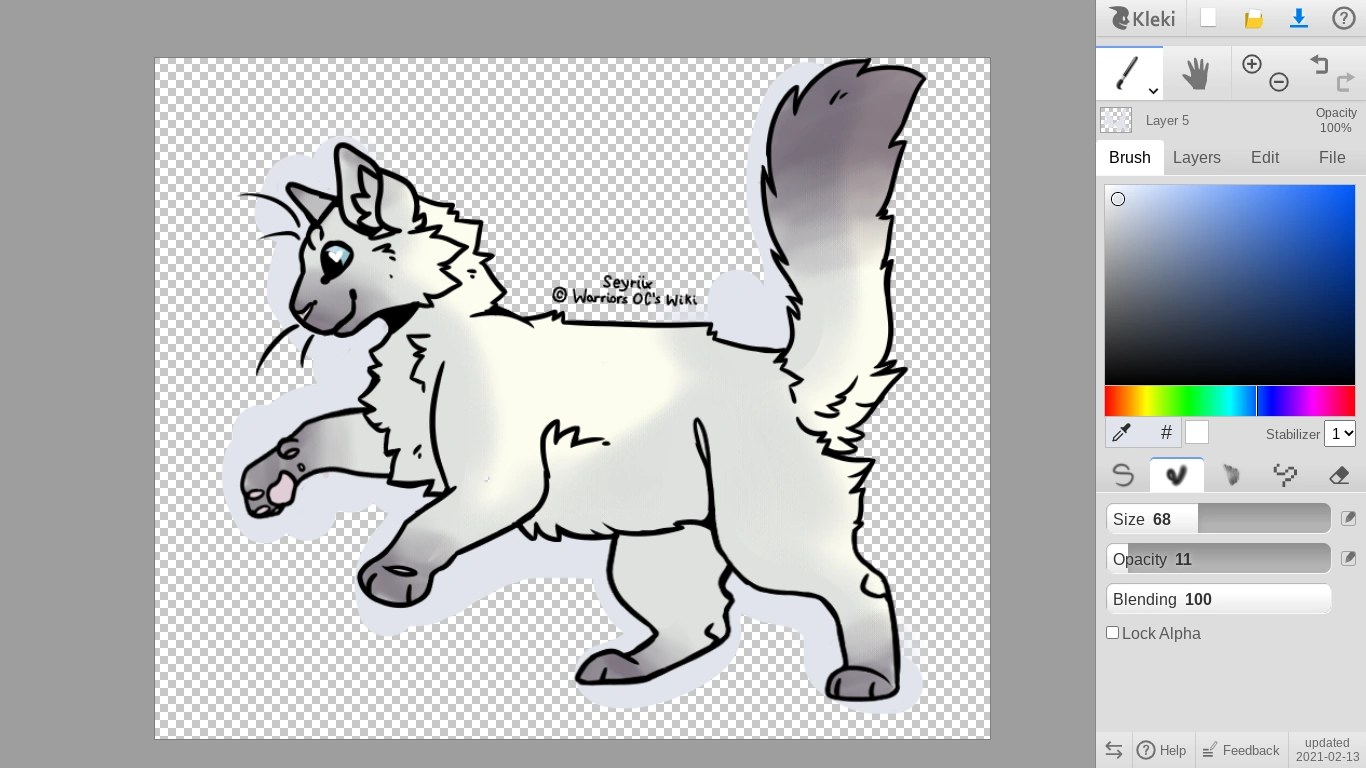
Add a layer on top of the coloring layer (but still below the line-art layer) for shading. If you can, set the blend mode to "multiply". If you can't change the blend mode, follow the steps I wrote in italics.

Choose a light color that's close to gray. If you didn't change the blend mode, choose a dark color instead.
Decide where you want the light to be coming from, and shade accordingly. Make sure to shade on only one side. This is the same whether you chose the blend mode or not.

If you want a more hard, anime-like style of shading, leave it like that. If you want a softer kind of shading, take the blur or smudge tool and soften the edges of the shading.
Erase the shading outside of the line-art.
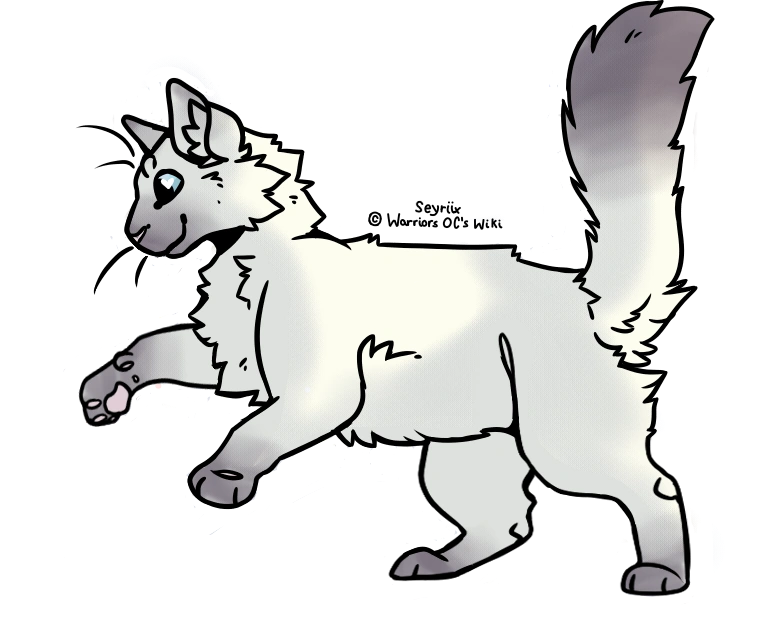
And you're done!
Eyes by Swirlfeather[]
Step one: color your cat like you normally would, and color the eyes in a solid color
Yet Another Way To Do Eyes by LeaderlessCat[]
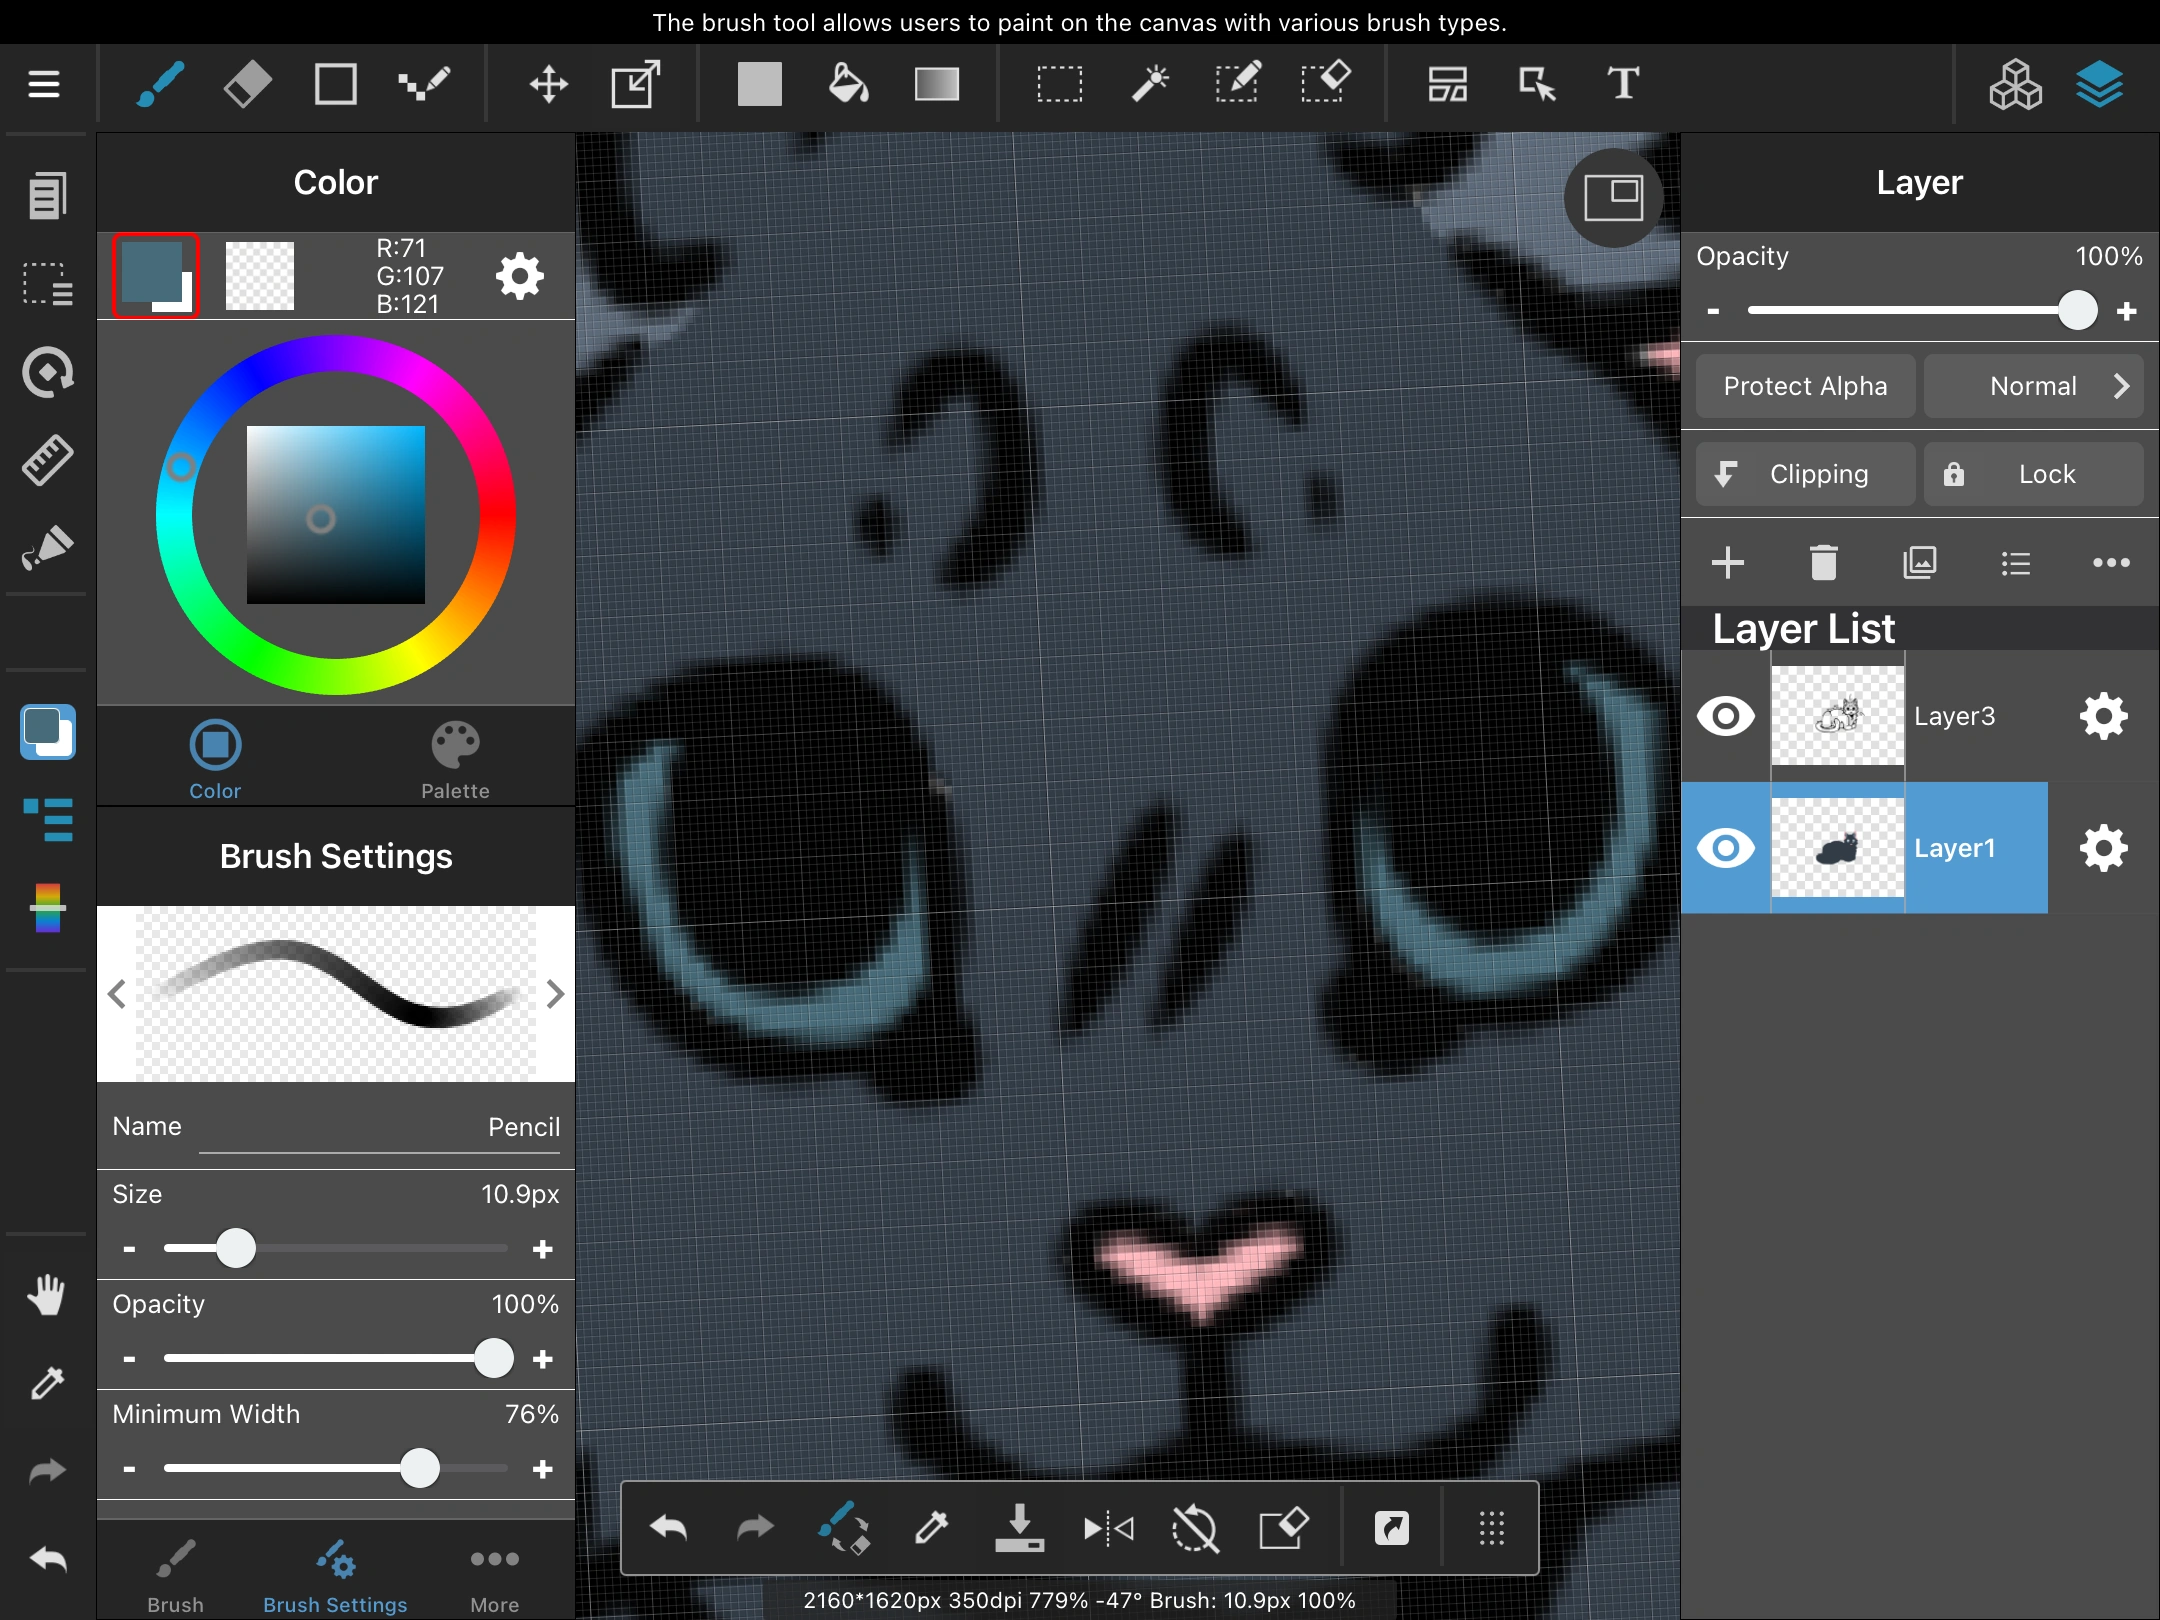
Hi! Doing eyes is both super easy and super fun. Here's how to make some. (The app I use is ibisPaint X. I you use something different, I tried to make it as easy to convert as possible. You might need to change up the steps, but try your best!)

First, you have your colored cat. You go to the layer with the lineart (it's okay if you don't have multiple layers, it's just more convenient this way)
Next, you take your cat's eyecolor onto your pen. This is pretty simple.
Then you color the entire eye except for the outline. This would be the pupil and whites. Look at the picture if you're confused.
Then, make another layer above that and select the colored eye.
Then, pick an airbrush. I'm pretty sure all other platforms have a brush like this one.
Take the cat's eye color and make it a little darker. In the next step, it's a little hard to see, but it is darker.
You use the airbrush to make a ring around the eye. Then you make the pupil, so a large airbrushed circle in the center. It's okay if not a lot of the original eye color is showing, as long as it IS visibly there.
|Now is where I don't know if other apps can do this. You make a new layer, and switch the blending mode to 'add.' If your app doesn't support this, I recommend you try to make the color lighter. Otherwise, you use the fade pen or airbrush, if you don't have a fade pen, and use a color slightly lighter than the original color. You use this at the bottom as seen in the picture.
In this step, make a new layer and take the airbrush and the black. You color the top of the eye until it's solid, like in the picture.
You take the layer you used in step seven and change the opacity to around thirty or forty.

Then, make another new layer, and if you can change the blending mode to add. Using any pen and the color white, make three dots like shown in the picture. I recommend using the dip pen if you have one, because it makes it look like it's glowing. If you want to, you can change the opacity, but I think it looks fine without.
And you're done! If you don't like the way it looks, try playing around with the shadow and light opacity. Then you merge the layers down in the order of the steps. You have finished making LeaderlessCat style eyes!
Chimera by Theasexualdoodles[]
Coming Soon
Eyes by BLu[]
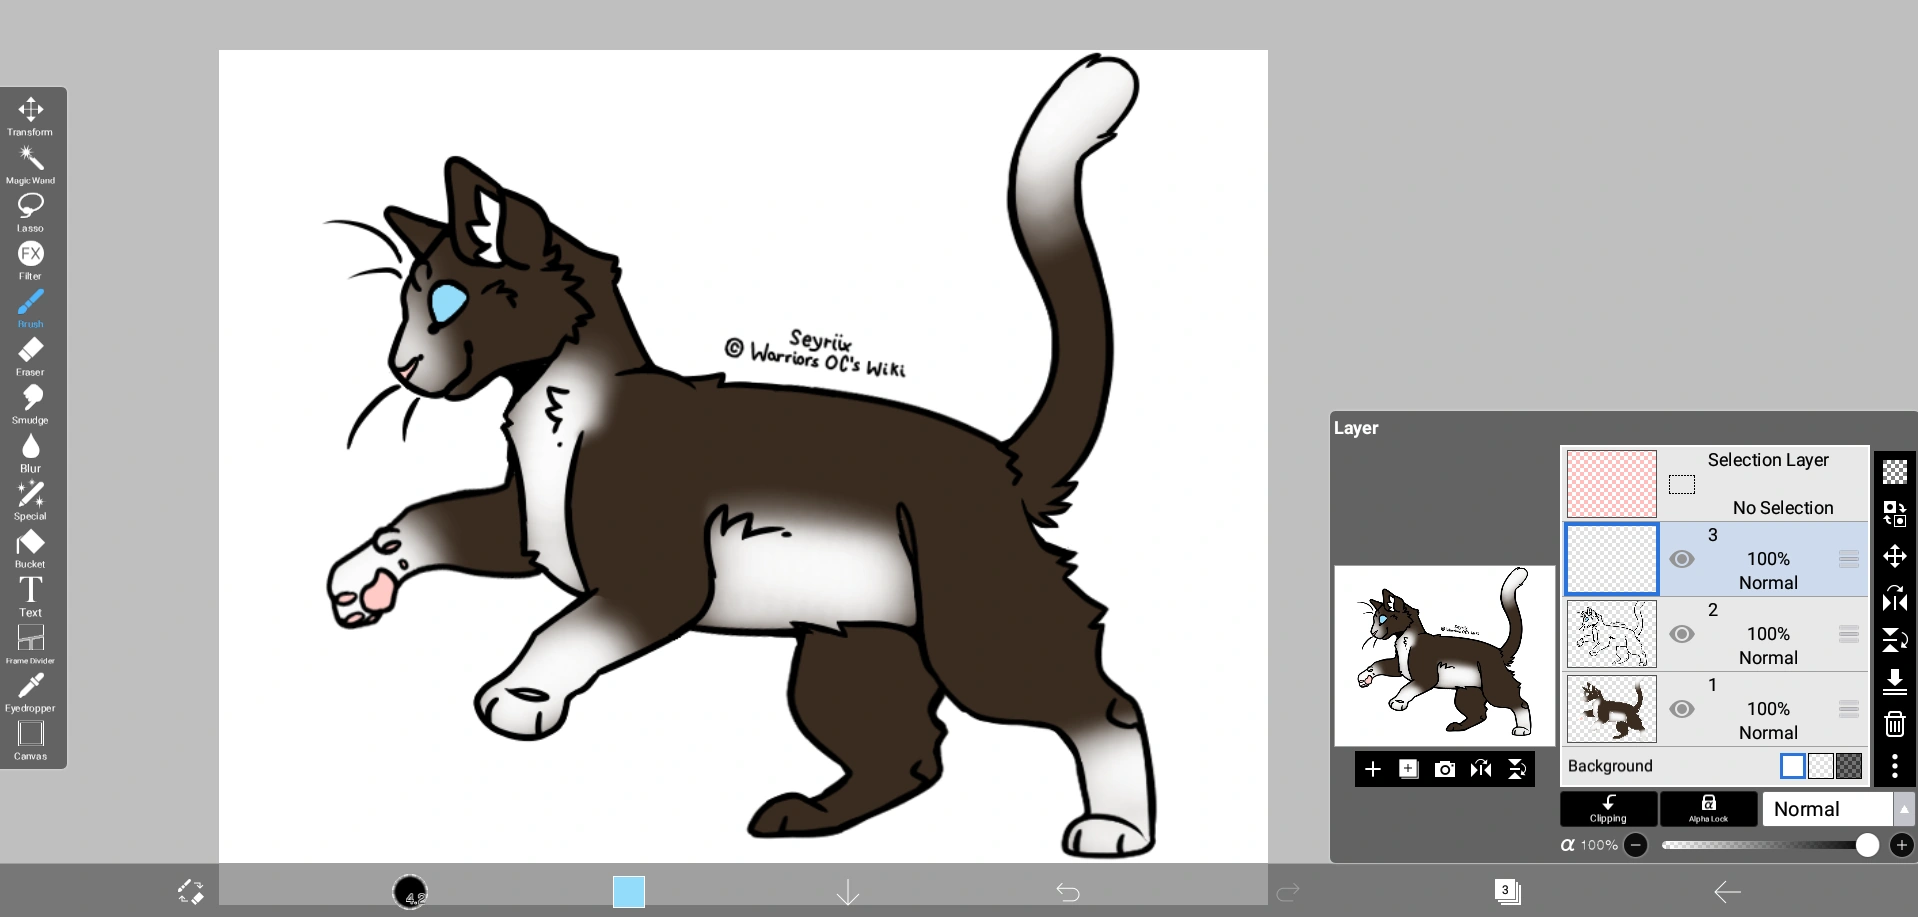
i suggest you use mutiple layers for easier use
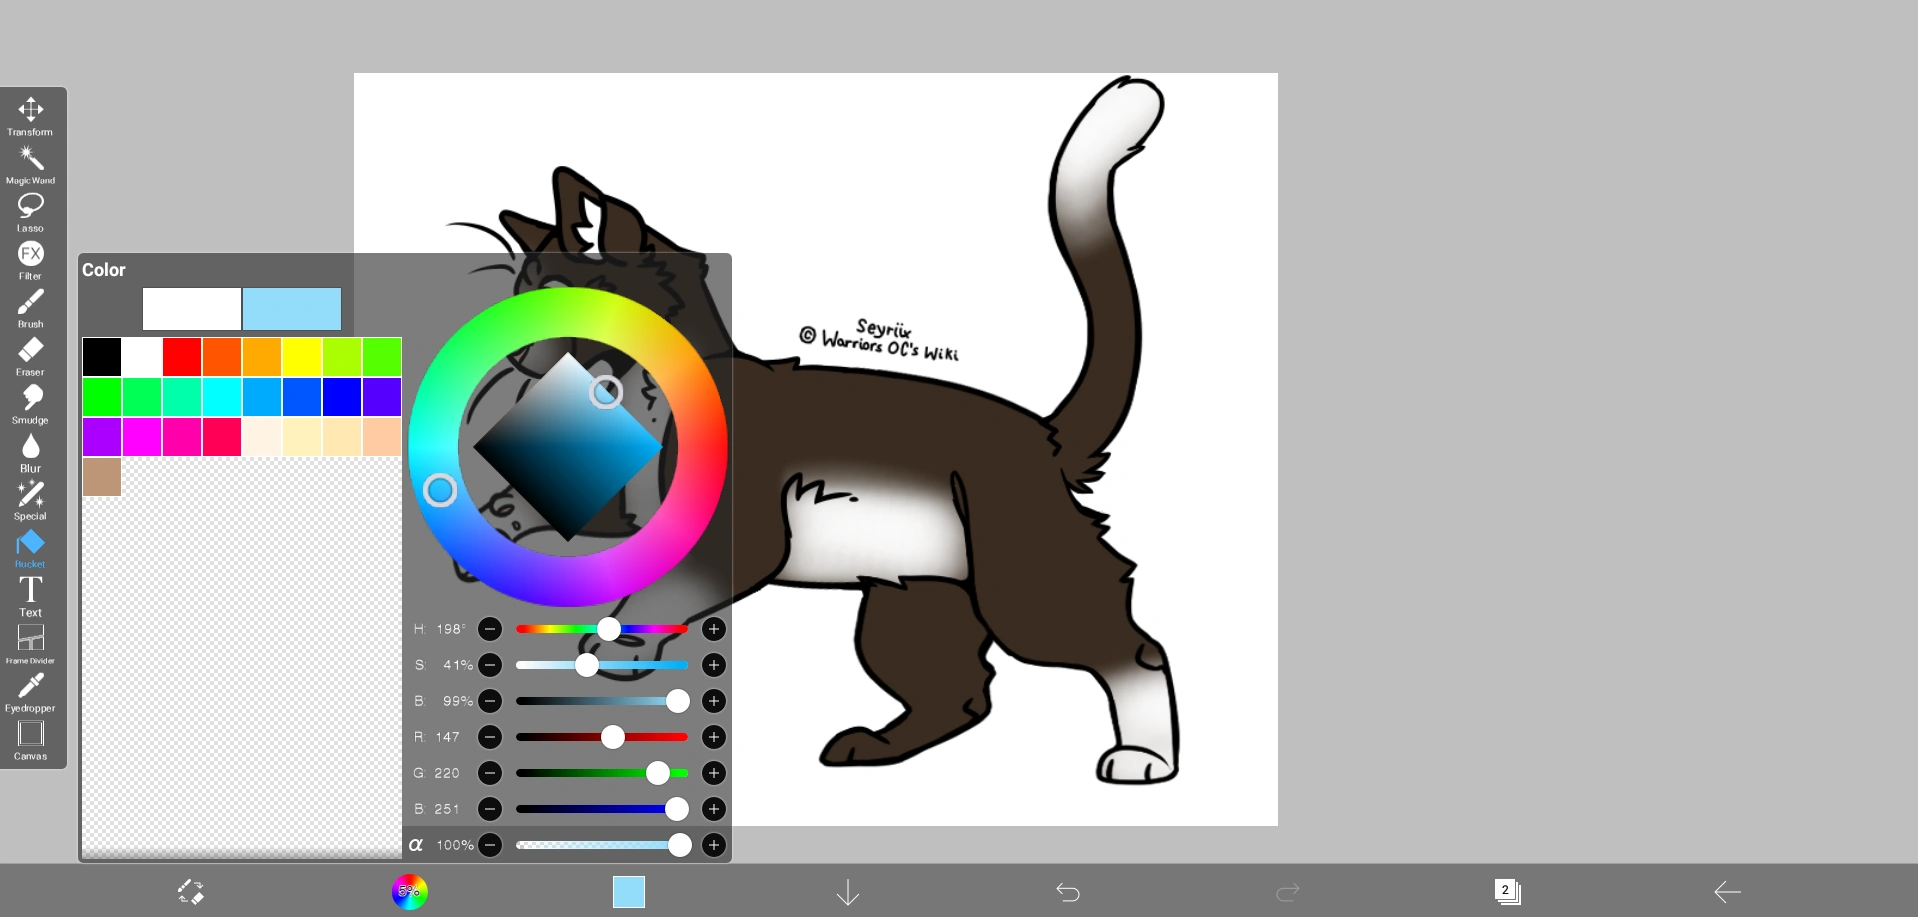
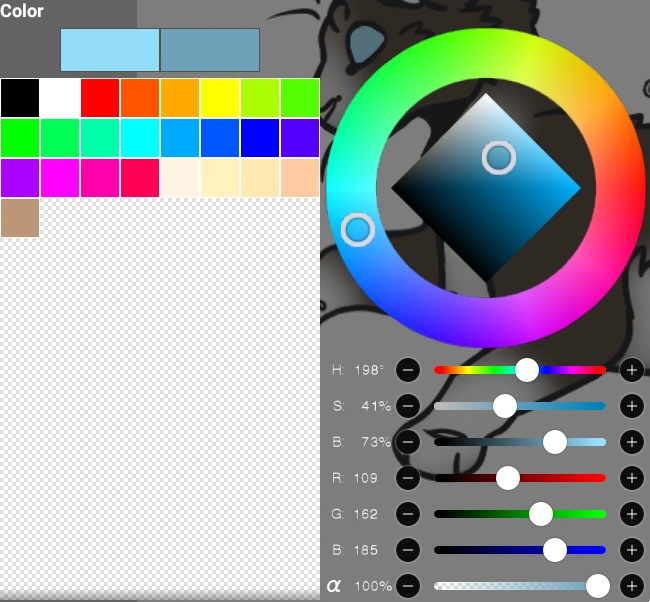
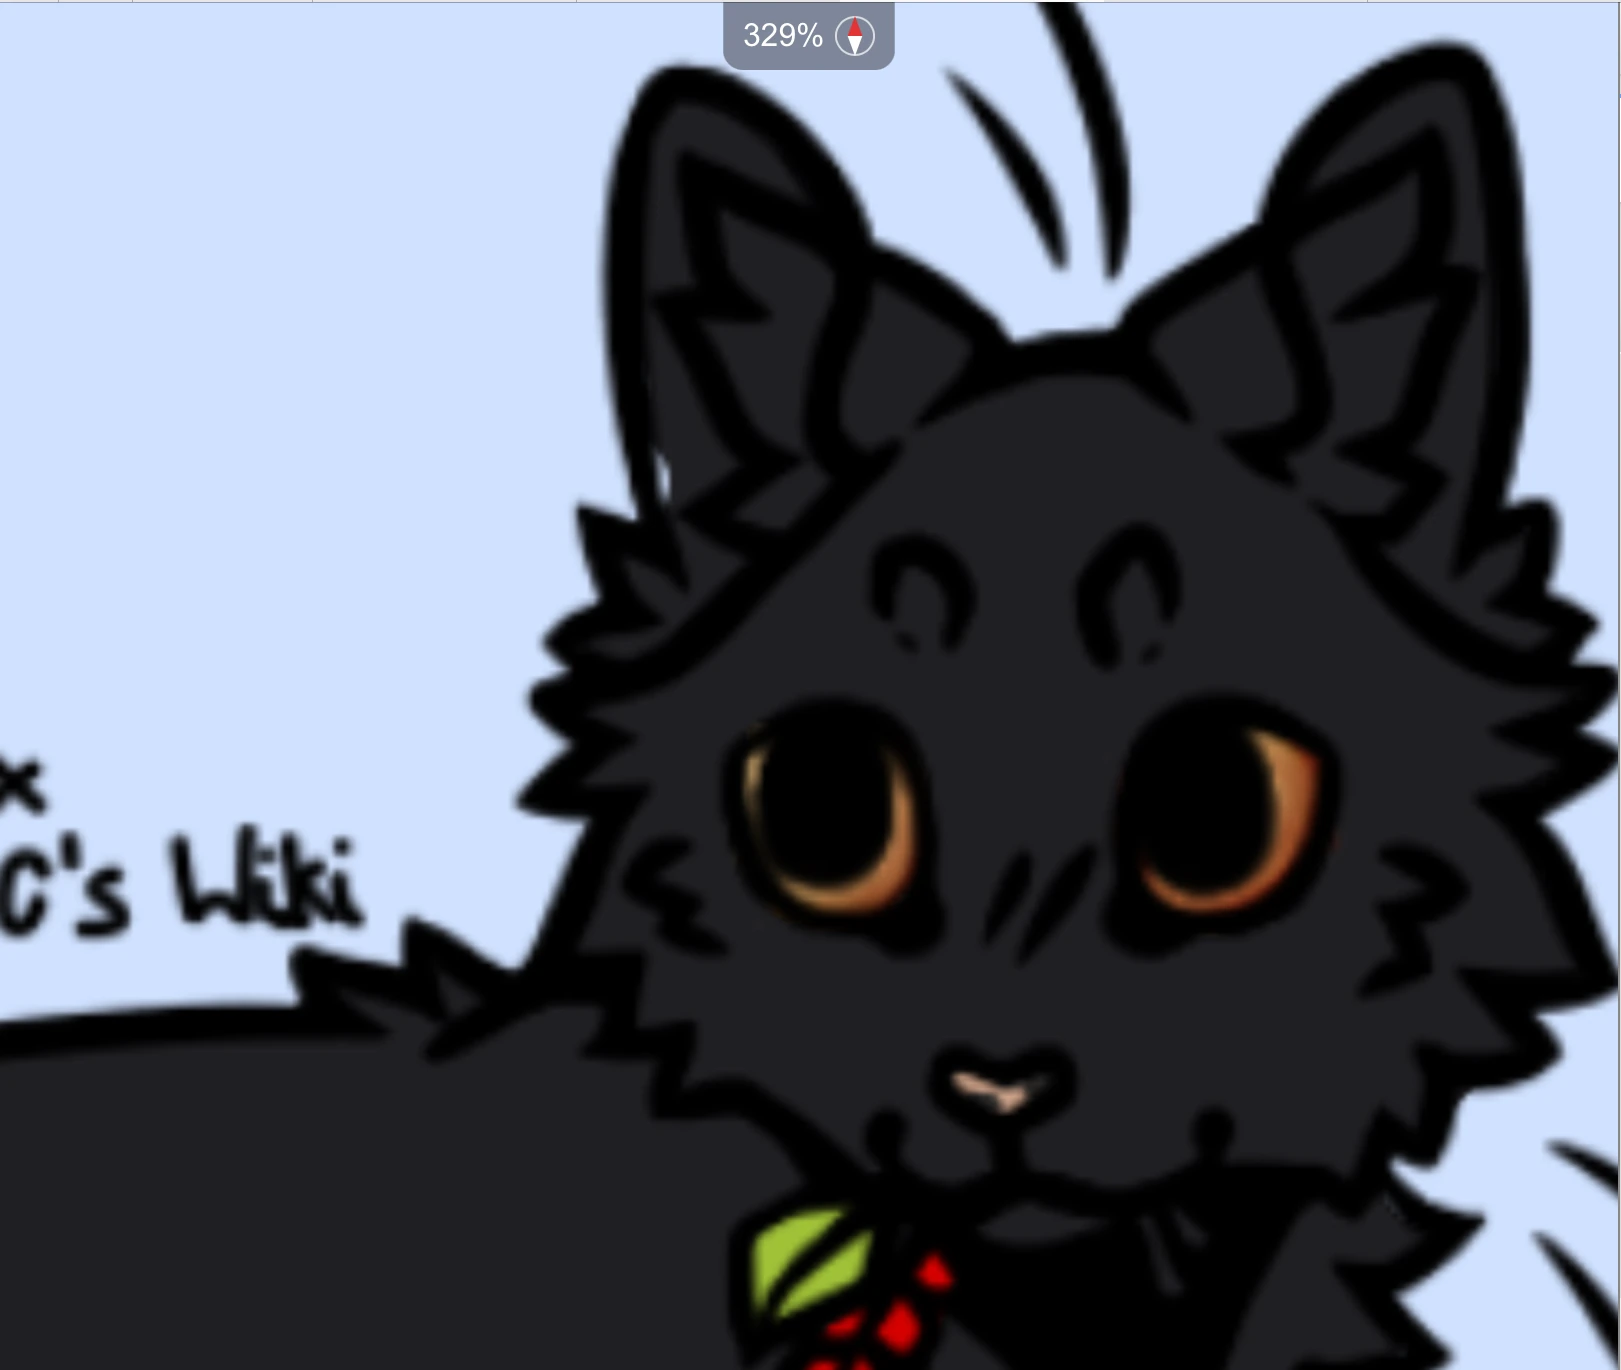
first color you character in, only the first color, the one im using is ‘Medicine Cat’ four colors are needed, one lightest, one darkest, one inbetween, and one natrual cat eye color thats related to the main(lightest)
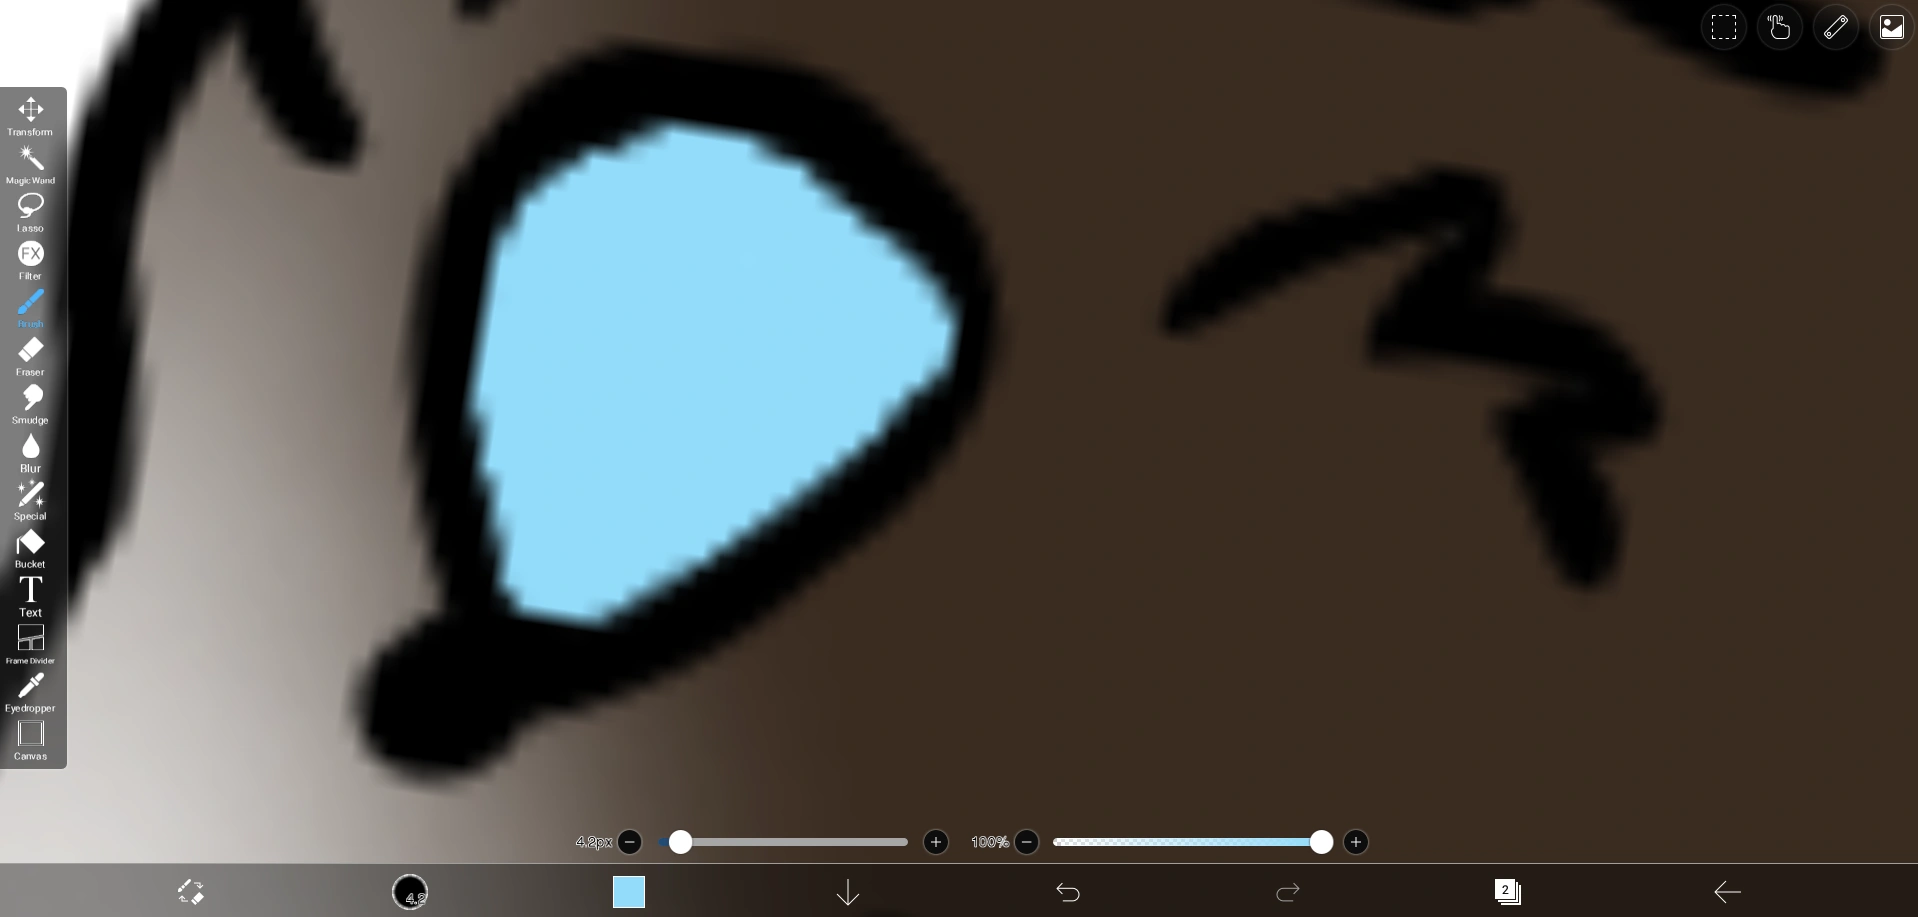
on the top layer, right under the lineart, color the eye a solid color, a light color is recomended.
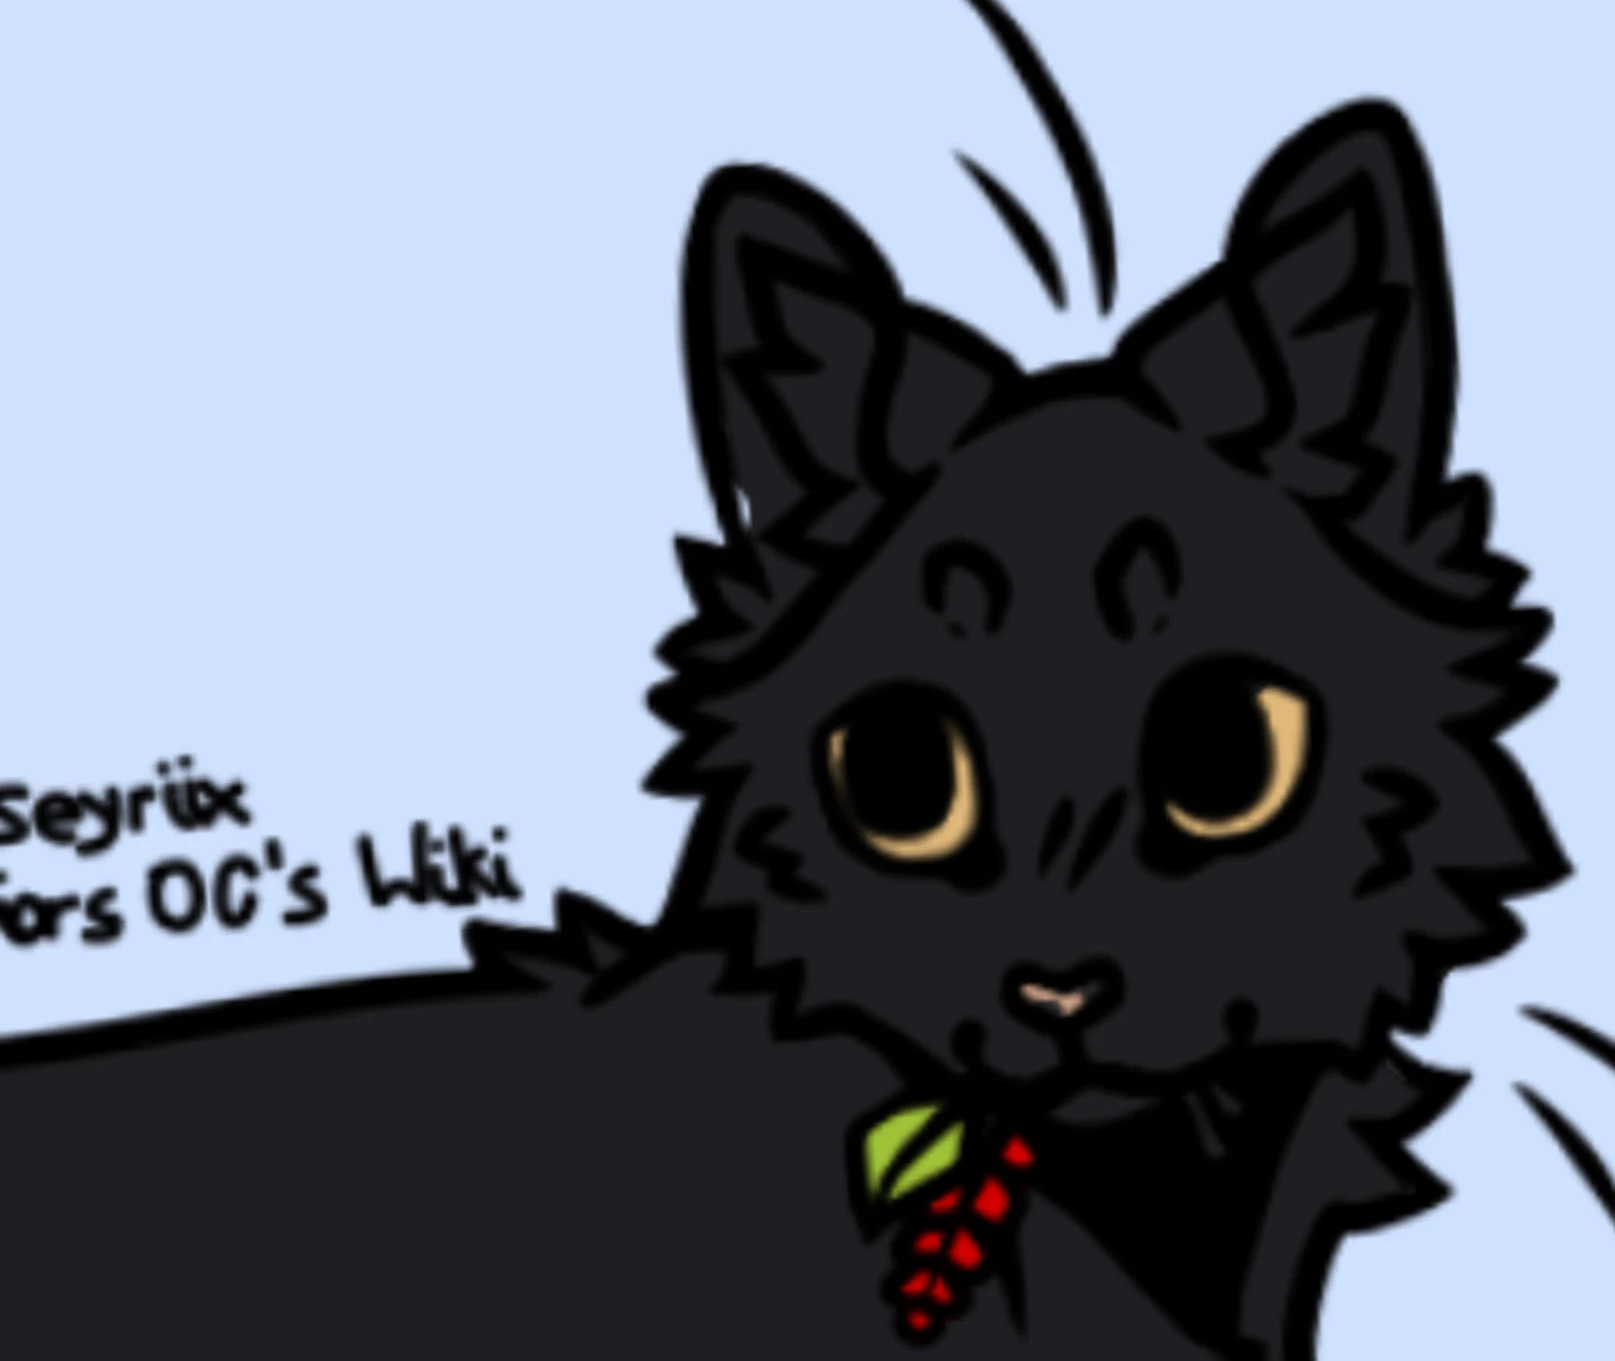
Then, with the darkest, out line the shape of the eye
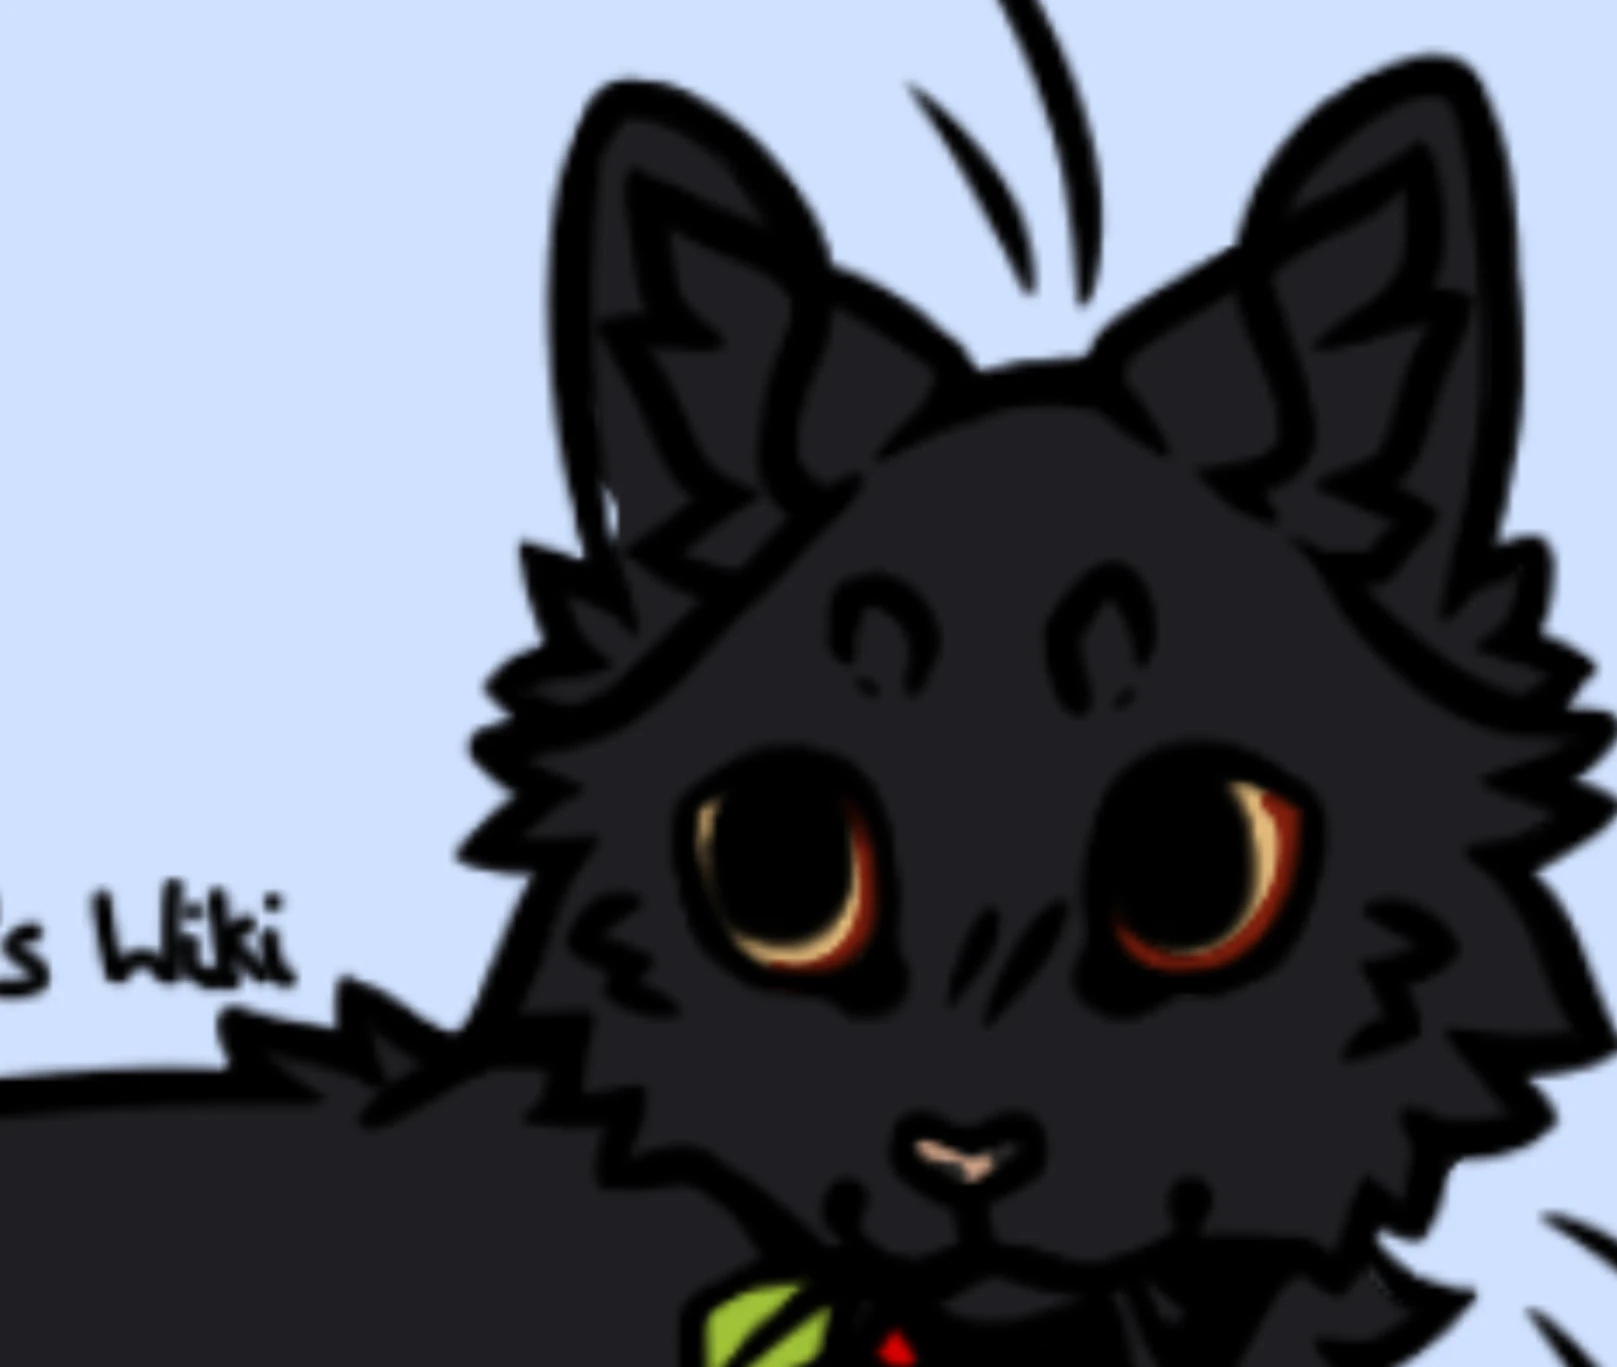
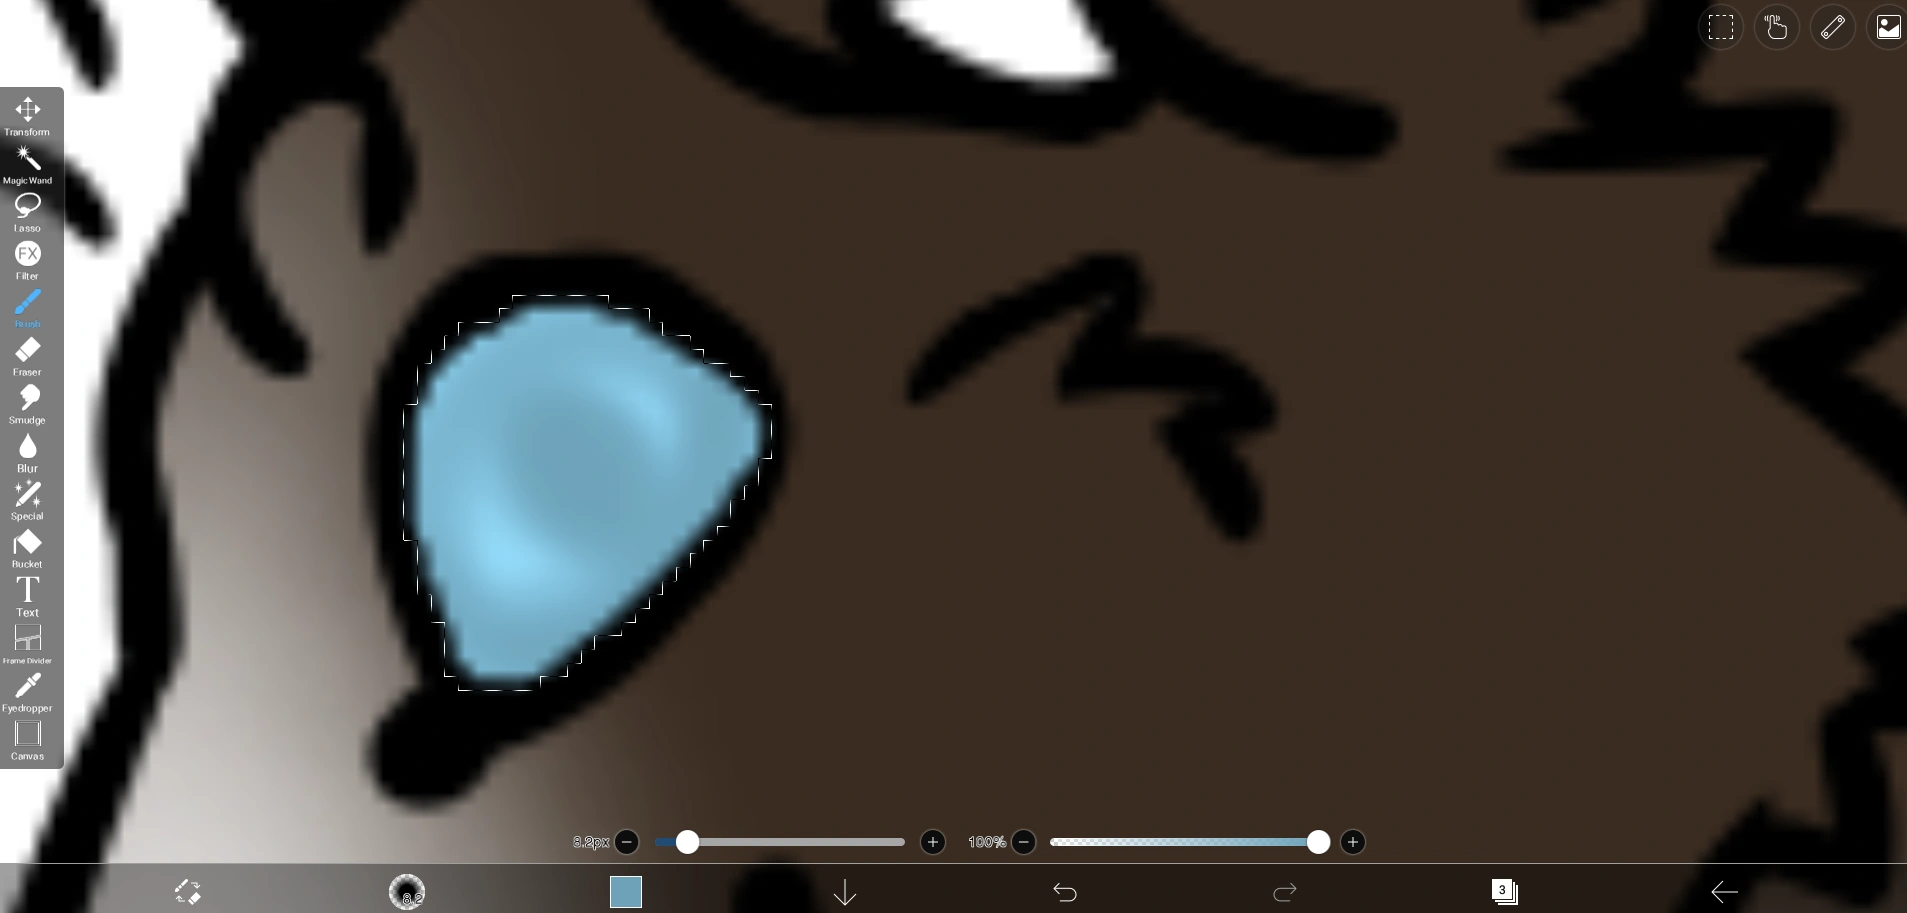
with the inbetween, make a thin sliver of a line inbetween the lightest and darkest
get the blur tool, turn blur all the way up (100%)occopasity 30%, and size 5%
[[file: 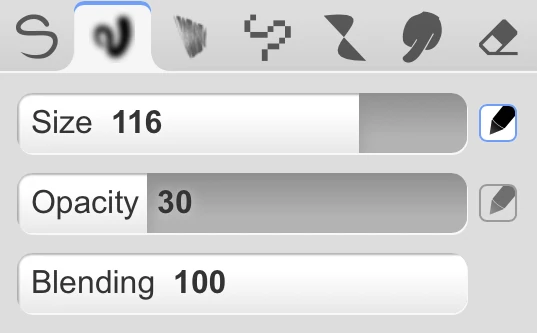
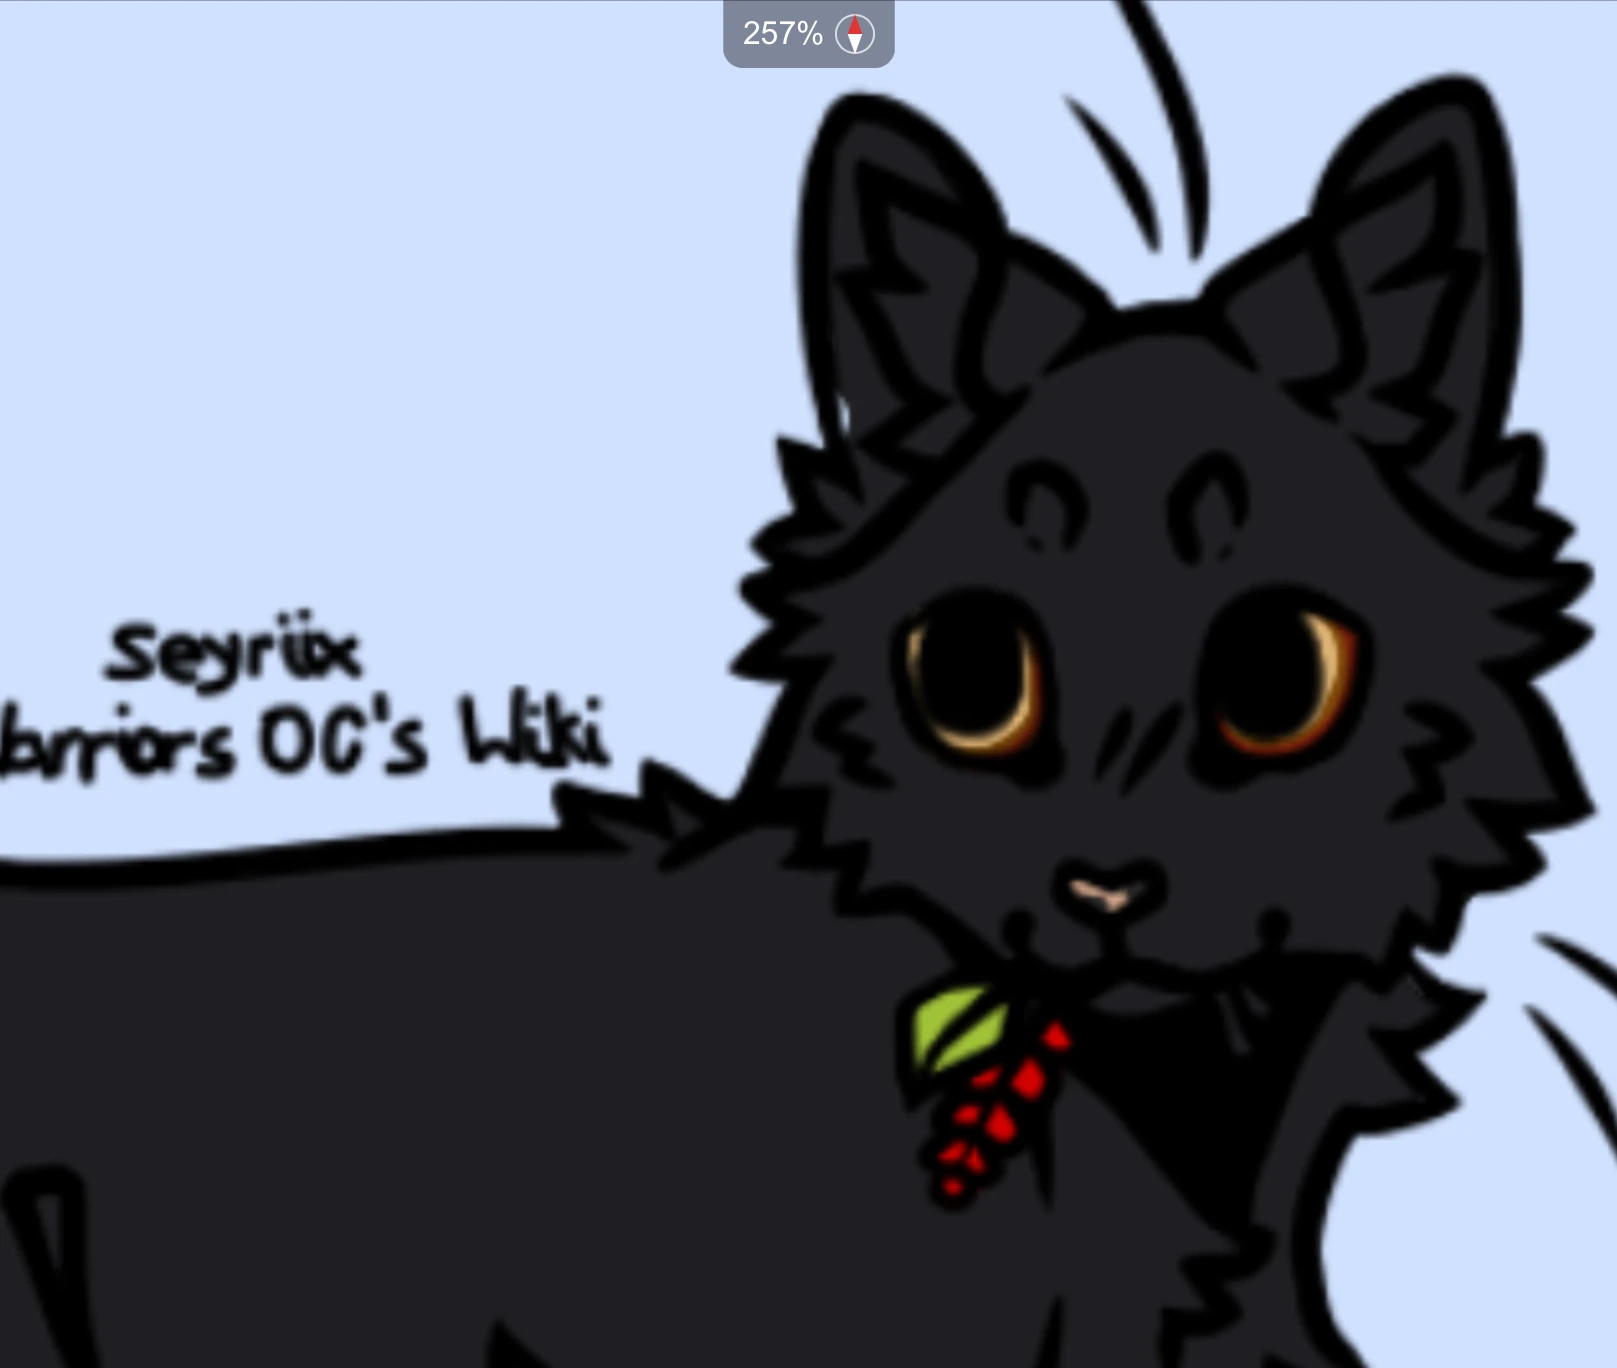
blur the eye, add more of the lightest if needed
Add related color to the bottom of the eye and blur
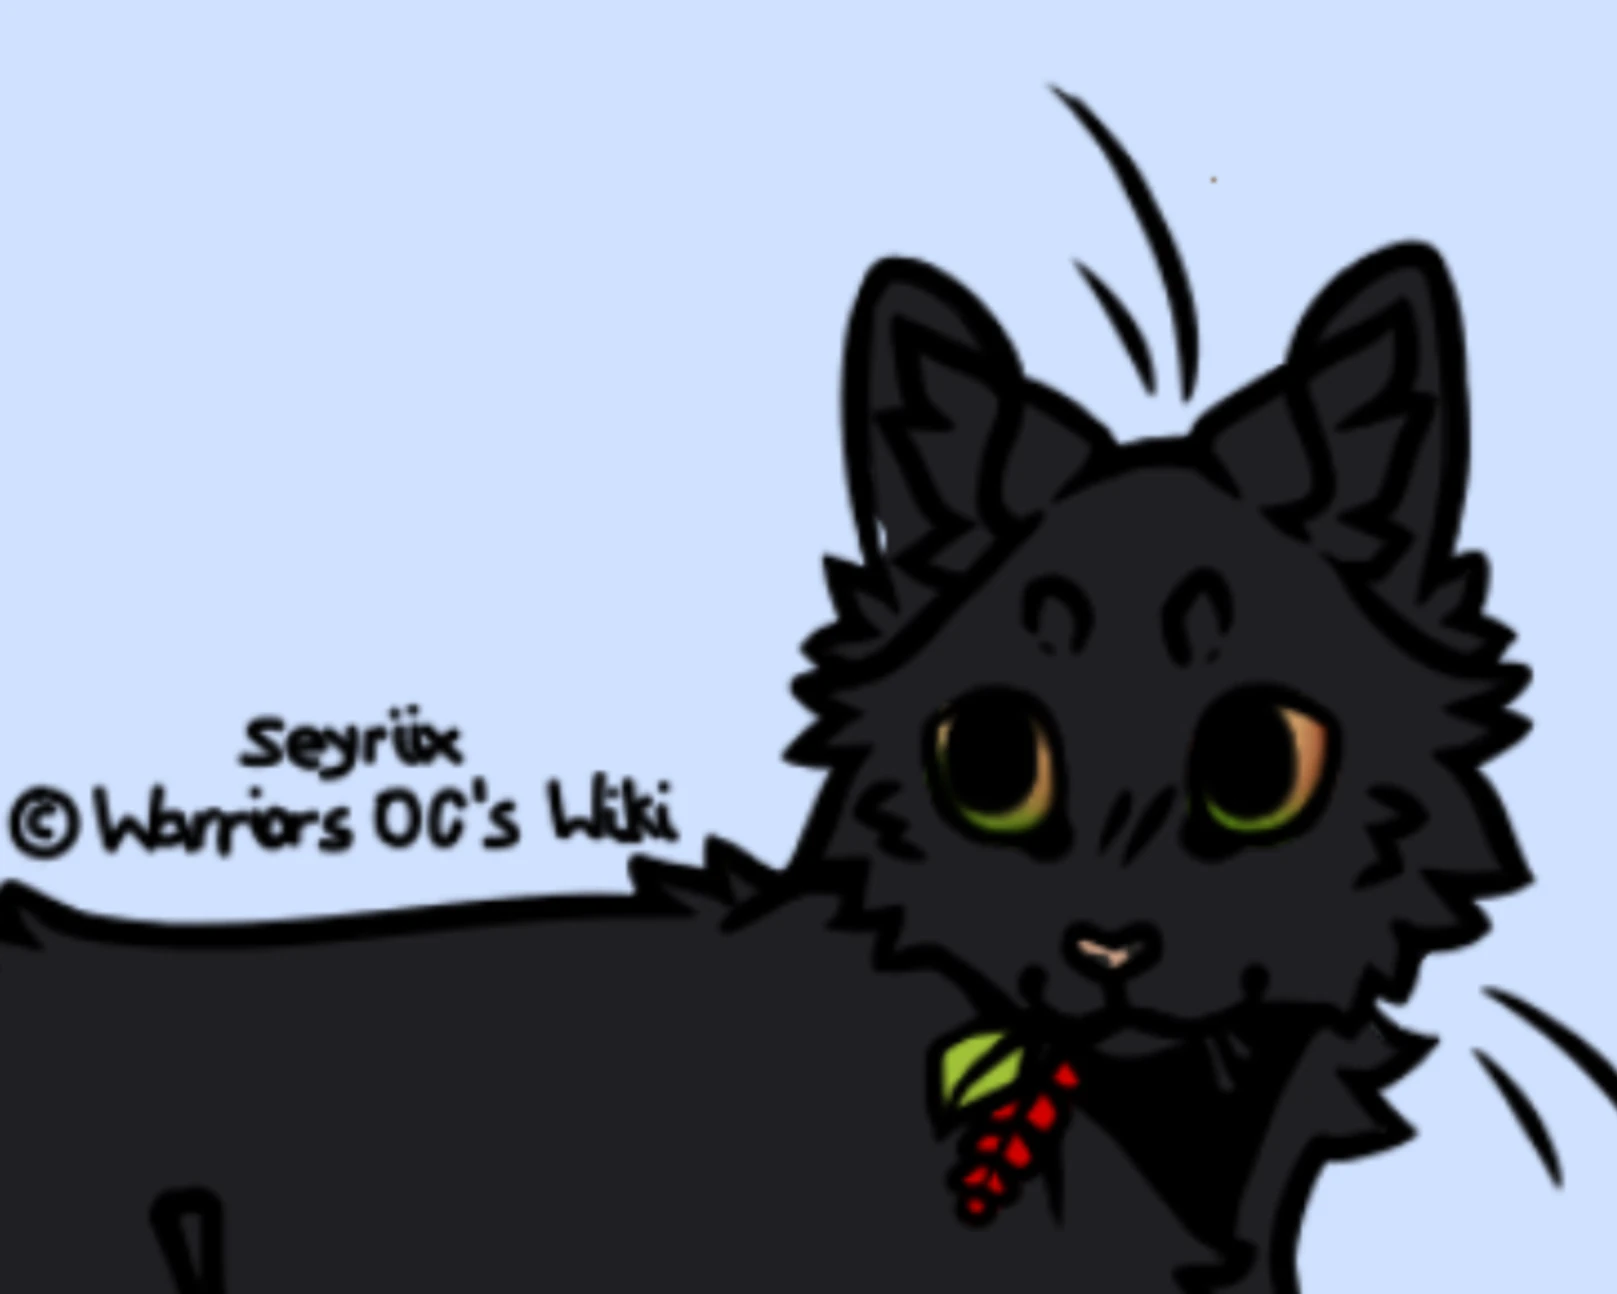
there you have it! I hope this was simple enough to follow along too!