Click this link to view the tutorials done by multiple talented users on this Wiki!
Contents
To make it easier to navigate.
- Downloading the Blanks; how you download these blanks to use them.
- Shading and Lighting; self-explanatory; how to shade and add lighting onto your cats!
- Videos; yet again, self-explanatory, video tutorials.
- Lessons; lesson section, to teach you about subjects like white spotting, the different tabby markings, etc.
- Colours of Colourpoint; explaining the different colours of the Colourpoint pattern.
- Tabby Patterns; different types of tabby patterns and how to draw them.
- Mackerel Tabby; how to draw a mackerel tabby.
- Classic Tabby; how to draw a classic (blotched) tabby.
- Spotted Tabby; how to draw a spotted tabby.
- Ticked Tabby; how to draw a ticked tabby.
- Agouti how to draw agouti (non-striped tabby).
- Solid Colour; painting a solid cat.
- Black Tortoiseshell; painting a tortoiseshell cat which is primarily black.
- Red Tortoiseshell; painting a tortoiseshell cat which is primarily ginger.
- Calico Pattern; painting a calico cat.
- Torbie Pattern; painting a tabby-tortoiseshell.
- Dilute and Chocolate Tortoiseshell; a joint tutorial, painting a diluted tortoiseshell as well as a chocolate tortoiseshell.
- Bi-Colour; painting bi-colour cats.
- Tuxedo Pattern; painting a bi-colour cat in the tuxedo-pattern.
- Patched Pattern; painting a patched bi-colour cat.
- Pointed Pattern; painting a pointed cat.
General Information
Downloading the Blanks
Go onto the Character Blanks page.
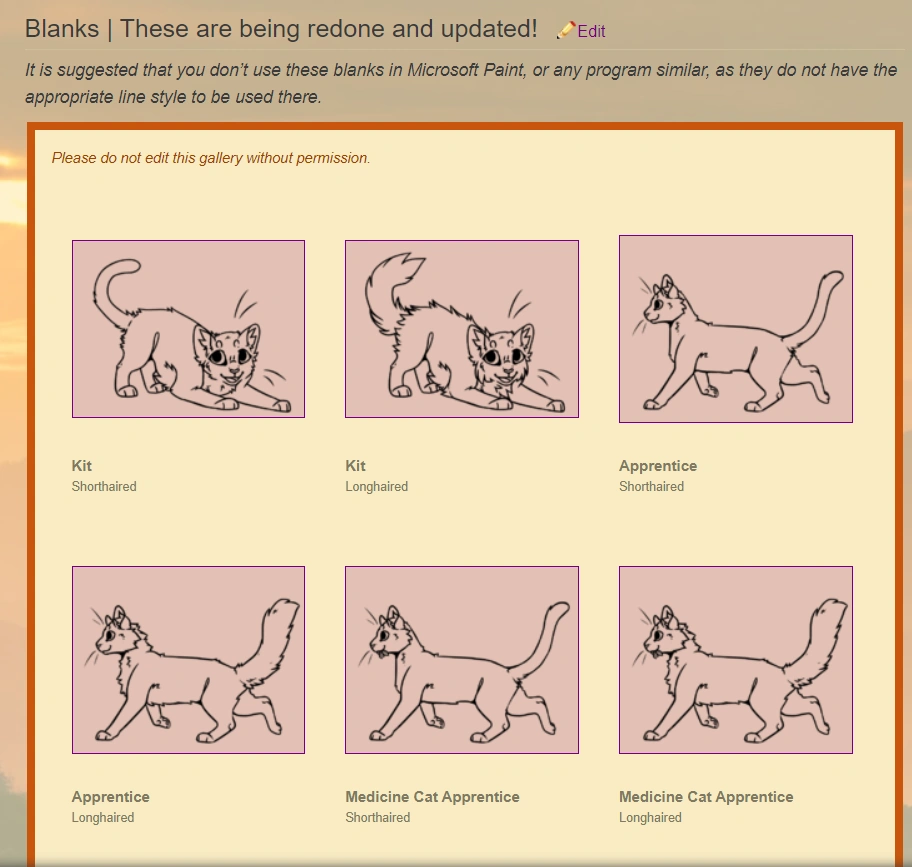
Click on the charart lineart you'd like to colour in.
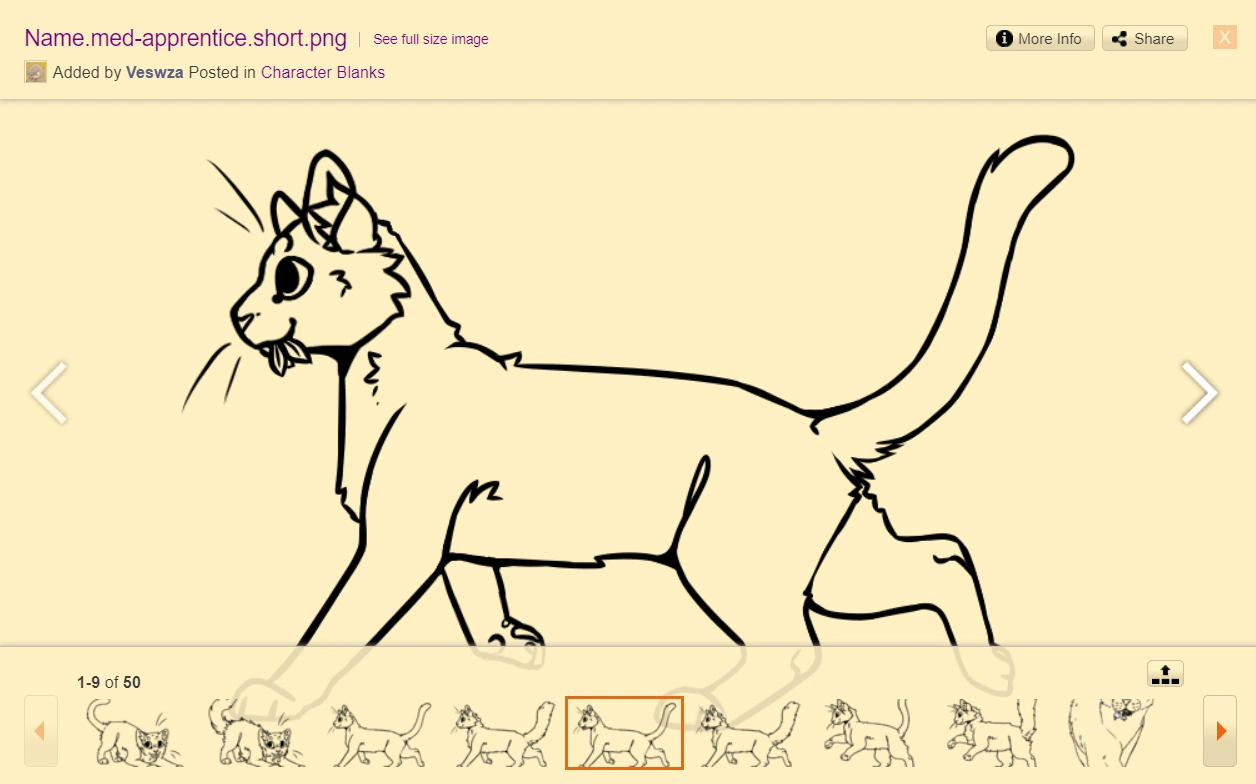
At the top of the image tab, you will find the file link. Click that.

This will take you to the file page.
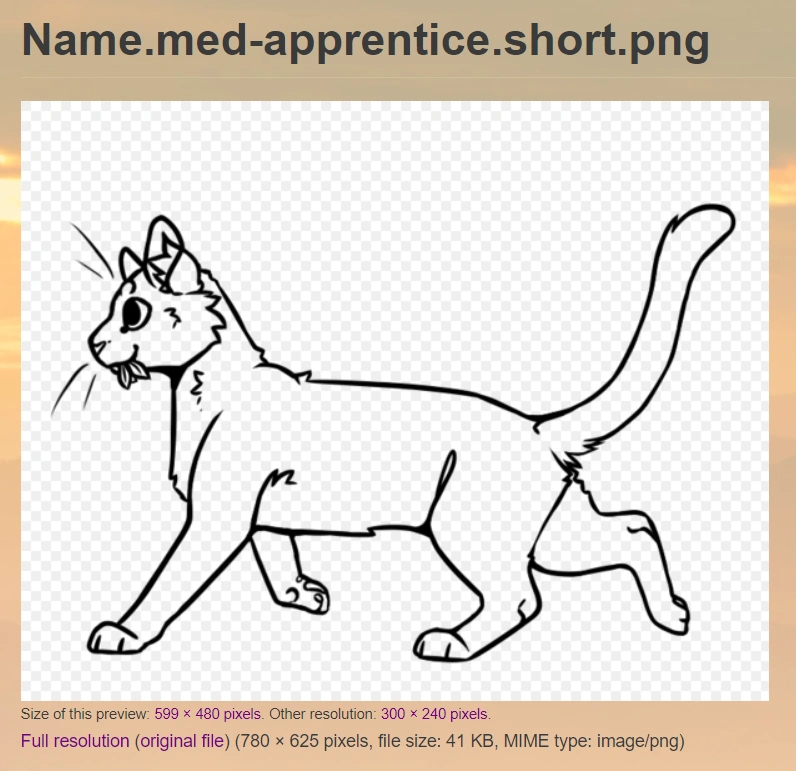
Click on the image and it should take you to a vignette.wikia page. Right-click the image and select Save As.... Rename (optional) the file and download it.
Getting the lineart into your Art Program!
Next, open up your art program of choice. These linearts were created on MediBang Paint, so that will likely be the most compatible program, though any will do.
Microsoft Paint does not work with these blanks. However, Marshywillow have converted several linearts to be compatible with Paint and is planning on doing more as they are updated, so do check those out if that's the only program you have available.
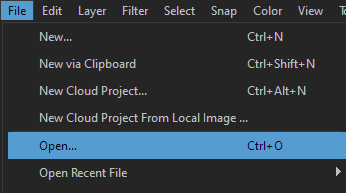
At the top left of your screen, there should be a button under the name of File.

Left-click File and select Open....
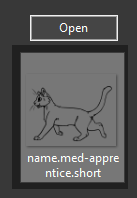
Go to your Downloads folder (or wherever you put the downloaded blank) and select the lineart. Either double click it or click Open to open the file.
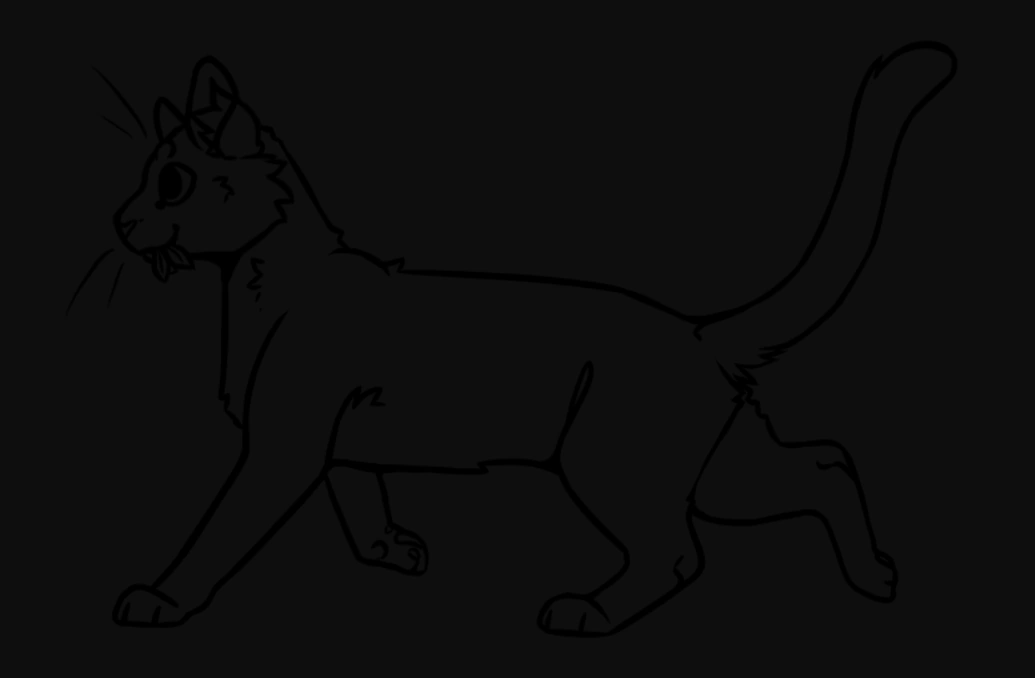
Once you have opened your canvas, select the lineart layer and choose the brush Magic Wand.
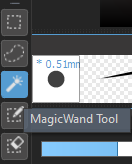
At the top of your screen, you will find selection options. It is suggested that you use the options shown below, though it is completely optional and you can use your own settings if you so wish.
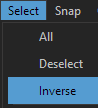
With the Magic Wand tool selected, click on the outside of the lineart. Once you have done that, click Select at the top of your screen and select Inverse.
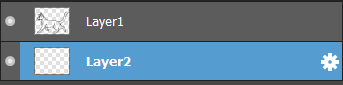
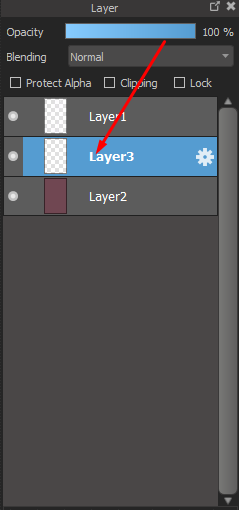
When that action has been completed, create a new layer by clicking the paper-looking icon in your layers tab.

Drag that new layer underneath the layer with the lineart on it and after that, you're ready to colour!
Below, there are several tutorials on how to colour multiple different designs and fur patterns. Alternatively, you can check out the user tutorials, tutorials created by multiple talented users on this Wiki, and learn other users' unique techniques!
Shading and Lighting
- Coming Soon
Tutorials
Tabbies
The tabby pattern, or "striped" pattern as it is occasionally called, is one of the most common cat patterns. On top of this, they're also probably the one pattern that appears most in both canon books and fan-fiction!
Tabby cats are sometimes mistaken to be a breed in and of itself, though this is not the case at all!
There are multiple different types of tabbies, though this tutorial will only be covering the basic five: Mackerel, Classic (Blotched), Spotted, Ticked and Agouti.
When drawing tabbies, try to avoid Triangle Tabbies and Y-Tabbies unless the character's design specifically demands it. While these are stripes, they are less form-fitting than natural stripes and just space fillers instead. (Quite often pretty visually unappealing, as well!)
What you should aim for with tabby cats:
• Clear, distinct markings and stripes
• Stripes and patterns that curve in the direction of the lineart
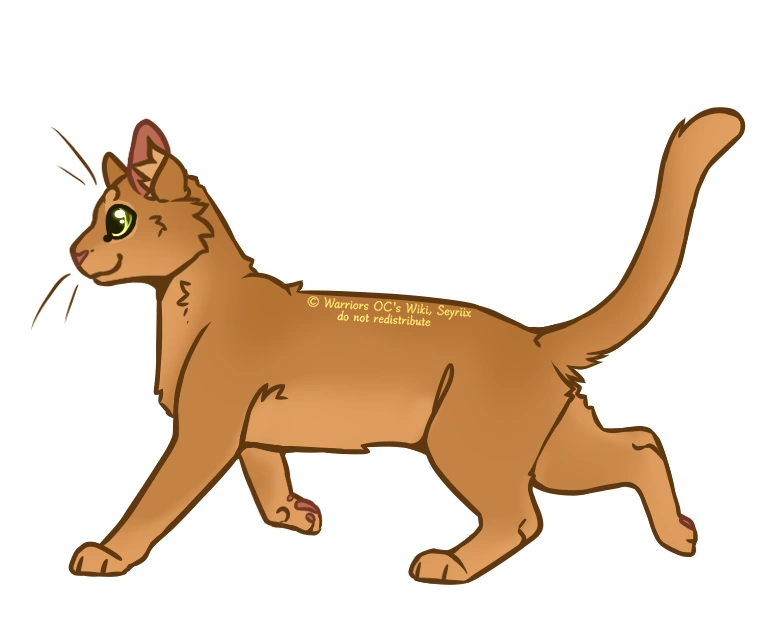
Start with your tabby's base coat before you draw your stripes. Make sure the belly, paws, tail-tip and face are slightly lighter than the base colour, and that the back is slightly darker than the base colour.
Always outline the eyes with the lighter colour!
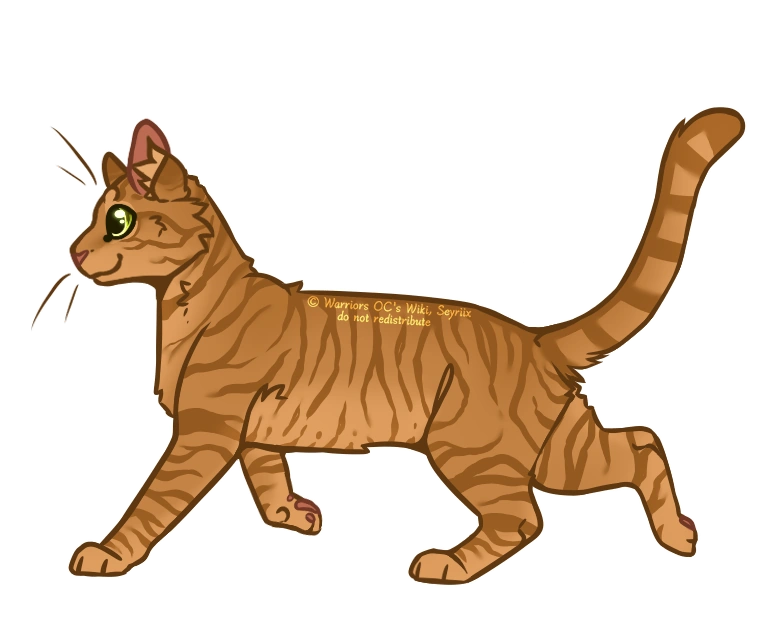
Mackerel Tabby
Two common mistakes I see with people drawing mackerel tabbies is that they either make the stripes too thin and/or don't curve the stripes around the body of the cat, leaving them with a very 2D-looking image and pretty odd-looking stipes. A good way to avoid doing this is to look at a reference of a mackerel tabby cat while you're drawing it, use a bigger brush for the stripes and also try to figure out where the natural curves of the body would be.
If you're still struggling to get the stripes natural-looking, try to draw simple, curved lines across the body, not particularly where the stripes would be, where you think it'd naturally curve, and then draw your stripes over that! (On a different layer, of course)
Classic Tabby
A common mistake I find is that people tend to just draw mackerel tabbies with thicker stripes and one or two swirls in the midst of them. While this can occasionally work and is probably the easiest technique, it isn't particularly realistic!
As the stripes of a classic tabby are pretty complicated in parts, try to use multiple references and don't make them too thin nor too thick. Most classic tabbies have a recognisable circle-like marking in the middle of their main "swirl", which is usually on their flank or hips, which the below example shows clearly.
This is called a bullseye, and if the tabby cat has a dorsal stripe alongside it, it's referred to as a butterfly.

Spotted Tabby
Common mistakes I find when it comes to spotted tabbies is that people will either make every marking spots, draw hollow circles instead of spots or even draw a mackerel or classic tabby and add spots in-between the stripes.
While these techniques are fine, especially if that is your character's actual design, I find the most visually pleasing way to draw spotted tabbies is to curve the small spots in the way you would a mackerel tabby's stripes, and make sure that their neck, legs, face and tail don't get mixed in with the spotting.
If you're struggling with drawing spotted tabbies (they're very hard for even me to draw, I wouldn't blame you if you were), I'd highly suggest searching up reference images to view whilst you're drawing the tabby or even lightly sketching mackerel tabby stripes on top of the base colour to then use as a guide on where to put the spots!

Ticked Tabby
These tabby cats are pretty hard to draw due to their flecked coat, which makes them an uncommon choice for chararts, though the hard work definitely pays off if you manage to get the pattern right. Agouti, which is what the flecked hairs are called, is an occurrence when two or more colours appear in one band of fur, often dark and light.
The best way to draw the ticked tabby's agouti freckles is to either scatter the coat with small dots which you then smudge to look like strands of fur or, alternatively, draw closely-packed lines across the coat, flowing with the natural fur, which you then smudge. The below image is a mixture of both these techniques!

Agouti
The same technique used to draw ticked tabby cats' flecks applies to this pattern as well: Scatter the coat with small dots which you then smudge to look like strands of fur or, alternatively, draw closely-packed lines across the coat, flowing with the natural fur, which you then smudge.
Useful references for this coat pattern as they may be difficult to find:
• [1]
• [2]
• [3]
• [4]

Solid
-Using Medibang Paint Pro, but this works for various art programs too.-

Colour it in, like below. As I said in my voice tutorial, I often colour the whole thing and I will show how to erase it to in my tips.
Add earpink, nose and eye colour.
Tortoiseshell
Black Tortoiseshell
- Coming Soon
Calico
- Coming Soon
Torbie
- Coming Soon
Bi-Colour
Tuxedo
- Coming Soon
Patched
- Coming Soon
Colourpoint
- Coming Soon
Videos
- Coming Soon
Note
(There are many types of tabby cats in the world! You do not have to follow the stripe patterns or this tutorial purely to create a tabby cat. If you want to vary your drawings so they don't all look the same, I'd suggest using some references of tabby cats from Google Images!) ・☆。 seyriix(talk) 。☆・
More videos will come in the future! We will not limit it just to tabbies.
Seyri has more videos planned for patterns like tortoiseshells and other coat patterns. Maybe even Marsh too.
Stay tuned! -Marshywillow
Lessons
Please note that these lessons cover how to make your cat's design more realistic, if you want it to be. You do not have to follow any of the advice if you are happy with your character's design as it is right now. We're not trying to make you change it, don't worry!
White-Spotting in Tortoiseshells
White-Spotting is a gene that covers a part of a cat's base coat, whether it be black, tabby, tortoiseshell, whatever. It can be ranked in percentages (%) or in grades.
With tortoiseshells, there's a colouring called "tortoiseshell and white", which is a tortoiseshell cat (whatever pattern- red, black, dilute, etc.) with low-medium white spotting. This means that they still have their original brindled/mottled pattern, but simply have, say, a white locket and toes.
There's also a pattern called "calico". Unlike tortoiseshell and white cats, calico's have high (>60%) white spotting, which causes their brindled fur to start to patch. You'd never see a calico cat with still brindled fur unless it had <60% white-spotting.
If you are a more visual learner, you can go here (tortie white spotting), here (white spotting) or here (cat coat colours) for help.